How to integrate my Redshift Warehouse with Looker Studio?
Introduction
Looker studio is an intuitive and easy to use, self-serve business intelligence (BI) tool, that allows you to visualize your data in vibrant reports and dashboards, helping you draw actionable insights to guide your business decisions.
In order to link your Data Warehouse to Looker Studio, you will need to use Connectors. Click here to view a list of connectors.
Steps to Connect Redshift to Looker Studio
-
Sign in to Looker Studio. You will reach the Home Page of Looker Studio.

-
In the top left, click + Create then select Data Source.

-
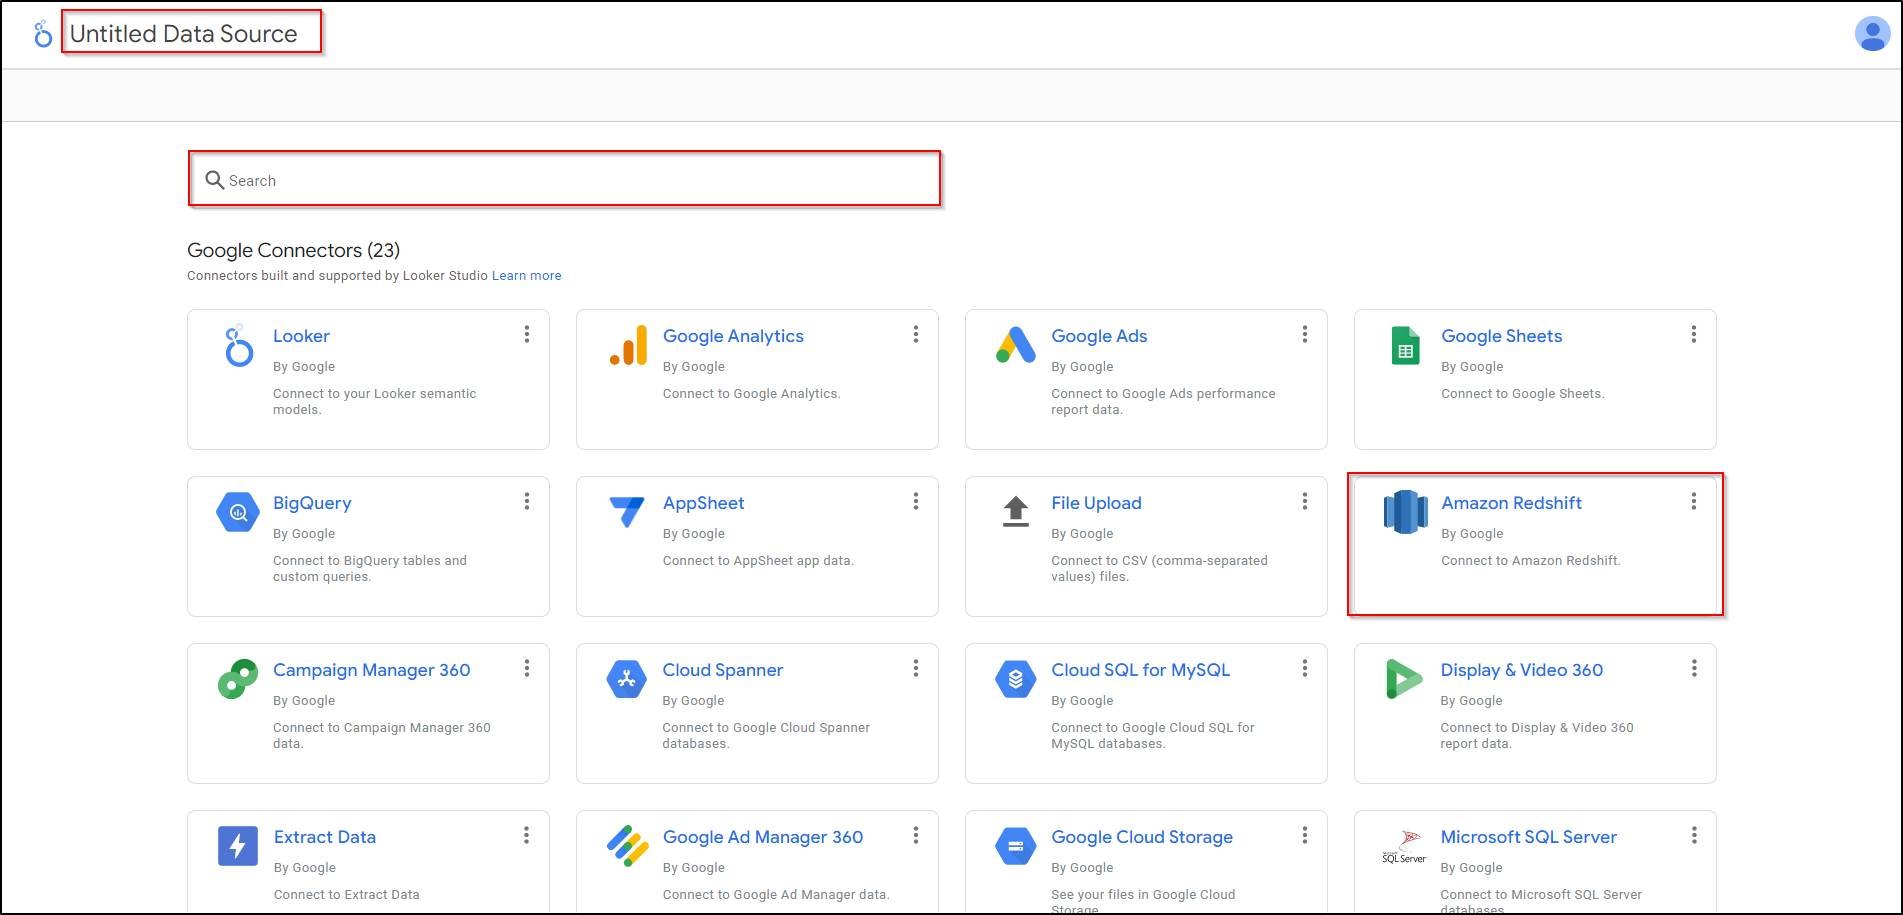
A page will open up listing connectors supported by Looker Studio. Click on the required connector to connect to data. Typing in the required connector’s name in the search box will make it easy to find it. You can change the name of the Data Source by editing the name on the top left corner of the screen.
-
Select the Redshift connector to access this data source.
-
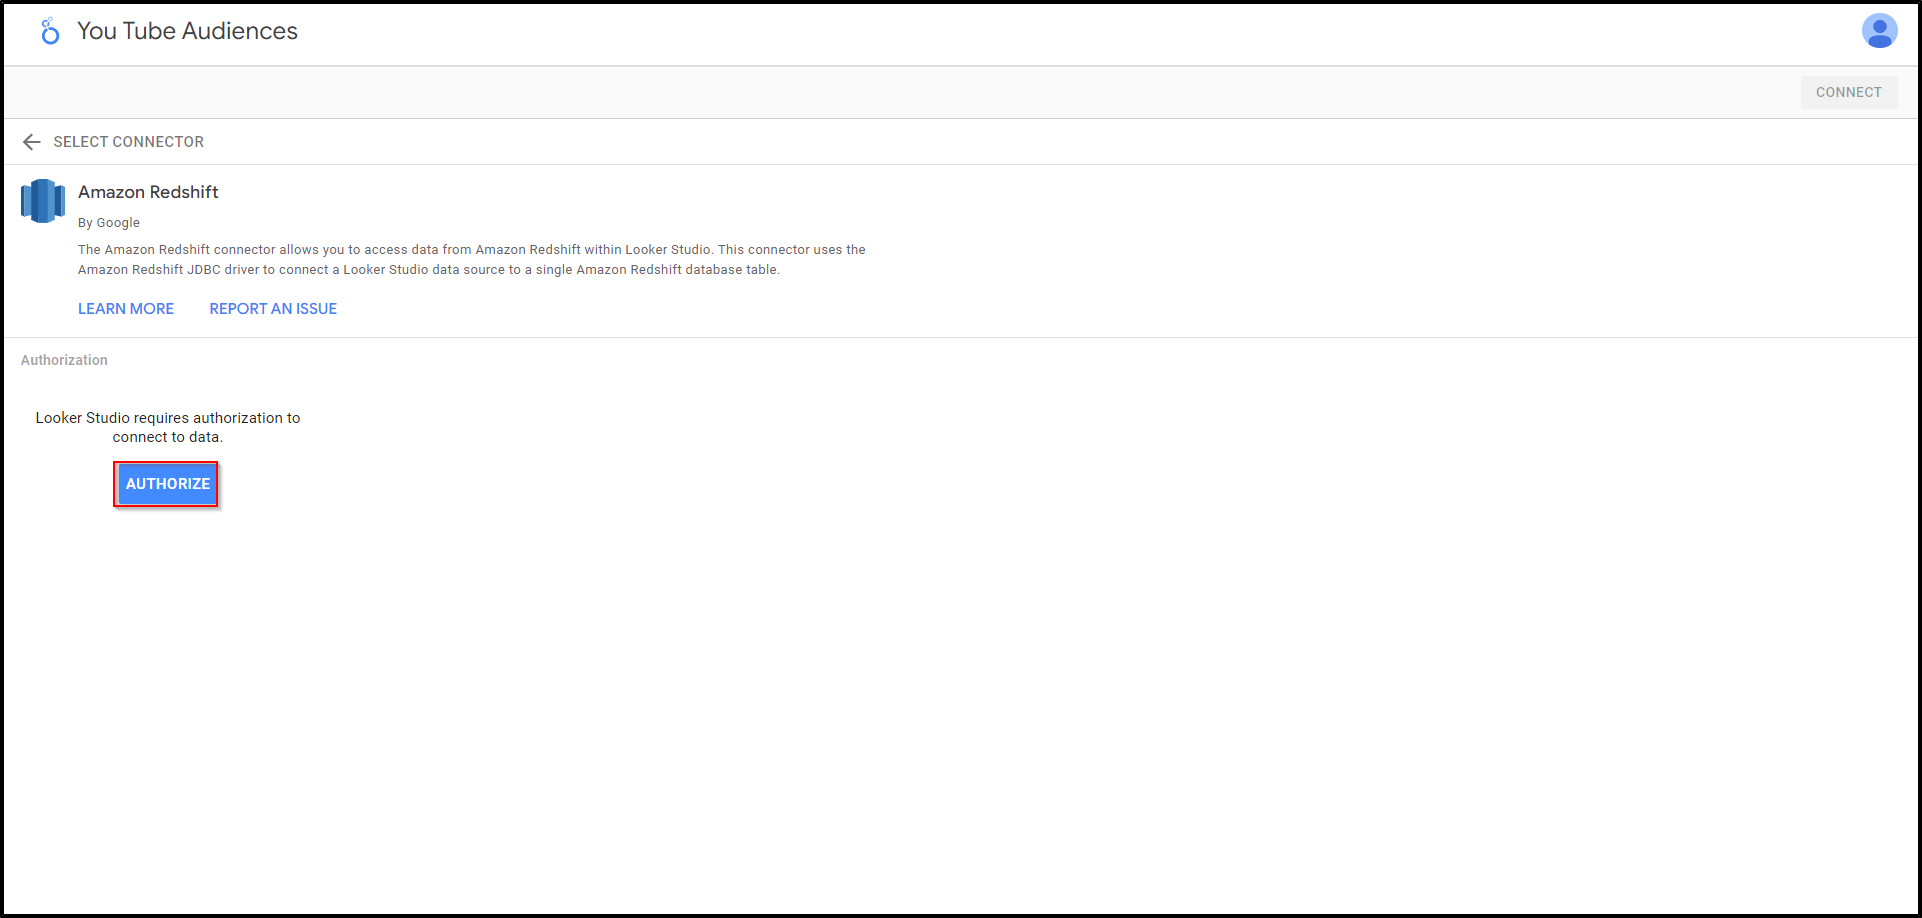
If prompted, click Authorize to allow Looker Studio to access your data on your behalf.
-
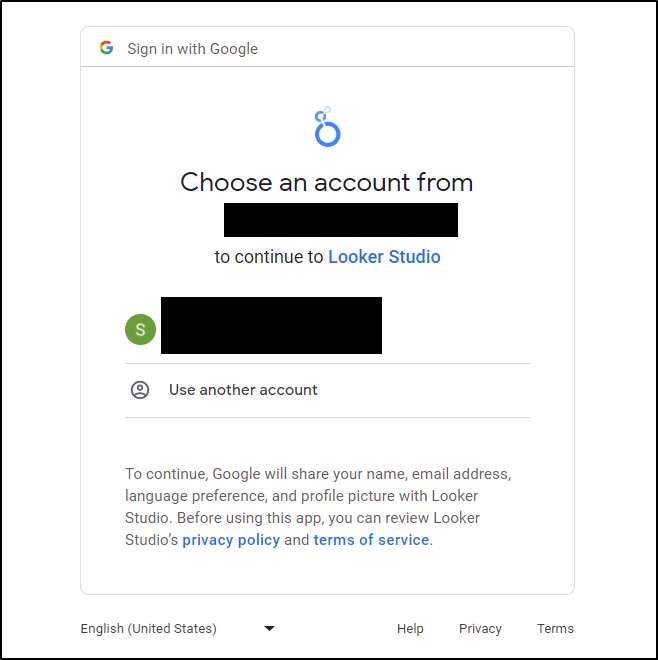
Provide your account details and proceed to add the data source.
-
Setup the connection to your database using either of these two methods:
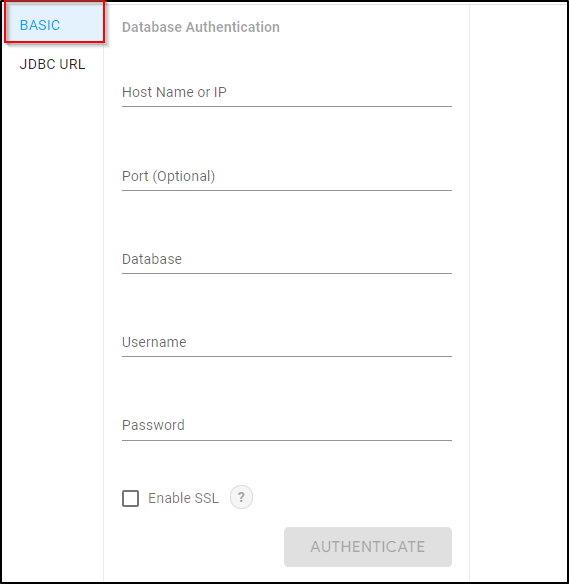
Option 1 : Connect with a hostname or IP address:
-
On the left, select BASIC.
-
Enter the connection details:
-
Hostname or IP address
-
Port (Optional)
-
Database
-
Username
-
Password
-
Option 2 : Connect with a JDBC URL:
-
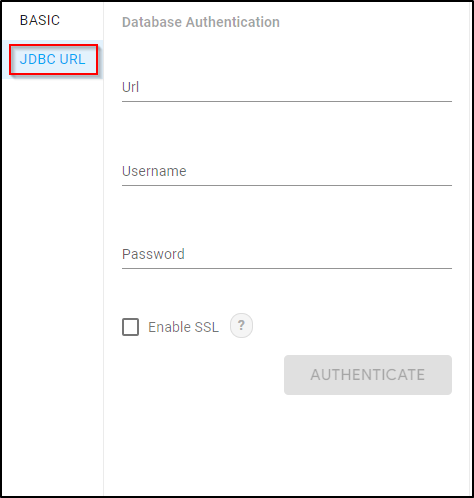
On the left, select JDBC URL.
-
Enter the connection details:
-
Username
-
Password
-
JDBC URL
-
Example:
jdbc:redshift://<hostname or IP address>[:<port>]/<database>
- NOTE
-
-
Looker Studio can’t connect to localhost. You must use a public hostname or IP address.
-
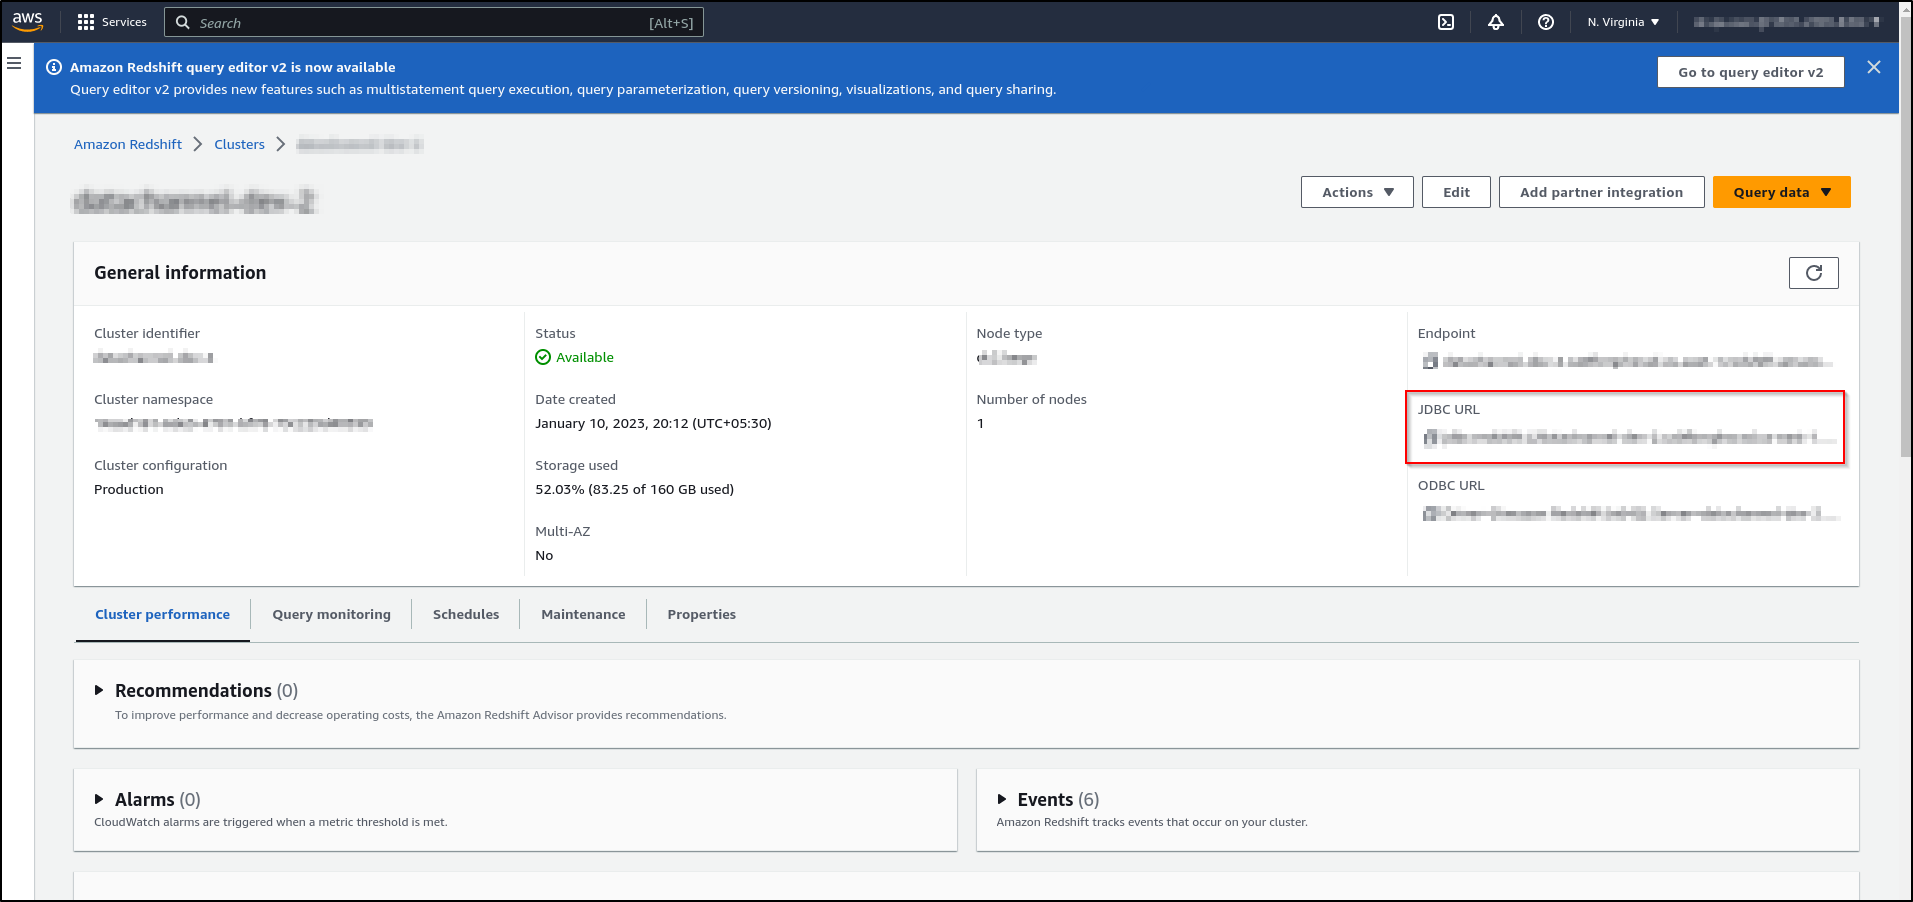
You can find your JDBC URL from the General Information of the cluster that you want to use on the AWS admin console.
-
-
To enable a secure connection, check Enable SSL, then provide your SSL configuration files. This step is optional.
-
Once completed, click on AUTHENTICATE.
-
Select your required table from the list. Then, click on Connect on the top right corner.
-
This will open up a list of all the fields in the selected table.
-
You are now ready to create a Report/ Visualisation using Looker Studio.
-
You can read more about connecting Looker Studio to Amazon Redshift here.
Finding your DataChannel managed Redshift Warehouse details
-
Login to the DataChannel Console.
-
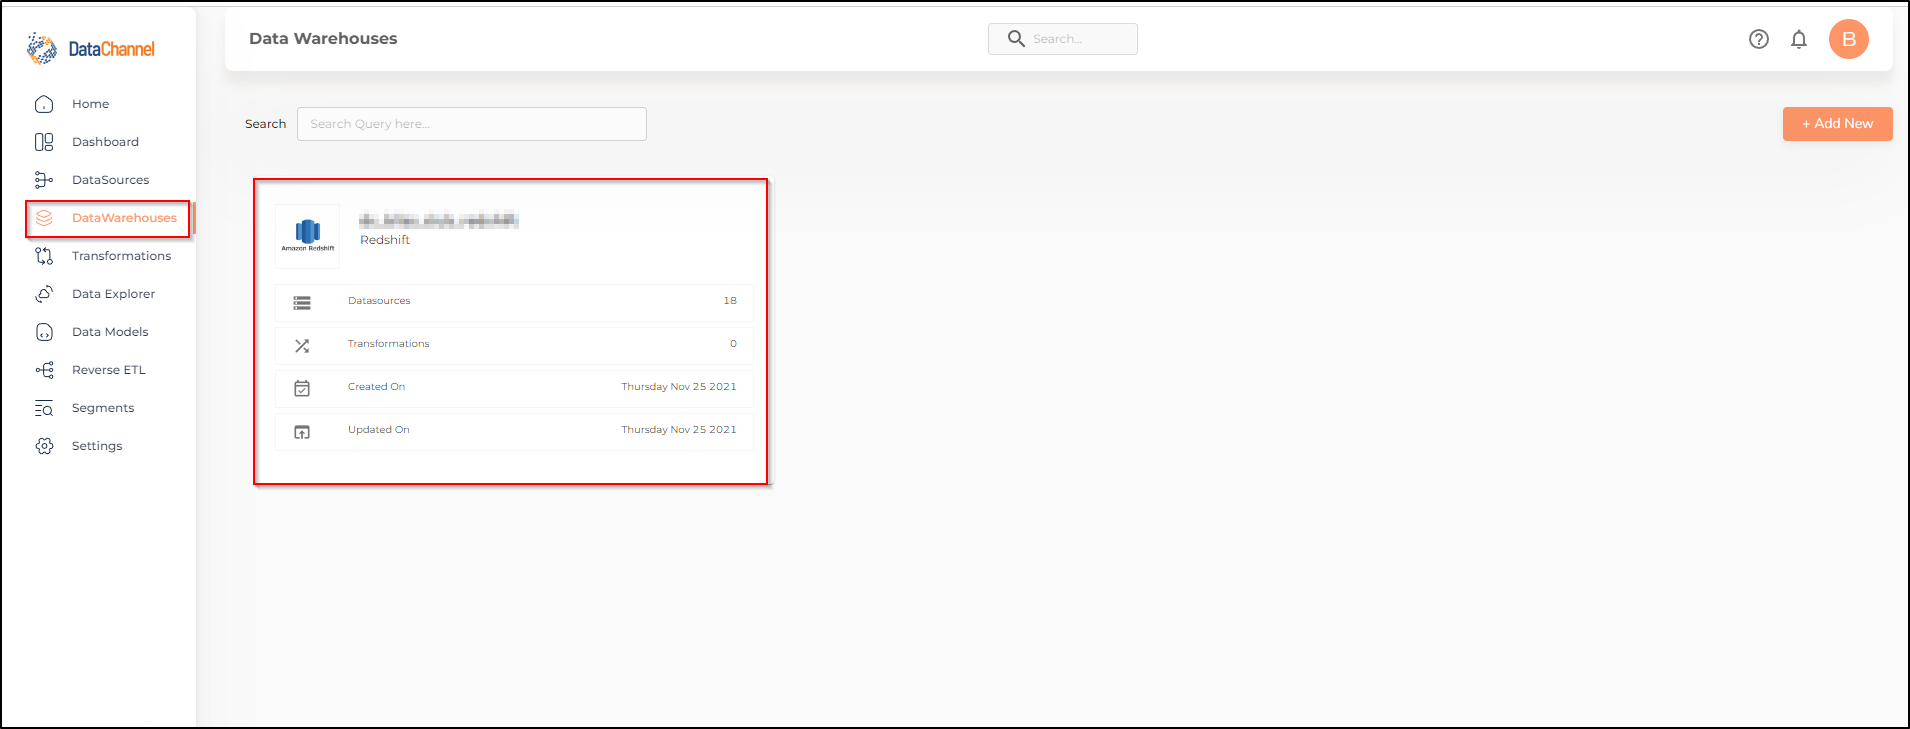
Access the Data Warehouse page by clicking on the Data Warehouse Tab on the sidebar.
-
Click on the card of the data warehouse that you want to connect to Looker Studio .
-
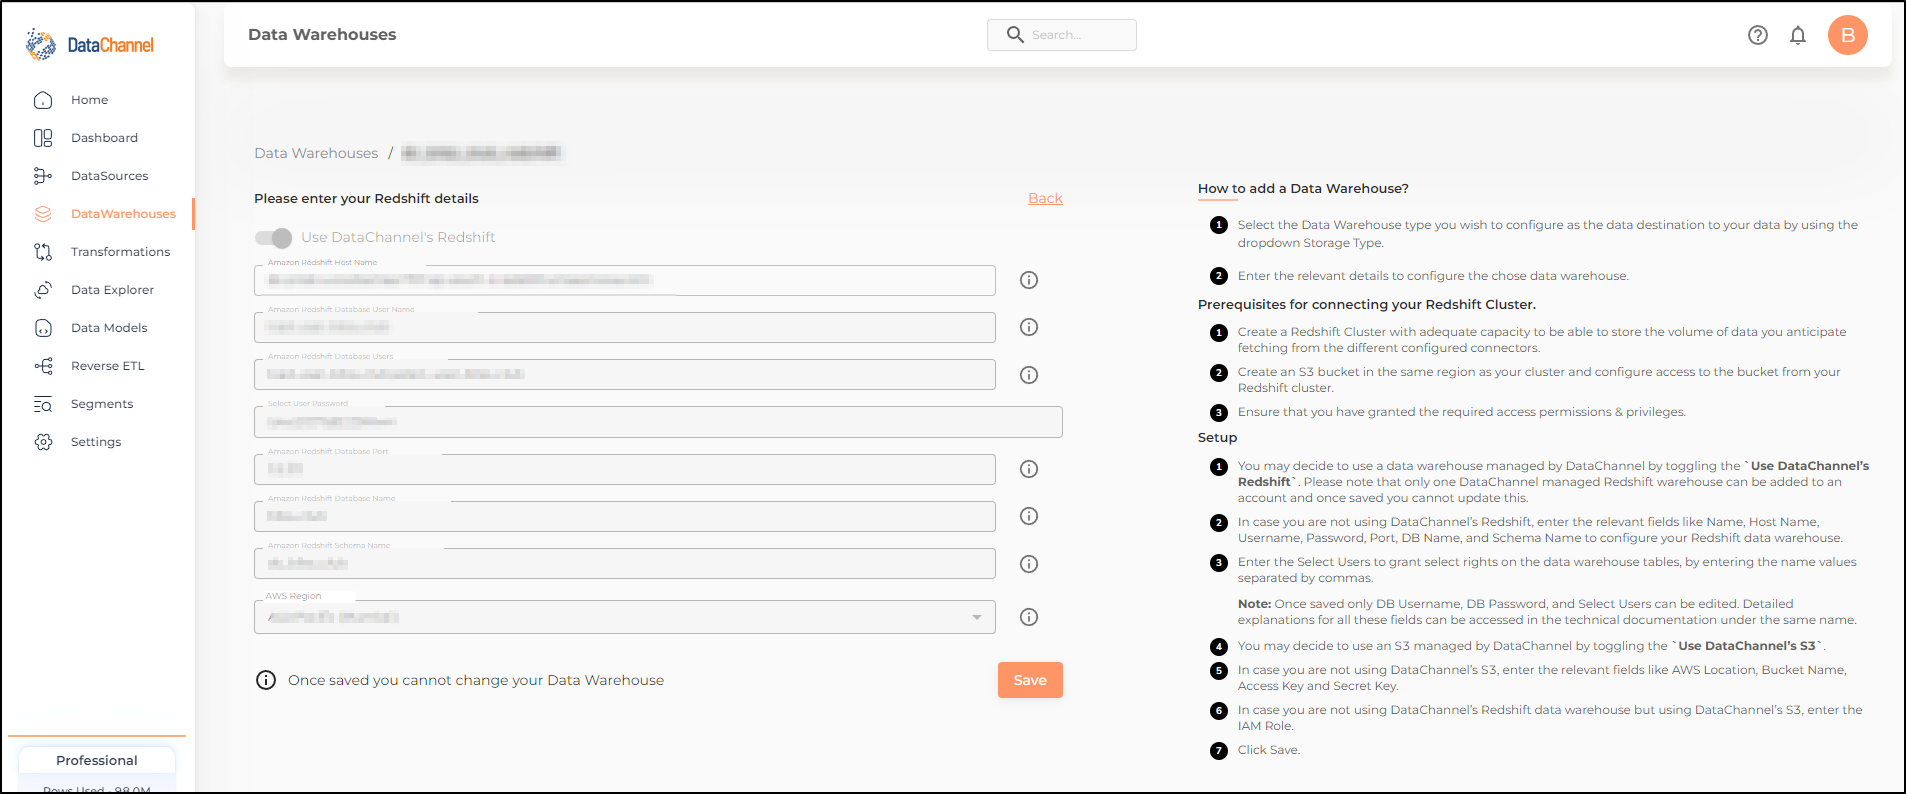
The following screen would show up. All the required details will be available in the form that opens up.
Still have Questions?
We’ll be happy to help you with any questions you might have! Send us an email at info@datachannel.co.
Subscribe to our Newsletter for latest updates at DataChannel.