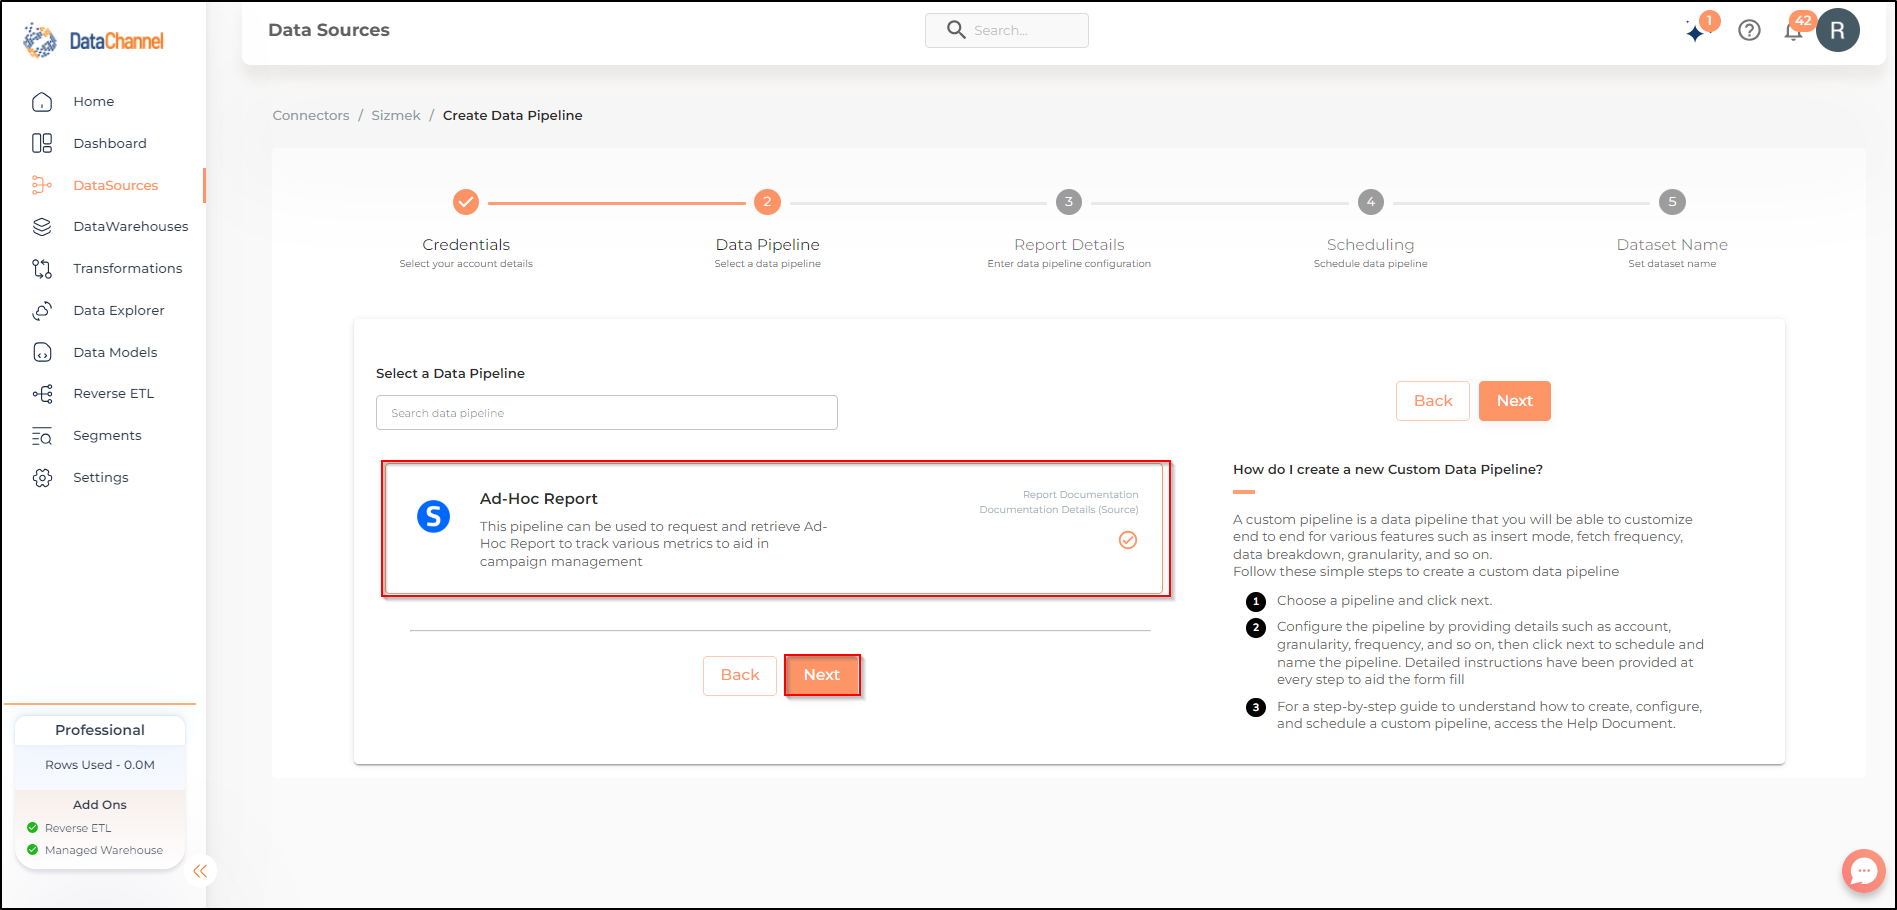
Ad-hoc Report
Ad-hoc Report can be used to request and retrieve reports for effective campaign management. Read more about the Sizmek end-point here
Configuring the Credentials
Add credentials which have access to relevant Sizmek data & Click Next. You would need to enter name, API username, API password and API key for adding new credentials.
Report Details
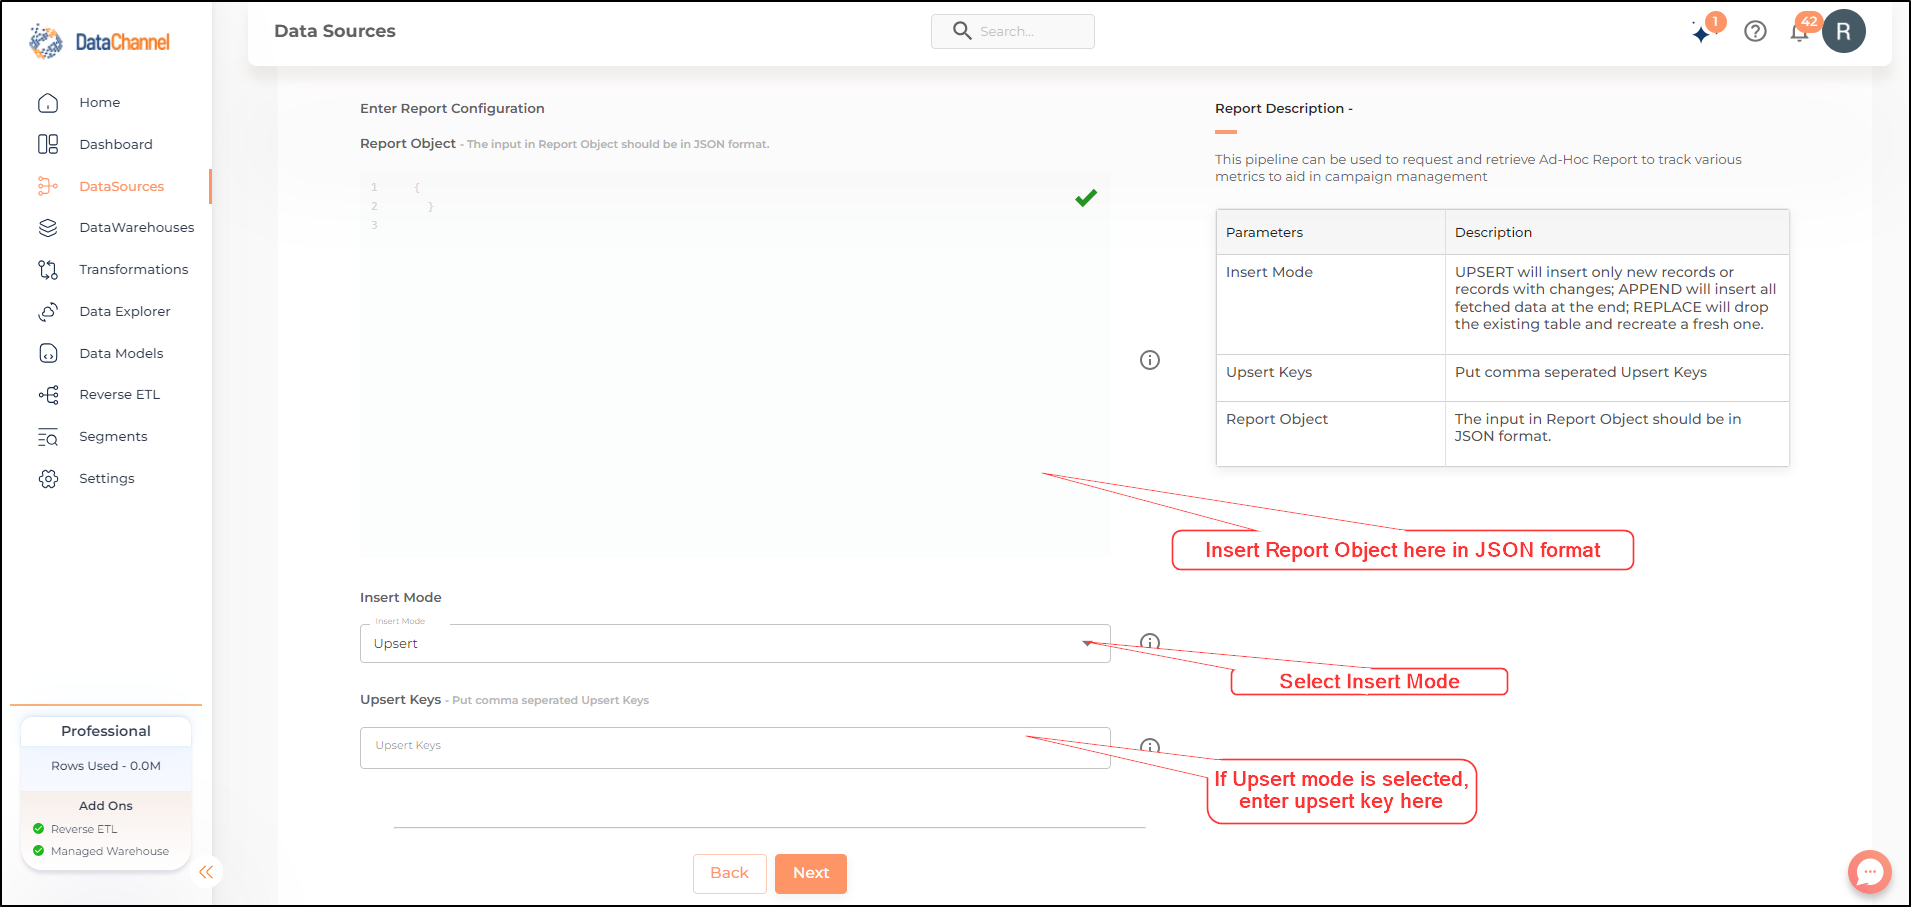
- Report Configuration
-
Create the JSON report request. Click here for a comprehensive example of JSON code. A Sample Code to create an Ad-Hoc Report is shown below.
| The input in Report Object should be in JSON format. You will also be able to view Code sample in the Sizmek Console. |
{
  "entities": [
    {
      "type": "AnalyticsReport",
      "reportName": "Test Weekly Report",
      "reportScope": {
        "entitiesHierarchy": {
          "accounts": [
            1234567890
          ],
          "advertisers": [
            1234567891,
            1234567892,
            1234567893
          ],
          "campaigns": [],
          "sites": []
        },
        "attributionModelID": -1,
        "impressionCookieWindow": 0,
        "clickCookieWindow": 0,
        "filters": {},
        "timeRange": {
          "type": "Yesterday",
          "timeZone": "US/Eastern"
        },
        "currencyOptions": {
          "type": "1st of the month",
          "defaultCurrency": 4,
          "targetCurrency": 1
        }
      },
      "reportStructure": {
        "attributeIDs": [],
        "metricIDs": [
          "Total Media Cost",
          "Total Profit",
          "Conversion Revenue",
          "Total Conversions",
          "Clicks (Gross)",
          "Clicks (SIVT)",
          "Average Video Percentage Complete (%)"
        ],
        "attributeIDsOnColumns": [],
        "timeBreakdown": "Month"
      },
      "reportExecution": {
        "type": "Scheduled",
        "startTimestamp": "2018-08-26T21:00:00.000Z",
        "endTimestamp": "2018-11-27T12:13:04.414Z",
        "cronExpression": "0 0 4 ? * 2 *",
        "timeZone": "US/Eastern"
      },
      "reportDeliveryMethods": [
        {
          "type": "Email",
          "exportFileType": "Excel",
          "compressionType": "NONE",
          "exportFileNamePrefix": "Test Weekly Report",
          "emailRecipients": [
            "Jane.Smith@sizmek.com"
          ]
        }
      ],
      "reportAuthorization": {
        "type": "mm3",
        "userID": 1234567890
      }
    }
  ]
}- Dimensions
-
In the report object include the dimensions/metrics that you would like to fetch from the Sizmek platform. You can click on View Schema anytime to see the schema of the table being created.
| Each of the included dimension will create one or more columns in the database table in the destination warehouse. For a complete list of all the available dimensions/metrics along with their explanation click here |
Setting Parameters
| Parameter | Description | Values |
|---|---|---|
Insert Mode |
Required Specifies the manner in which data will get updated in the data warehouse : Upsert will insert only new records or records with changes, Append will insert all fetched data at the end, Replace will drop the existing table and recreate a fresh one on each run. |
{Upsert,Append,Replace} Default Value: Upsert |
Upsert Keys Dependant |
Required, If Upsert is chosen as the Insert Mode Type If the Upsert mode is selected, you will be prompted to enter the upsert keys.Enter the column name separated by comma based on which data is to be upserted. |
String value |
Datapipeline Scheduling
Scheduling specifies the frequency with which data will get updated in the data warehouse. You can choose between Manual Run, Normal Scheduling or Advance Scheduling.
- Manual Run
-
If scheduling is not required, you can use the toggle to run the pipeline manually.
- Normal Scheduling
-
Use the dropdown to select an interval-based hourly, monthly, weekly, or daily frequency.
- Advance Scheduling
-
Set schedules fine-grained at the level of Months, Days, Hours, and Minutes.
Detailed explanation on scheduling of pipelines can be found here
Dataset & Name
- Dataset Name
-
Key in the Dataset Name(also serves as the table name in your data warehouse).Keep in mind, that the name should be unique across the account and the data source. Special characters (except underscore _) and blank spaces are not allowed. It is best to follow a consistent naming scheme for future search to locate the tables.
- Dataset Description
-
Enter a short description (optional) describing the dataset being fetched by this particular pipeline.
- Notifications
-
Choose the events for which you’d like to be notified: whether "ERROR ONLY" or "ERROR AND SUCCESS".
Once you have finished click on Finish to save it. Read more about naming and saving your pipelines including the option to save them as templates here
Still have Questions?
We’ll be happy to help you with any questions you might have! Send us an email at info@datachannel.co.
Subscribe to our Newsletter for latest updates at DataChannel.