Setup Guide - Custom Destination
Follow this setup guide to connect DataChannel’s Custom Destination Reverse ETL connector with any viable REST API friendly destination.
| To connect using the Custom Destination Reverse ETL connector, you need access to relevant tokens, keys, permissions, etc, depending on the REST authentication method your destination requires to write data to the accounts you’d like to sync. |
Setup instructions
-
Create a data model and specify the data warehouse from which you want the data for your Custom Destination platform. If you have not yet added a data warehouse, go to data warehouse tab and add a warehouse.
-
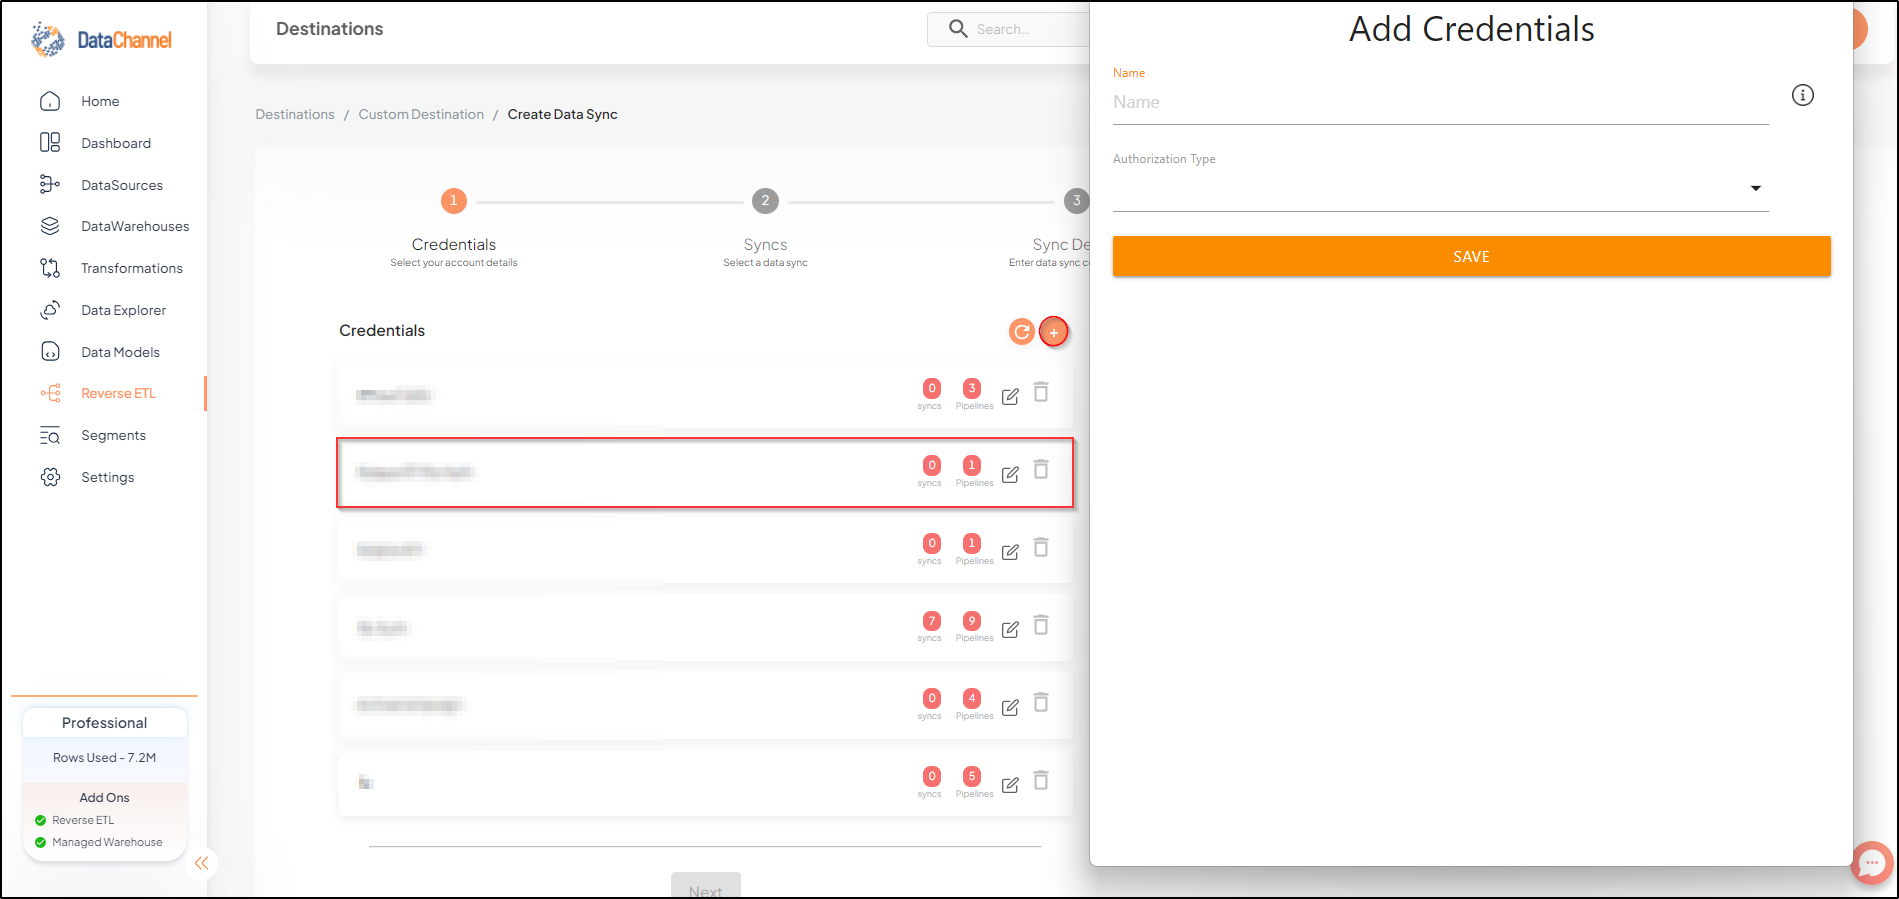
Authorise DataChannel to connect to your data destination using an authentication process from among the processes described here.
-
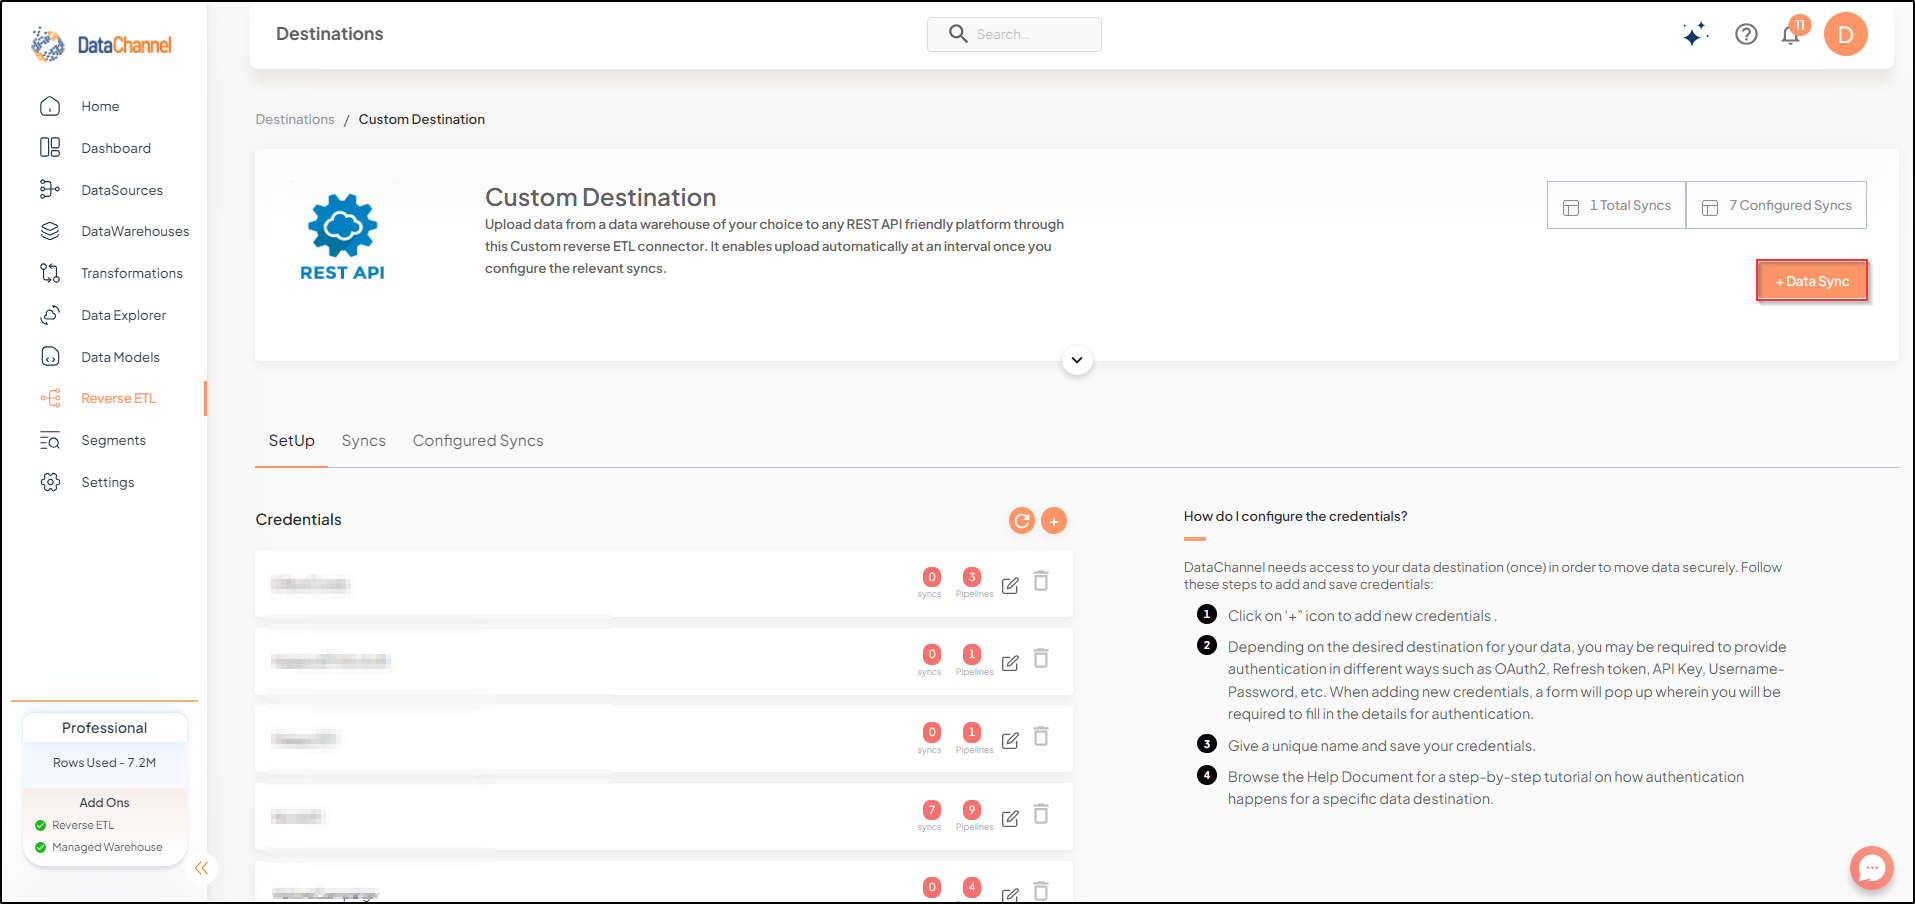
Click on + Data Sync to start adding data syncs to your account.
-
Details of individual syncs are available here.
Still have Questions?
We’ll be happy to help you with any questions you might have! Send us an email at info@datachannel.co.
Subscribe to our Newsletter for latest updates at DataChannel.