Familiarisation with the User Interface
Data Warehouses
Overview
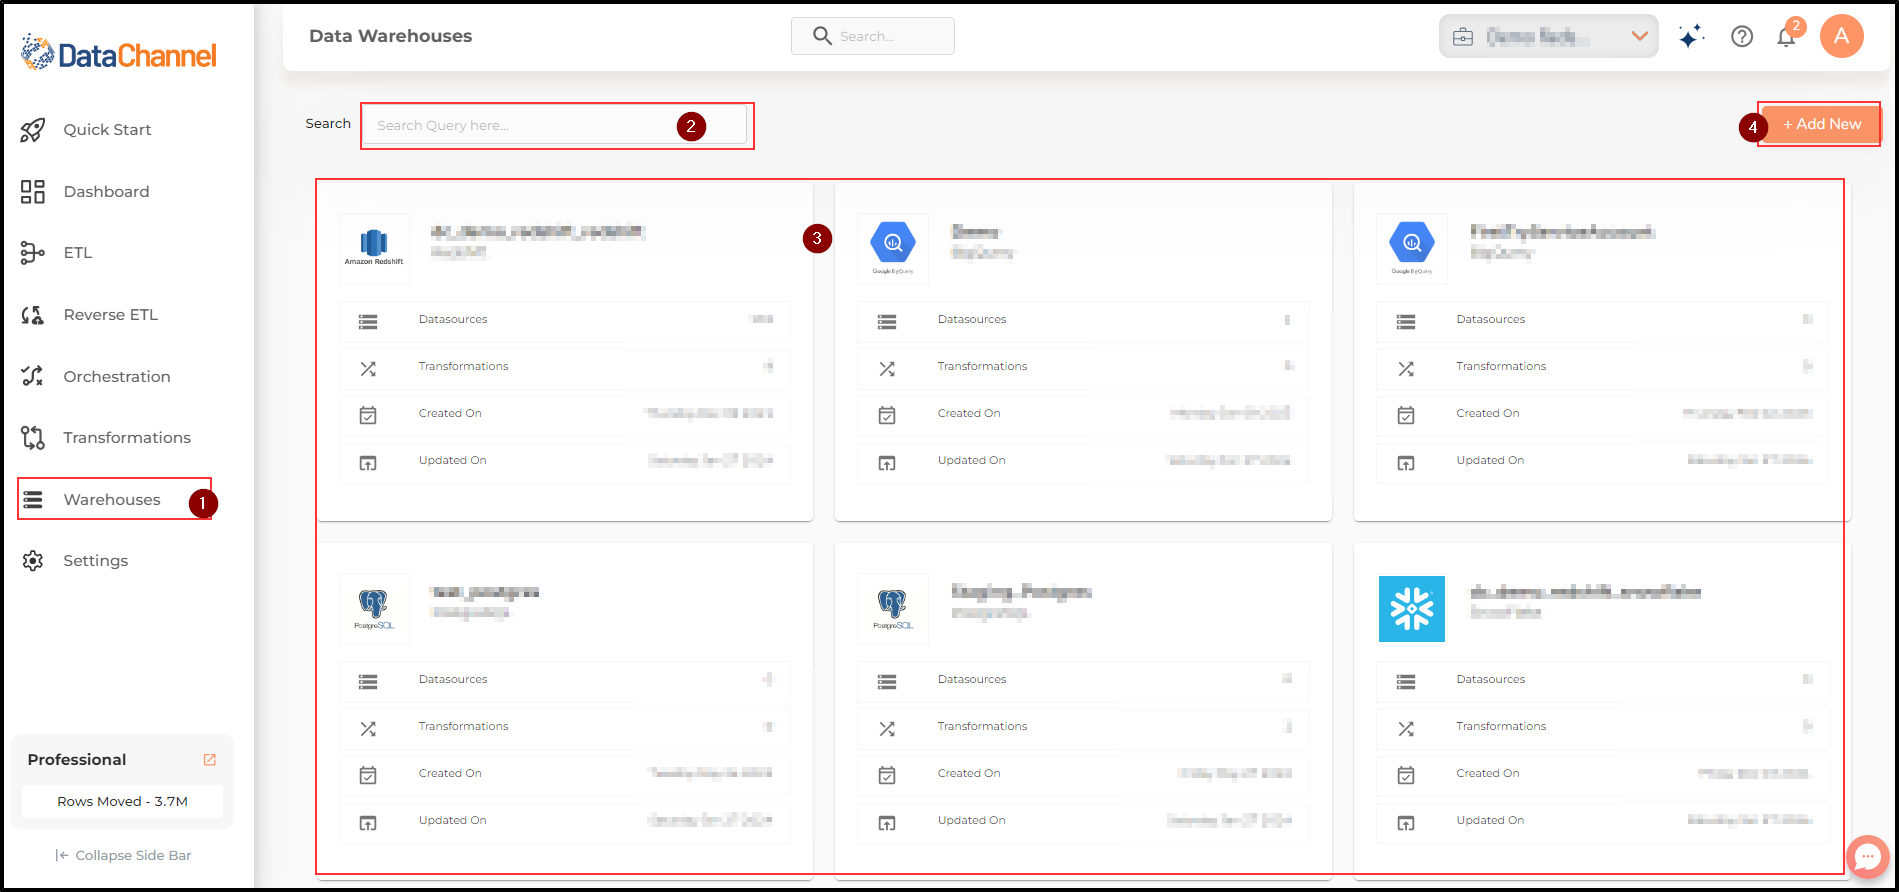
This section will help to familiarize you with the layout on the Warehouses tab of the DataChannel Console.
-
You can access the Data Warehouse page by clicking on the Warehouses Tab which lies right above the Ask Neo Tab.
-
Located below the Top banner, the search box allows you to quickly find a specific data warehouse connected by you to DataChannel.
-
Below the search box, the main UI screen contains a carousel of individual cards for each of the data warehouses connected by you. Each card gives a brief snapshot of the data warehouse it pertains to. Please note that while you may add a number of Data Warehouses to your account, you may choose only one Data Warehouse to add to any specific Data Source and once added it cannot be changed.
-
Located below the Top banner, on the right corner of the Main UI Screen lies the +Add new button to Add a new data warehouse. Click on the +Add New button to add a new data warehouse.
-
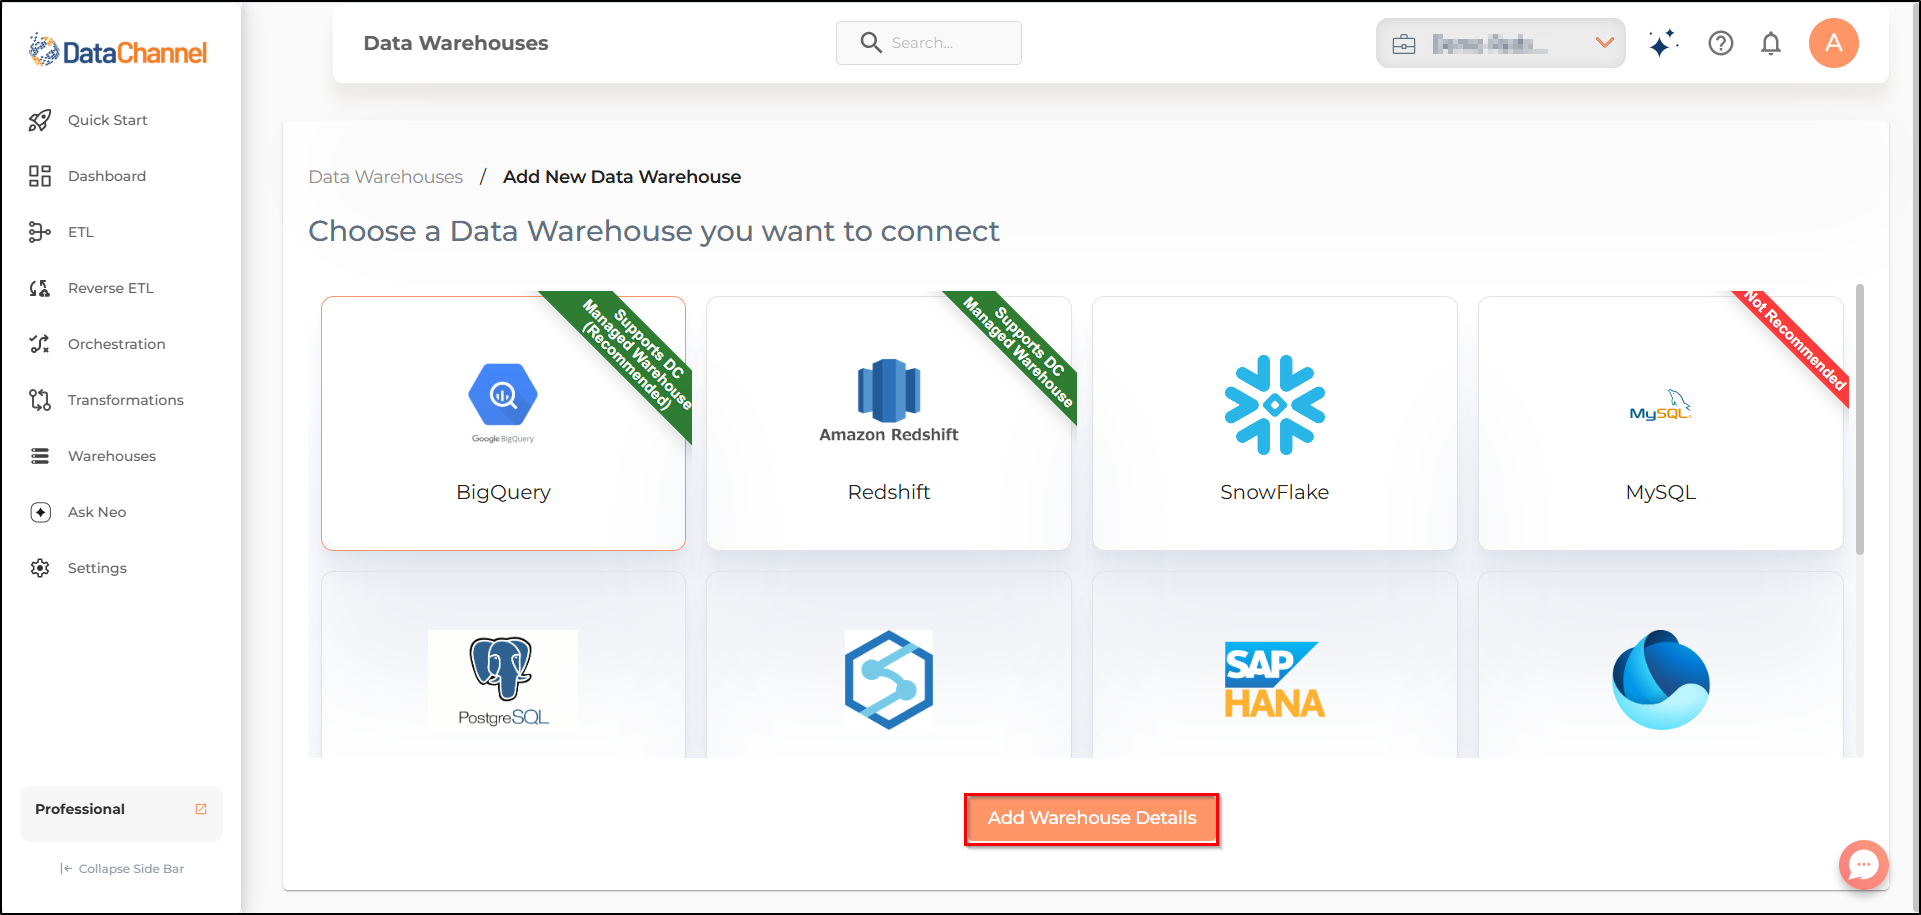
If you are a free plan user you will only be able to add a DataChannel managed Big Query Warehouse.
-
Professional plan users will be able to add any Warehouse supported by DataChannel.
-
Choose the warehouse you would like to connect and click on Add warehouse details button. Fill in the details of the warehouse you would like to add. For detailed instructions click on the link for the required warehouse:
Still have Questions?
We’ll be happy to help you with any questions you might have! Send us an email at info@datachannel.co.
Subscribe to our Newsletter for latest updates at DataChannel.