Nodes in an Orchestration
Each step in the multi-step Orchestration is represented by a node. You can create an orchestration by linking multiple Nodes together in their order of execution.
There are various different kinds of nodes available when creating an orchestration in DataChannel. It is important to understand the function performed by each node.
Start Node
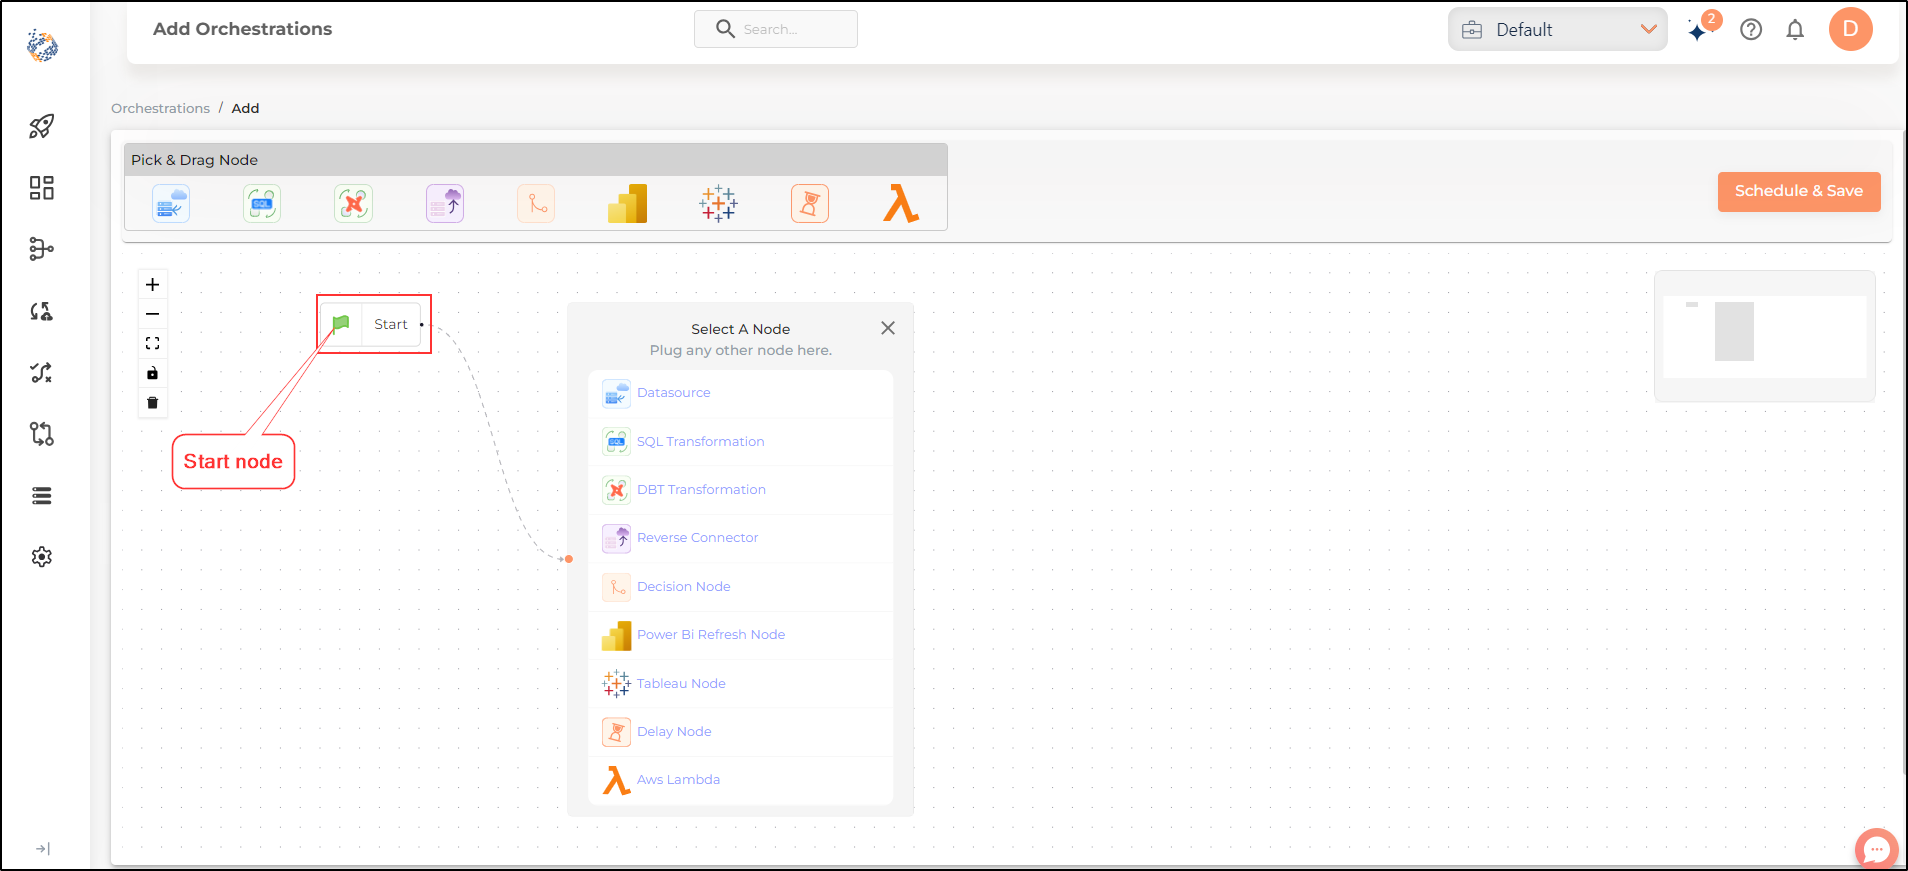
The Start node is the starting point of any orchestration. Whenever you click the Create New button in the Orchestration Tab to add a new orchestration, you will be redirected to this screen where a start node is already added.
Data Source Node
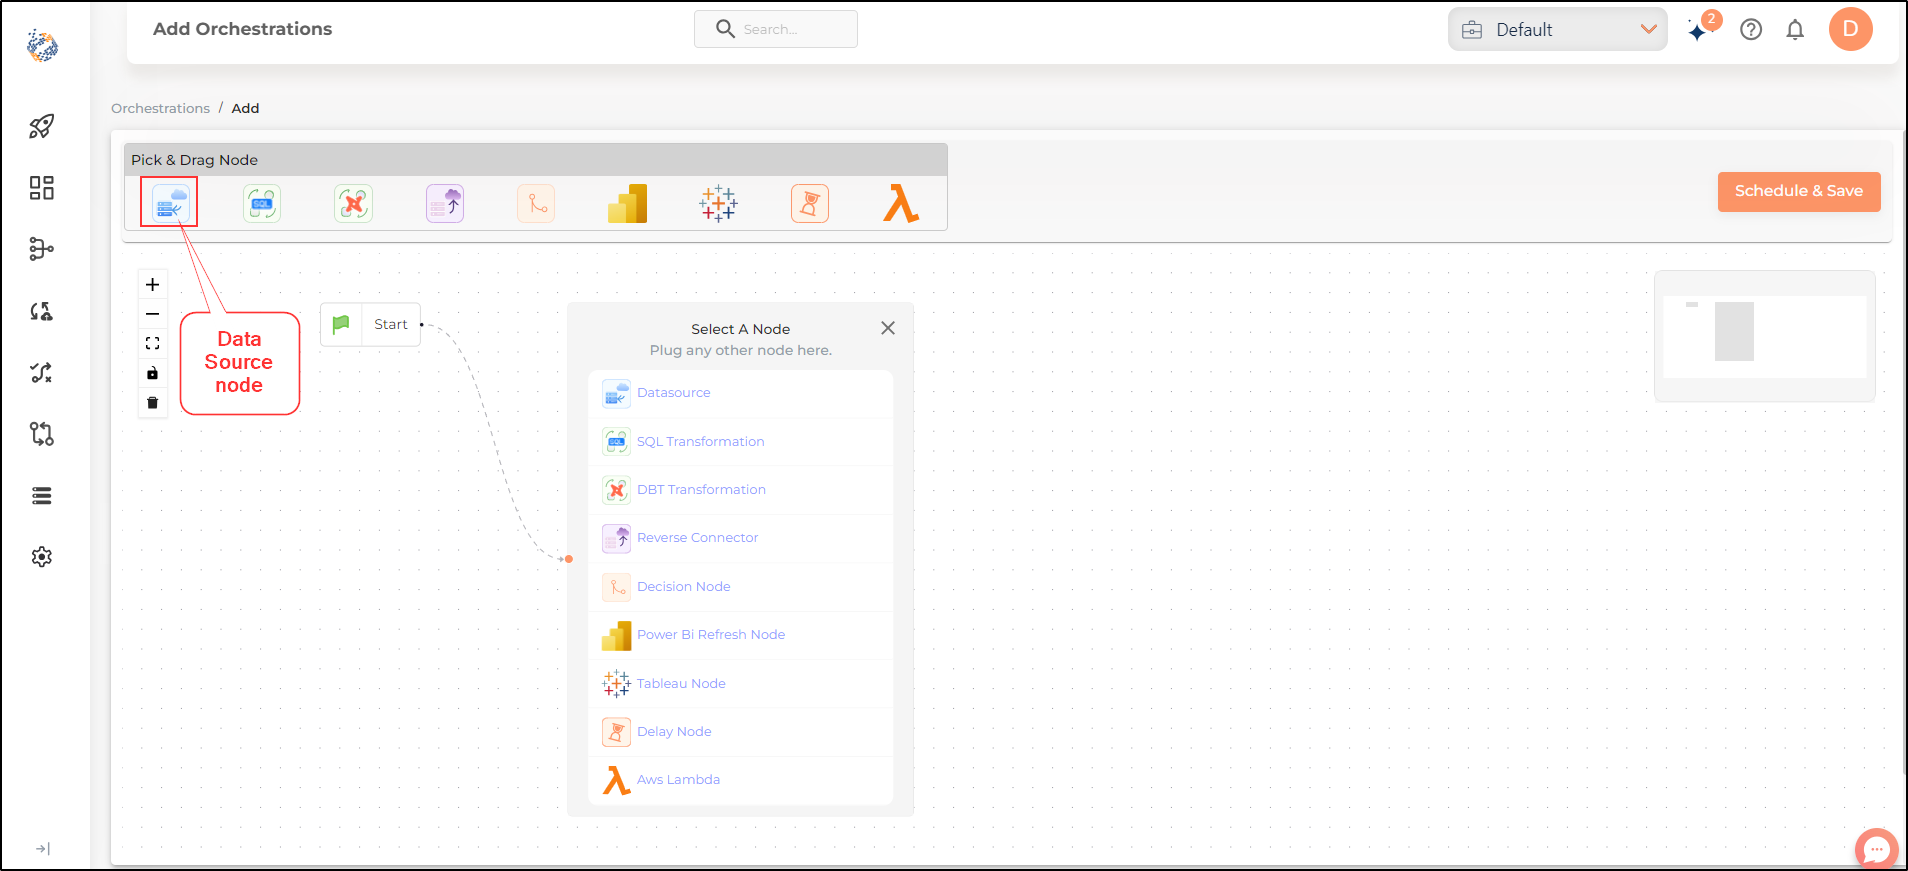
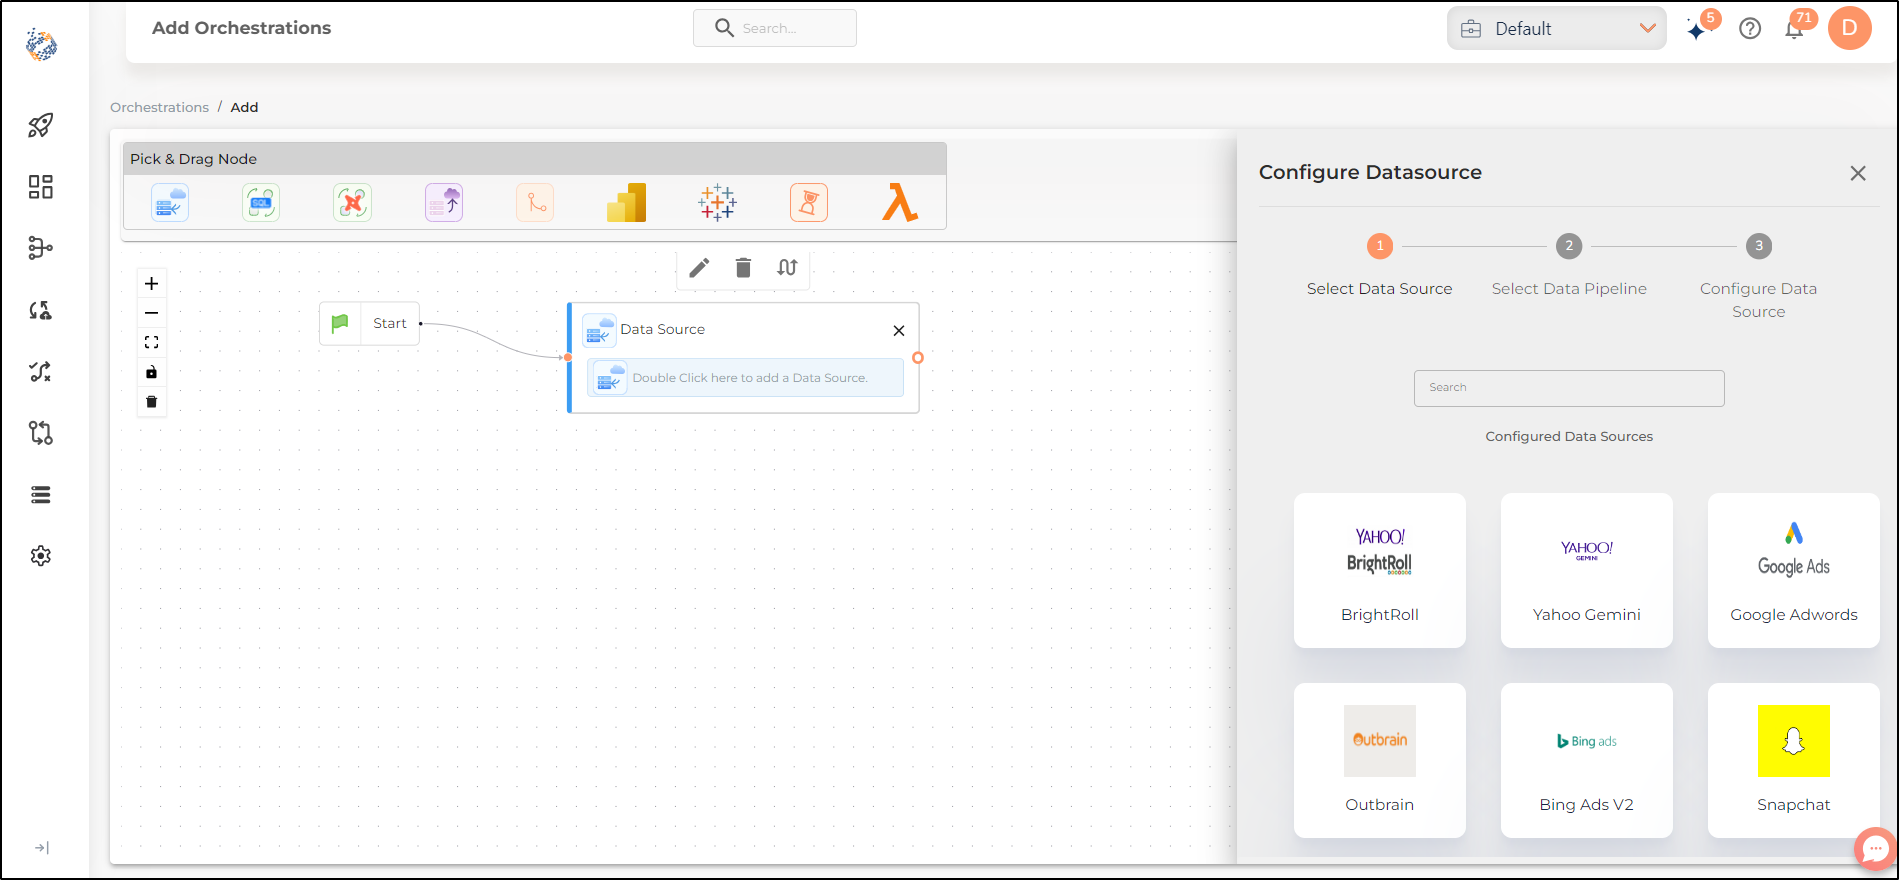
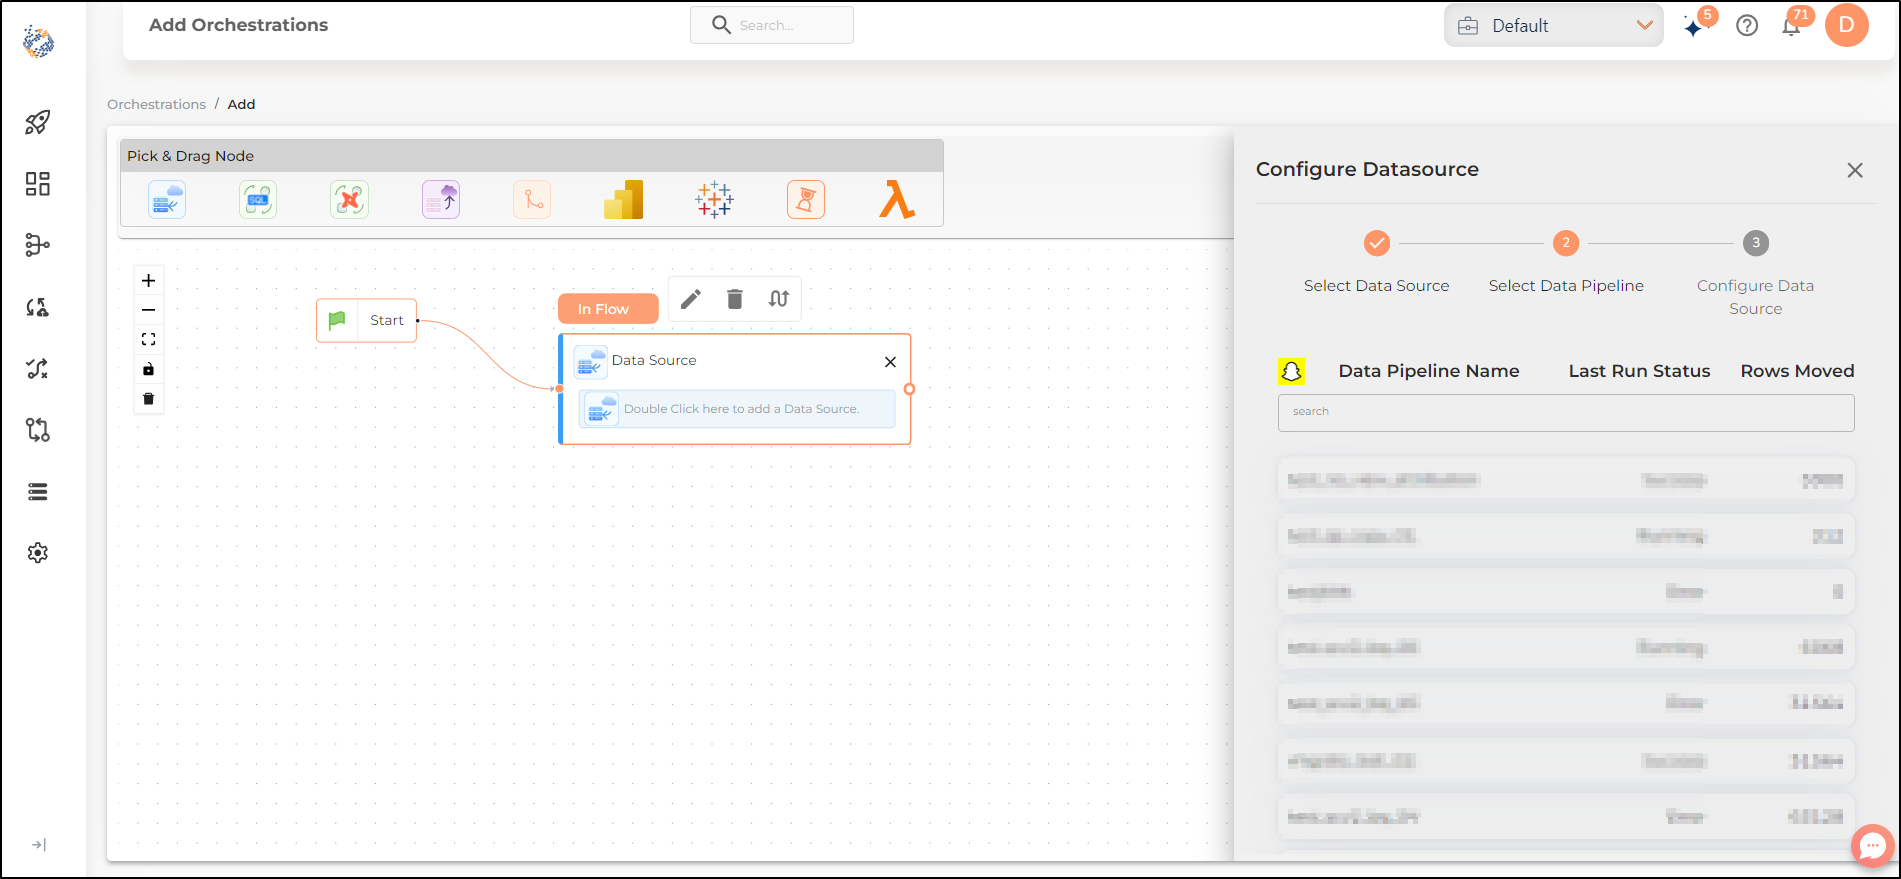
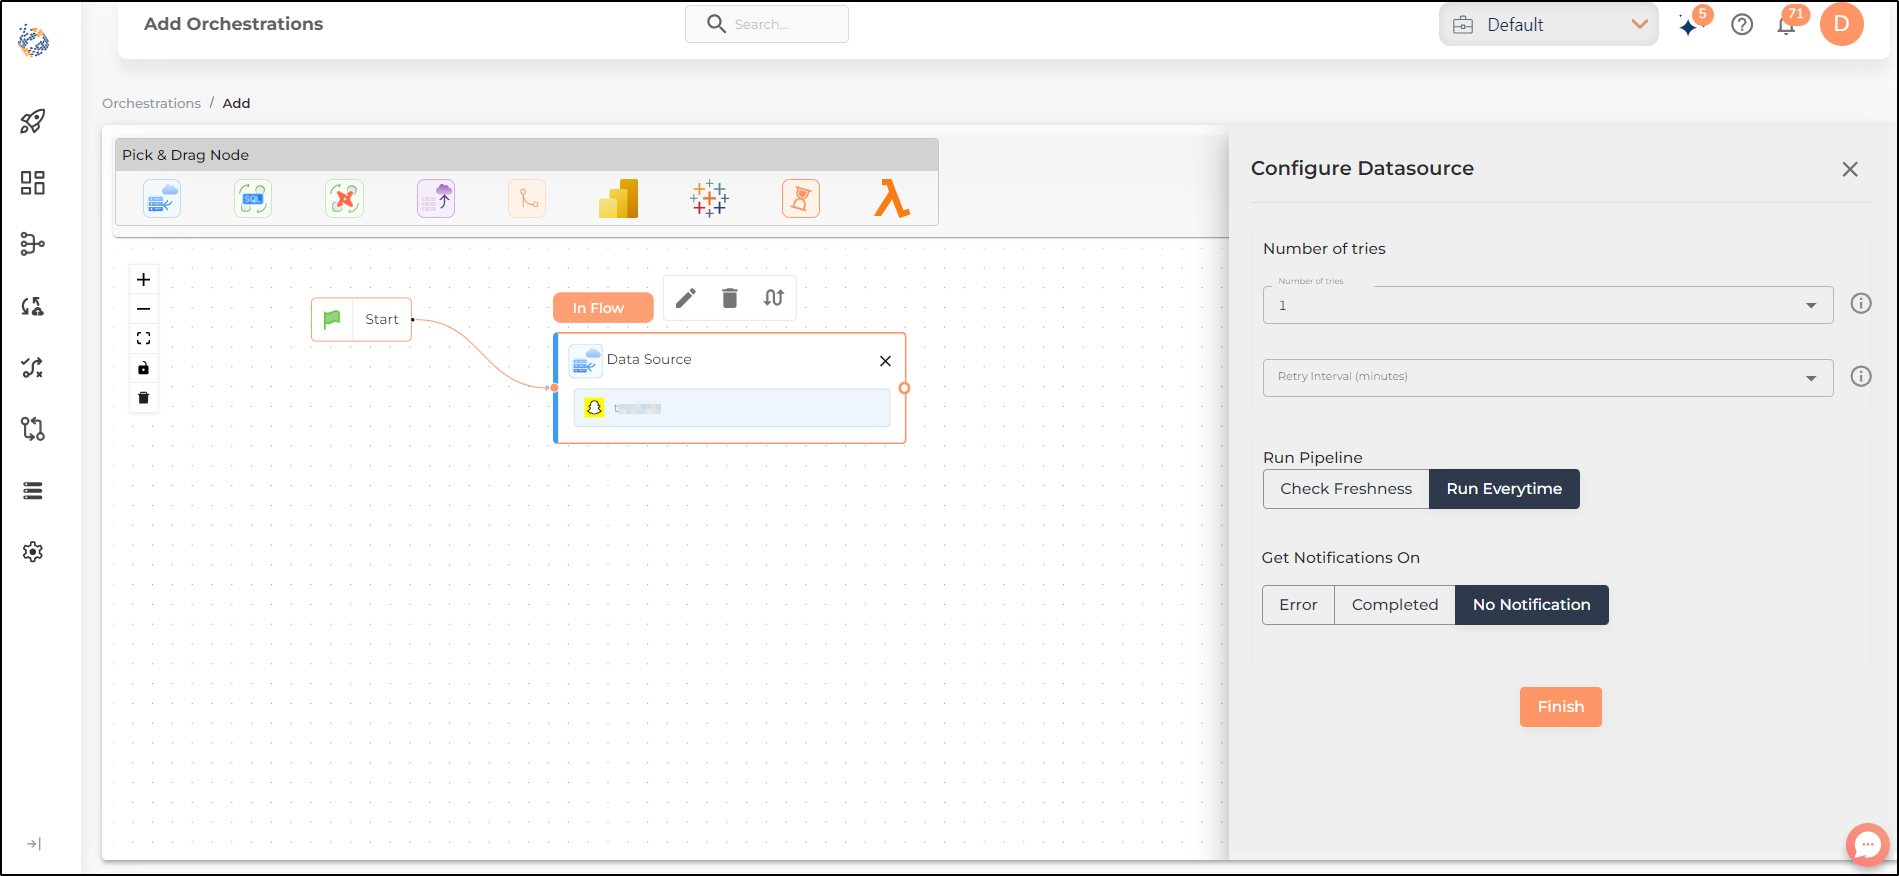
The Data Source node can be used to add any forward pipeline to your orchestration. To add the Data Source node you will have to select the previously configured connector’s name from the list. Also, you will have to specify number of tries, retry interval, freshness setting and notification settings before you can finish adding the pipeline.
SQL Transformation Node
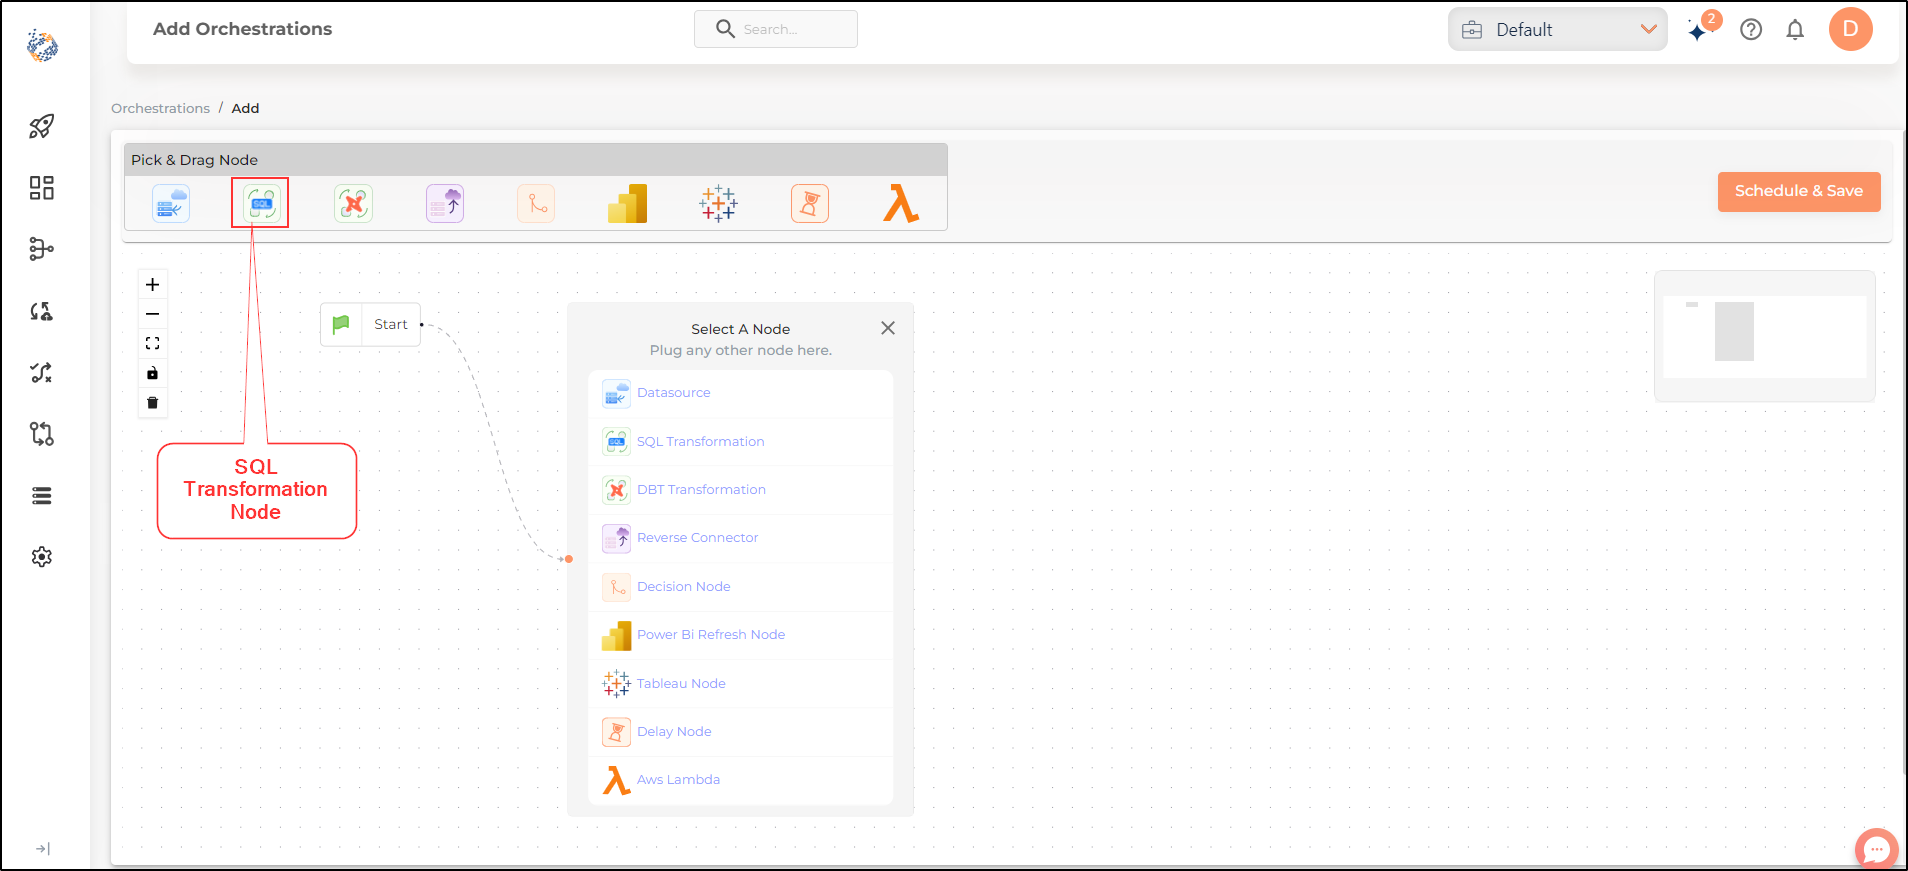
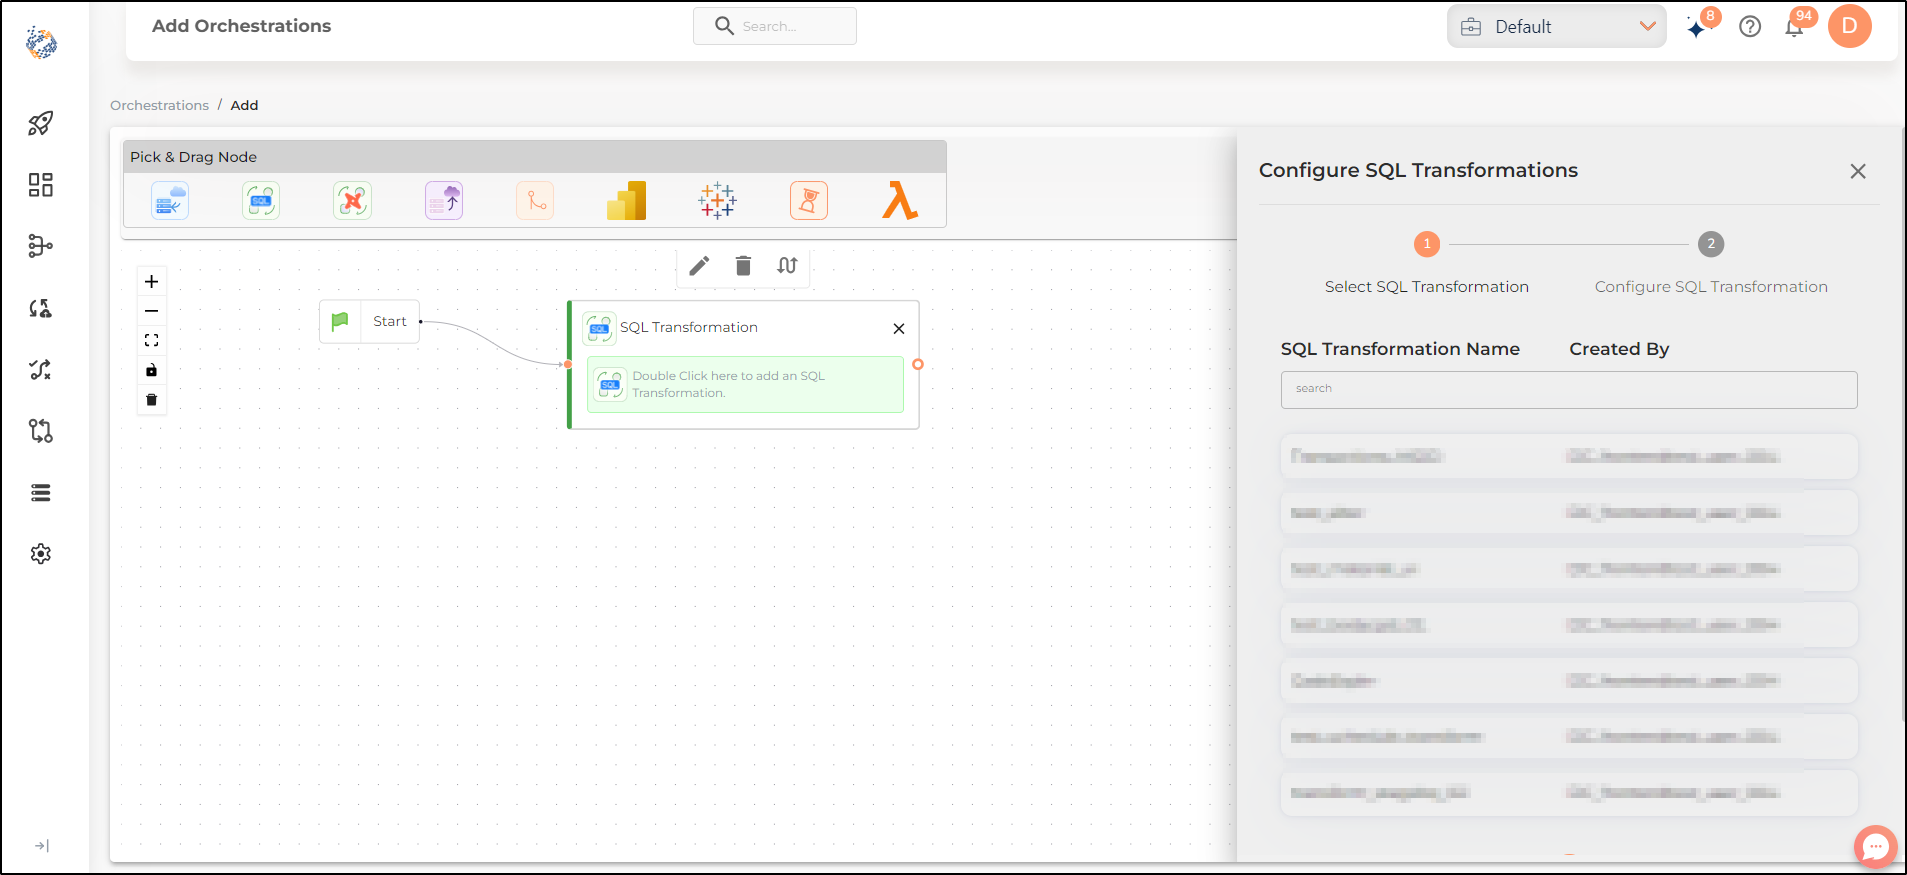
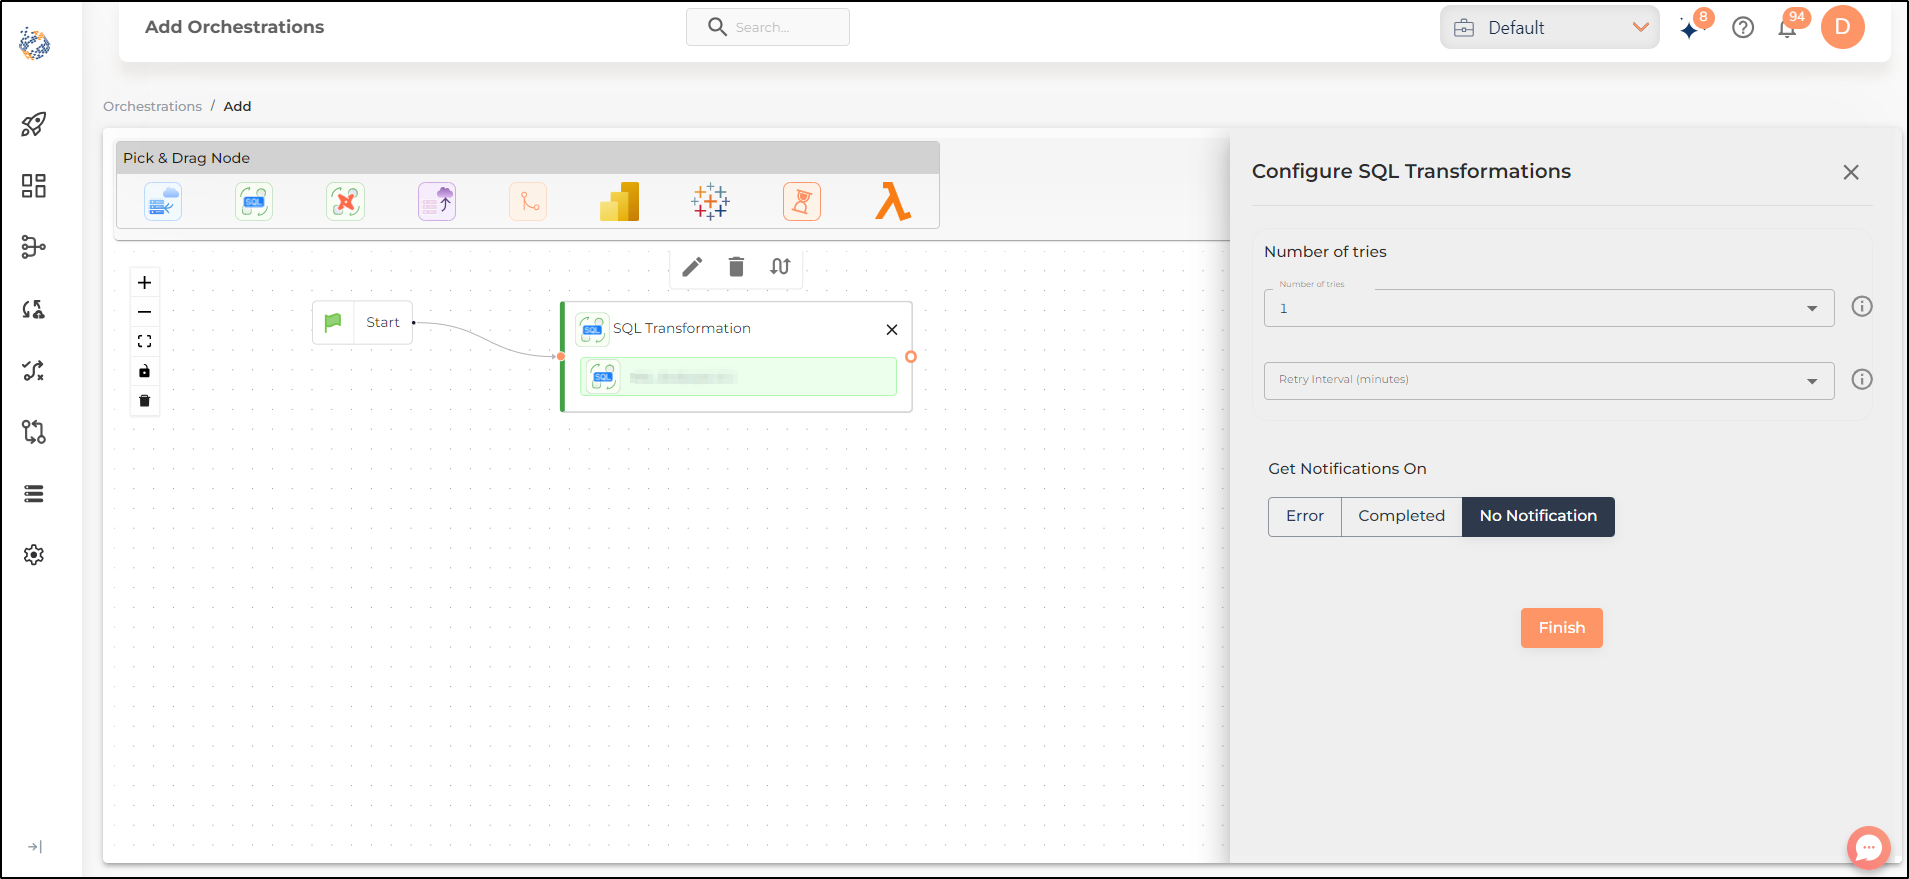
The SQL Transformation node can be used to add any SQL Transformation to your orchestration. To add the SQL Transformation node you will have to select the previously configured SQL transformation’s name from the list. Also, you will have to specify number of tries, retry interval and notification settings before you can finish adding the transformation.
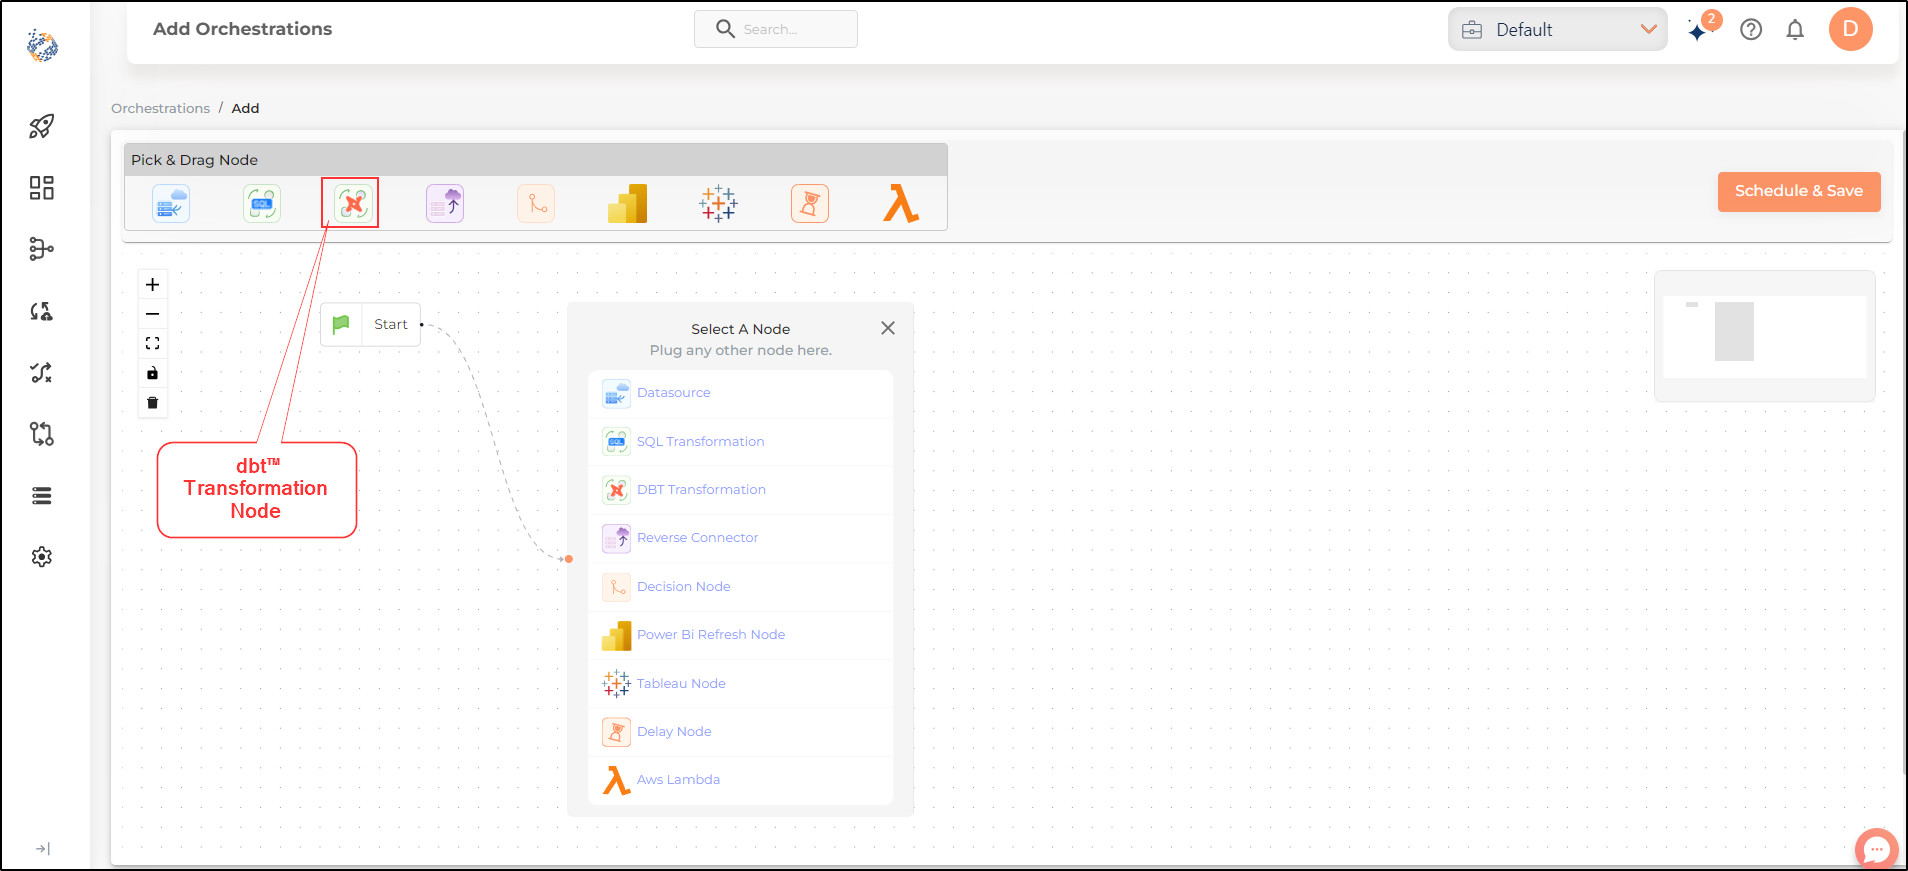
dbt™Core Transformation Node
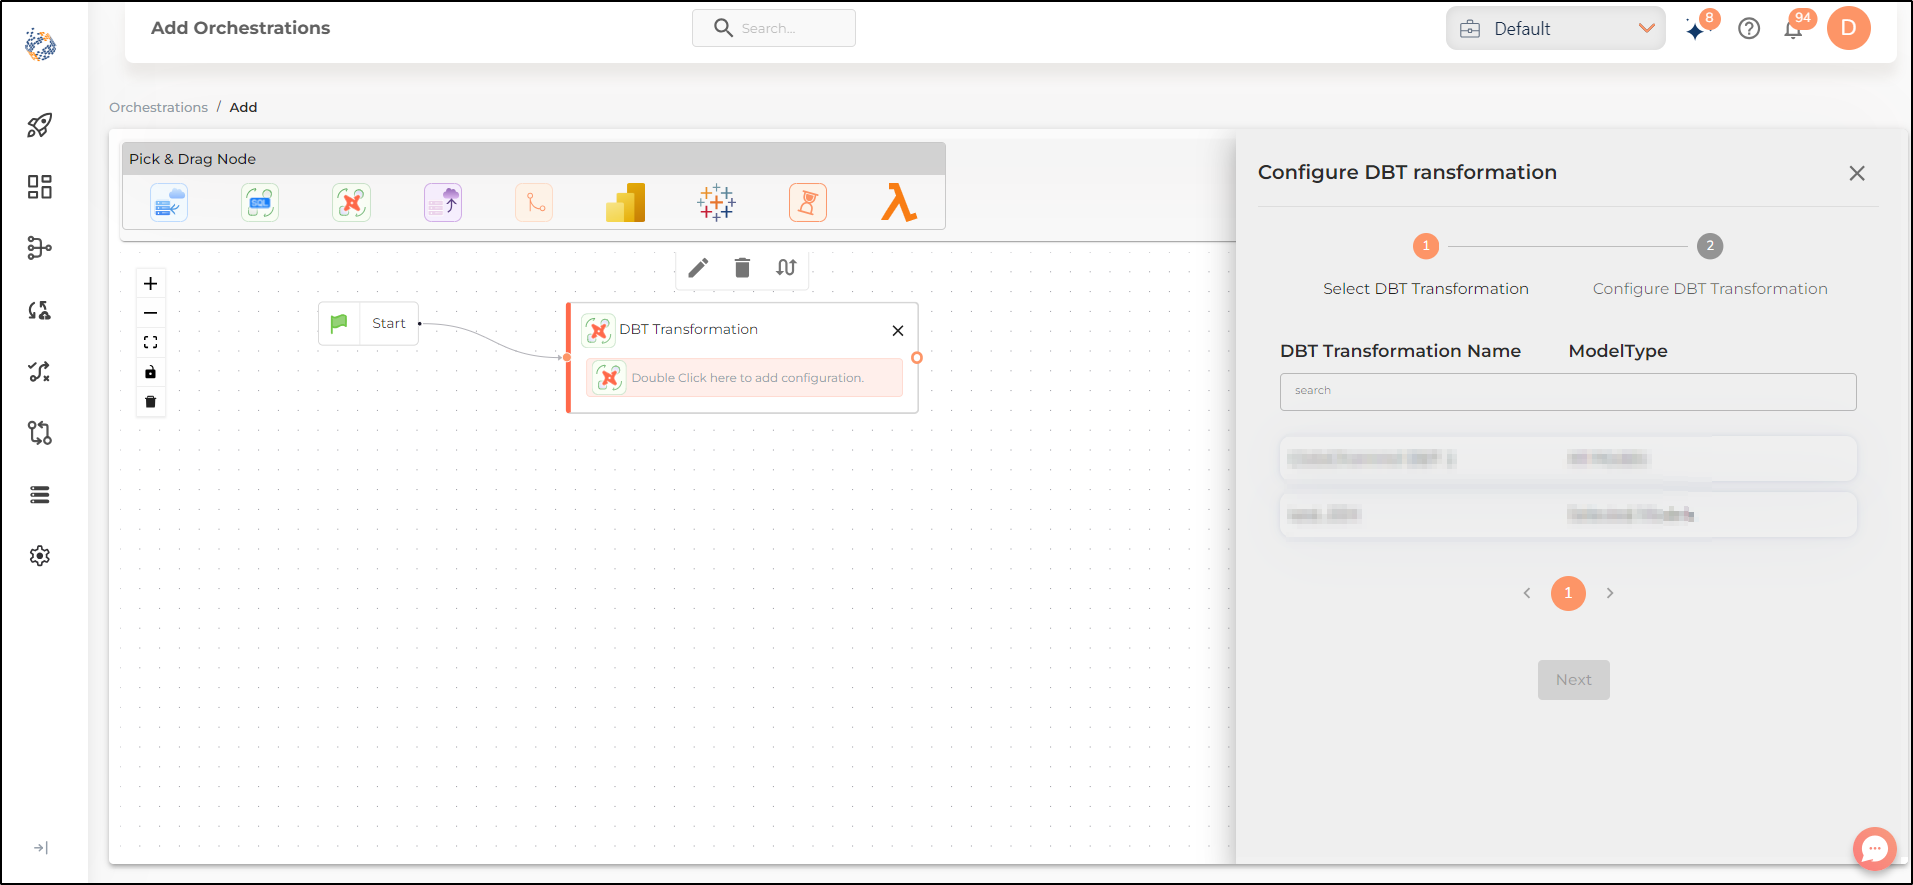
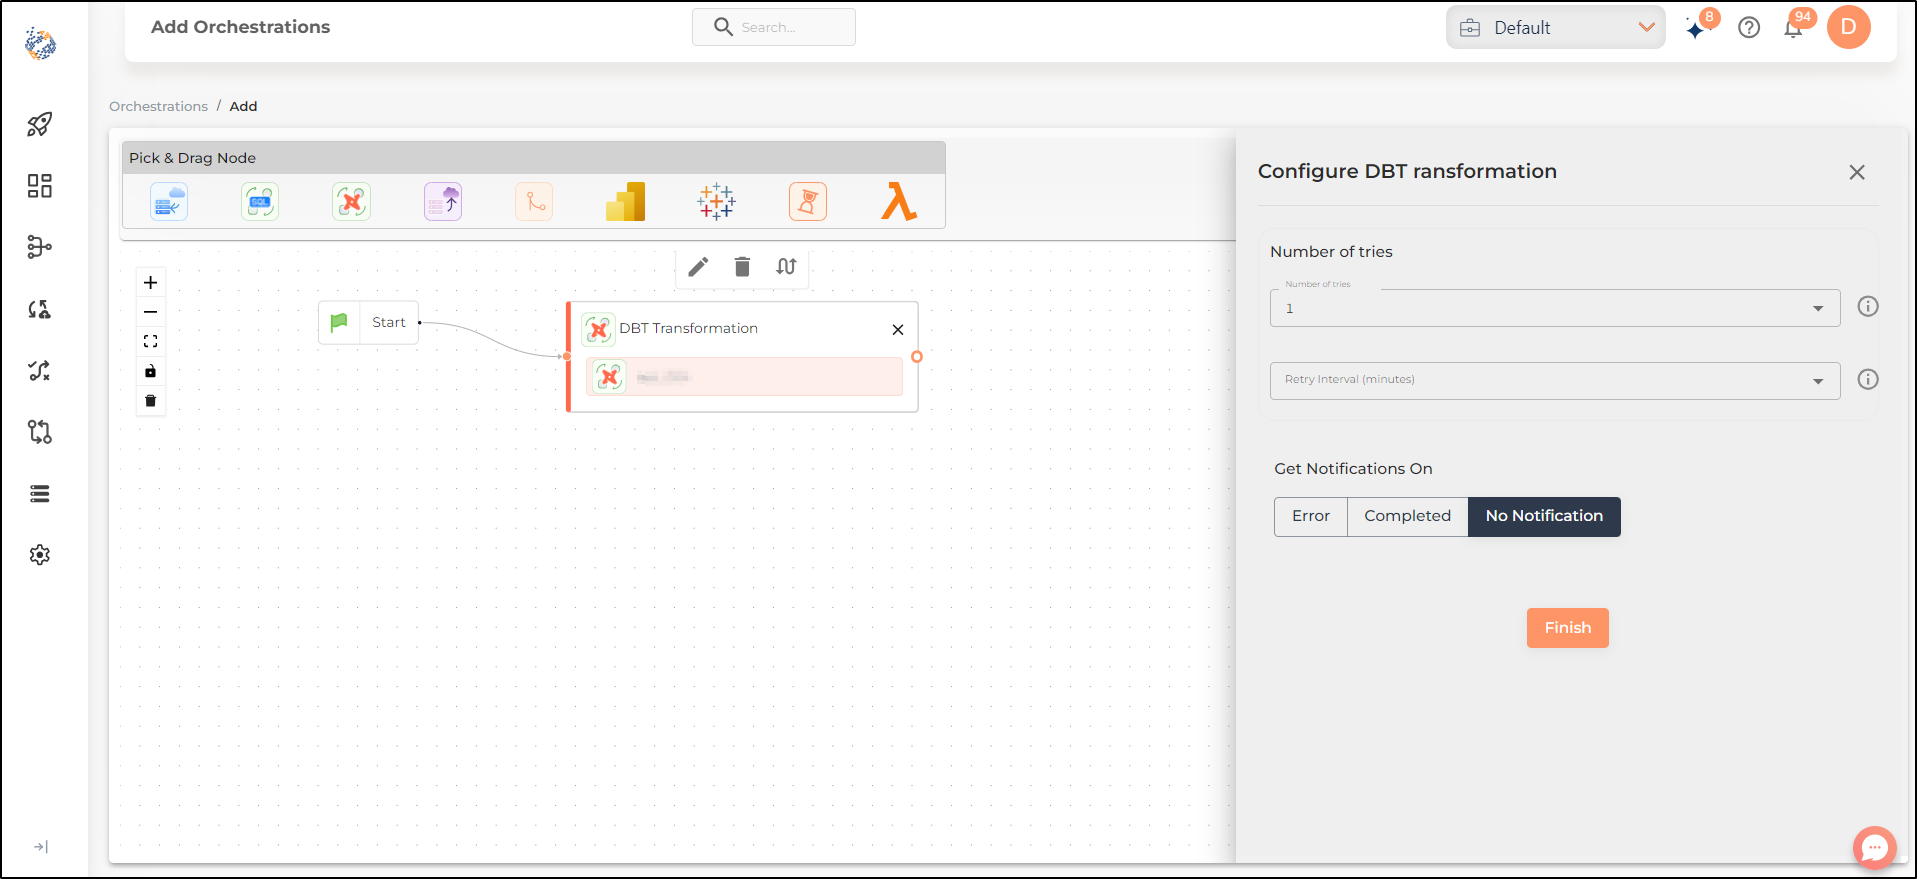
The dbt™Core Transformation node can be used to add any dbt™Core Transformation to your orchestration. To add the dbt™Core Transformation node you will have to select the previously configured dbt™Core transformation’s name from the list. Also, you will have to specify number of tries, retry interval and notification settings before you can finish adding the transformation.
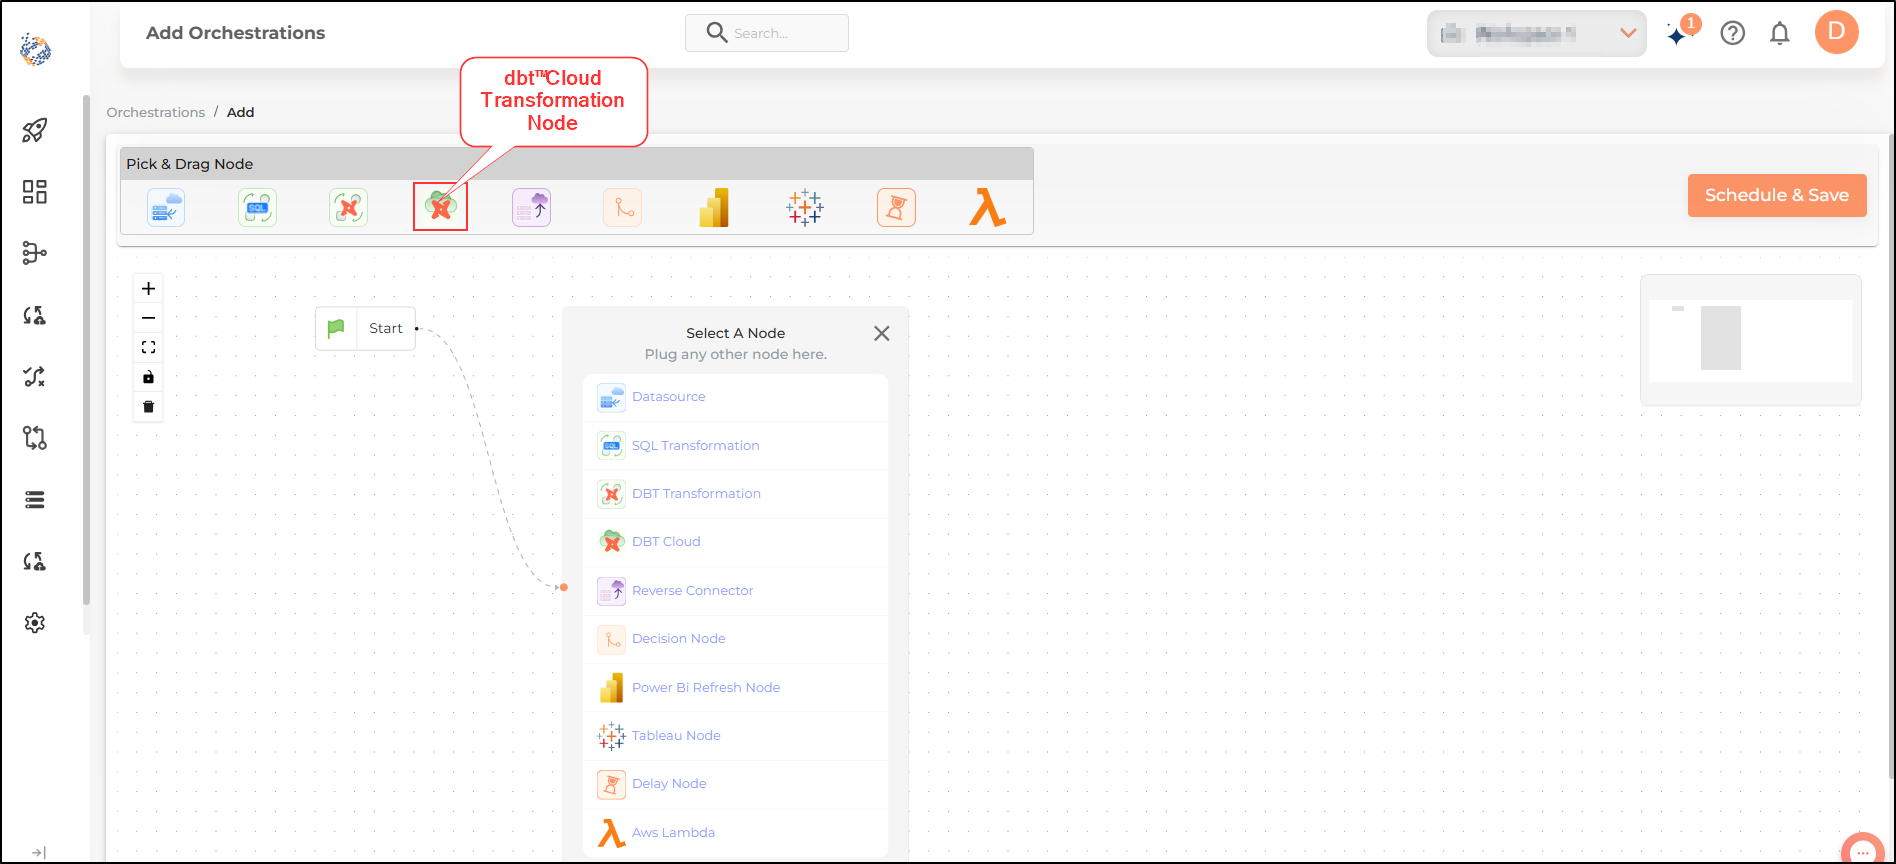
dbt™Cloud Transformation Node
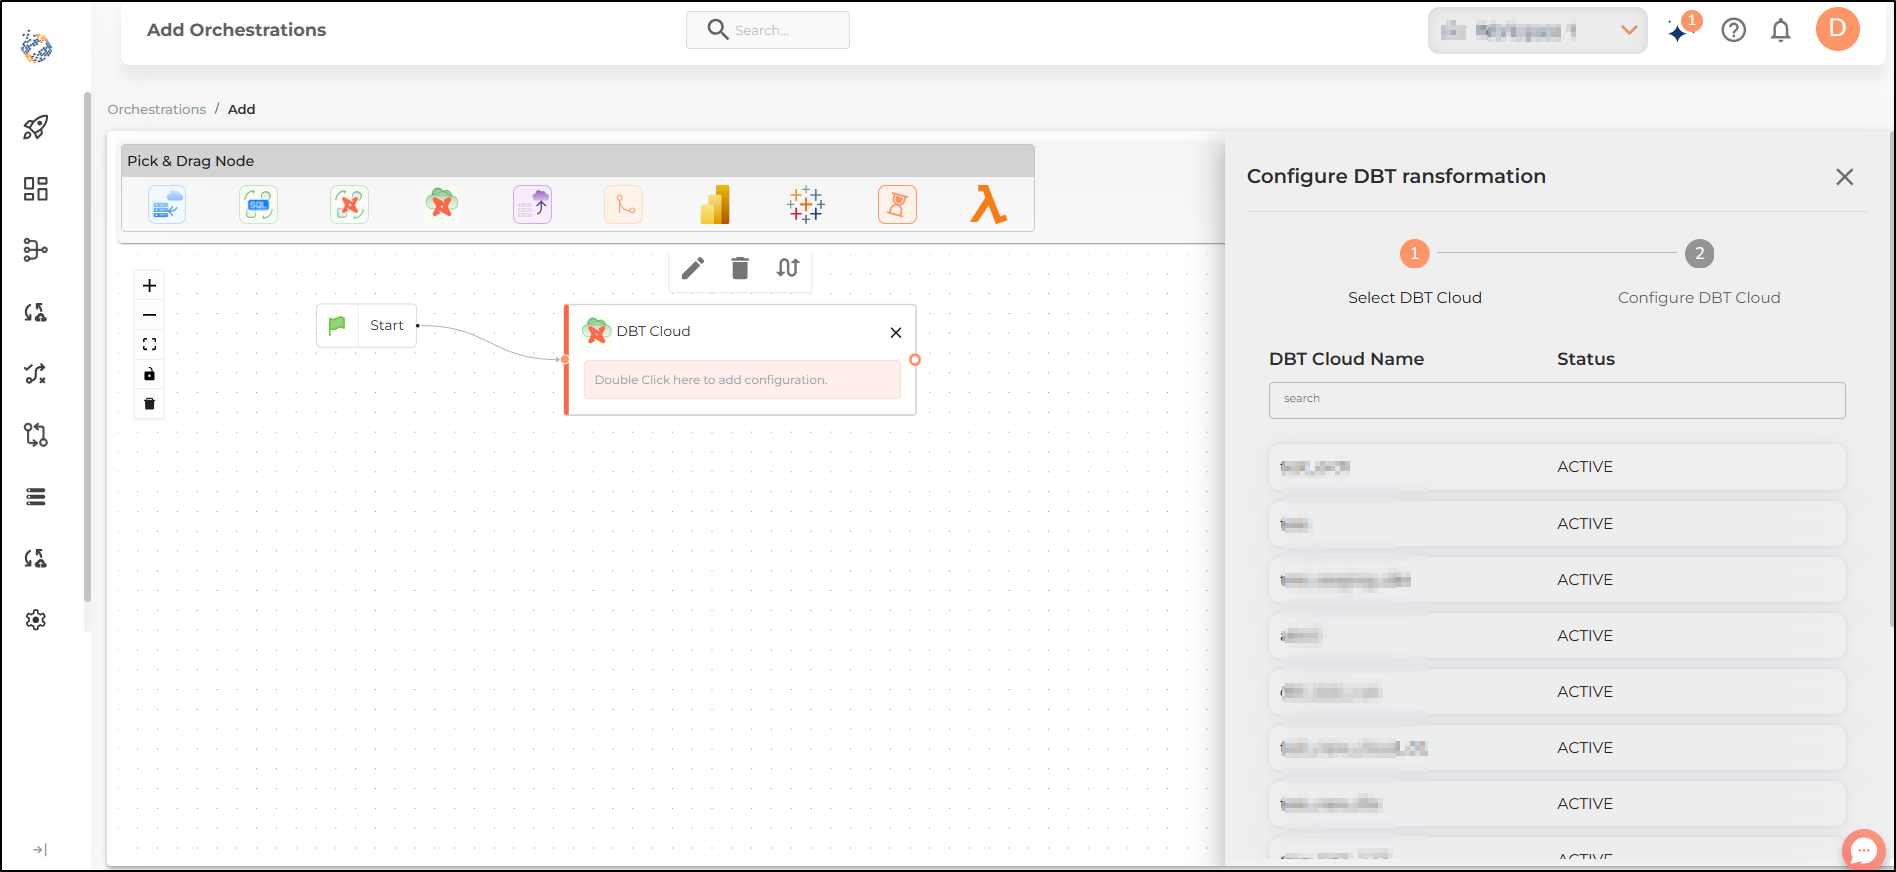
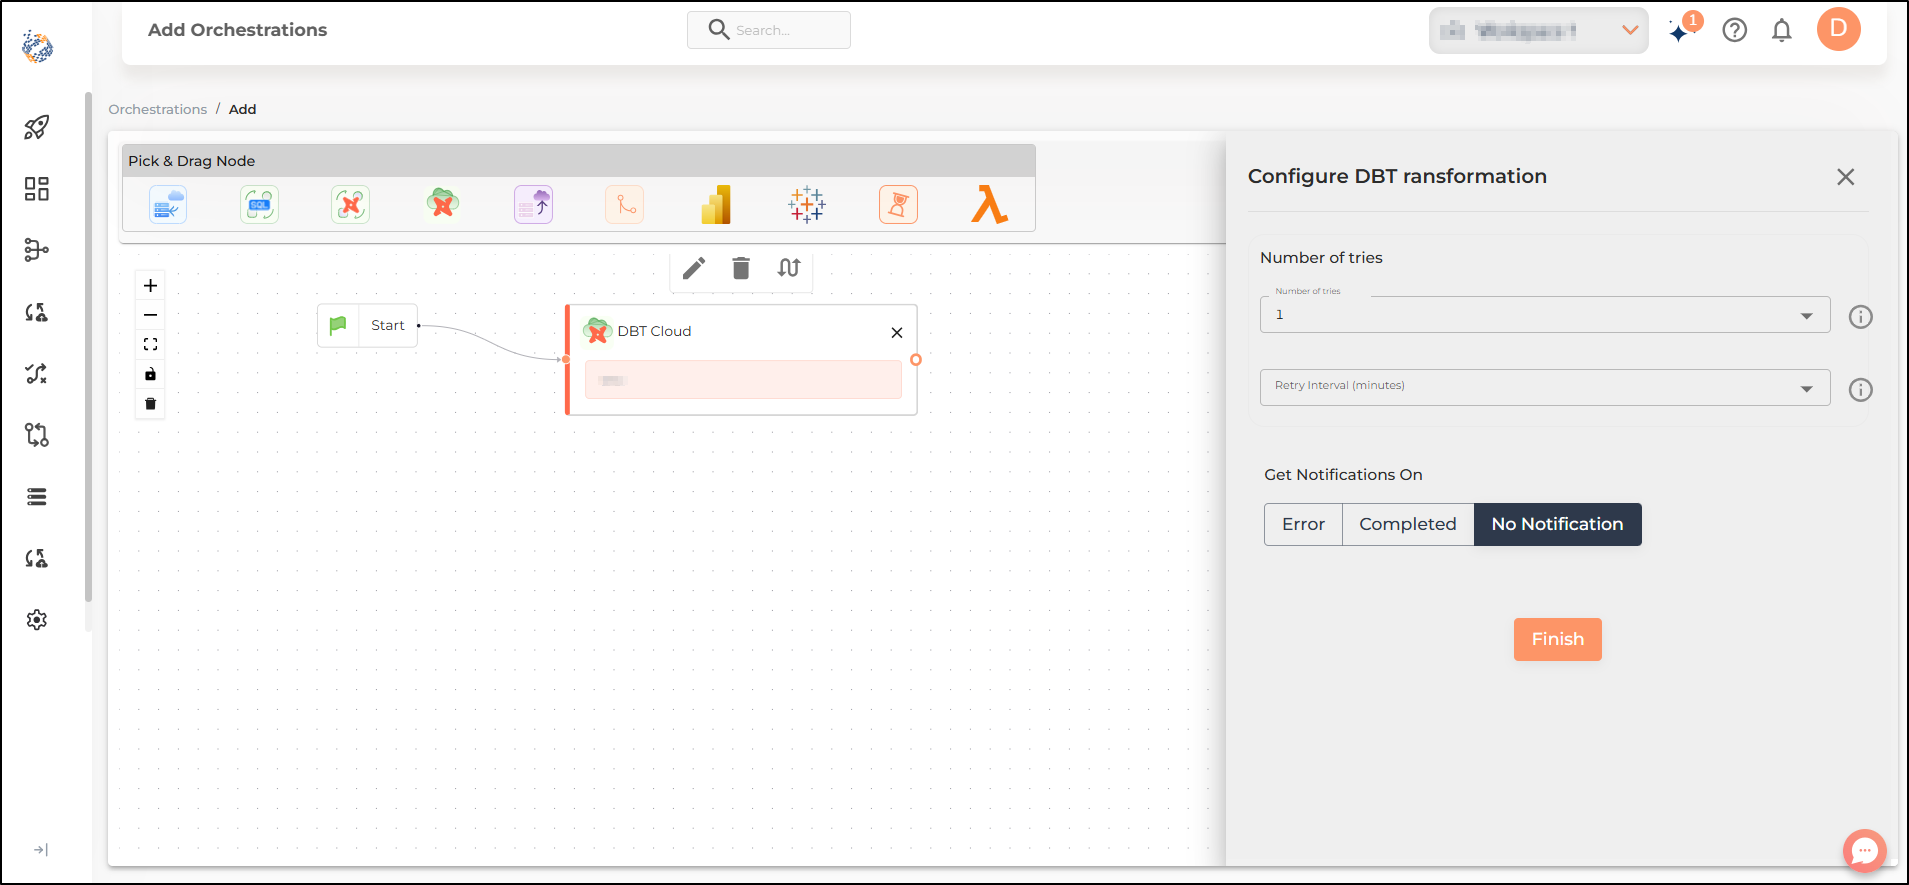
The dbt™Cloud Transformation node can be used to add any dbt™Cloud Transformation to your orchestration. To add the dbt™Cloud Transformation node you will have to select the previously configured dbt™Cloud Transformation’s name from the list. Also, you will have to specify number of tries, retry interval and notification settings before you can finish adding the transformation.
Reverse Connector Node
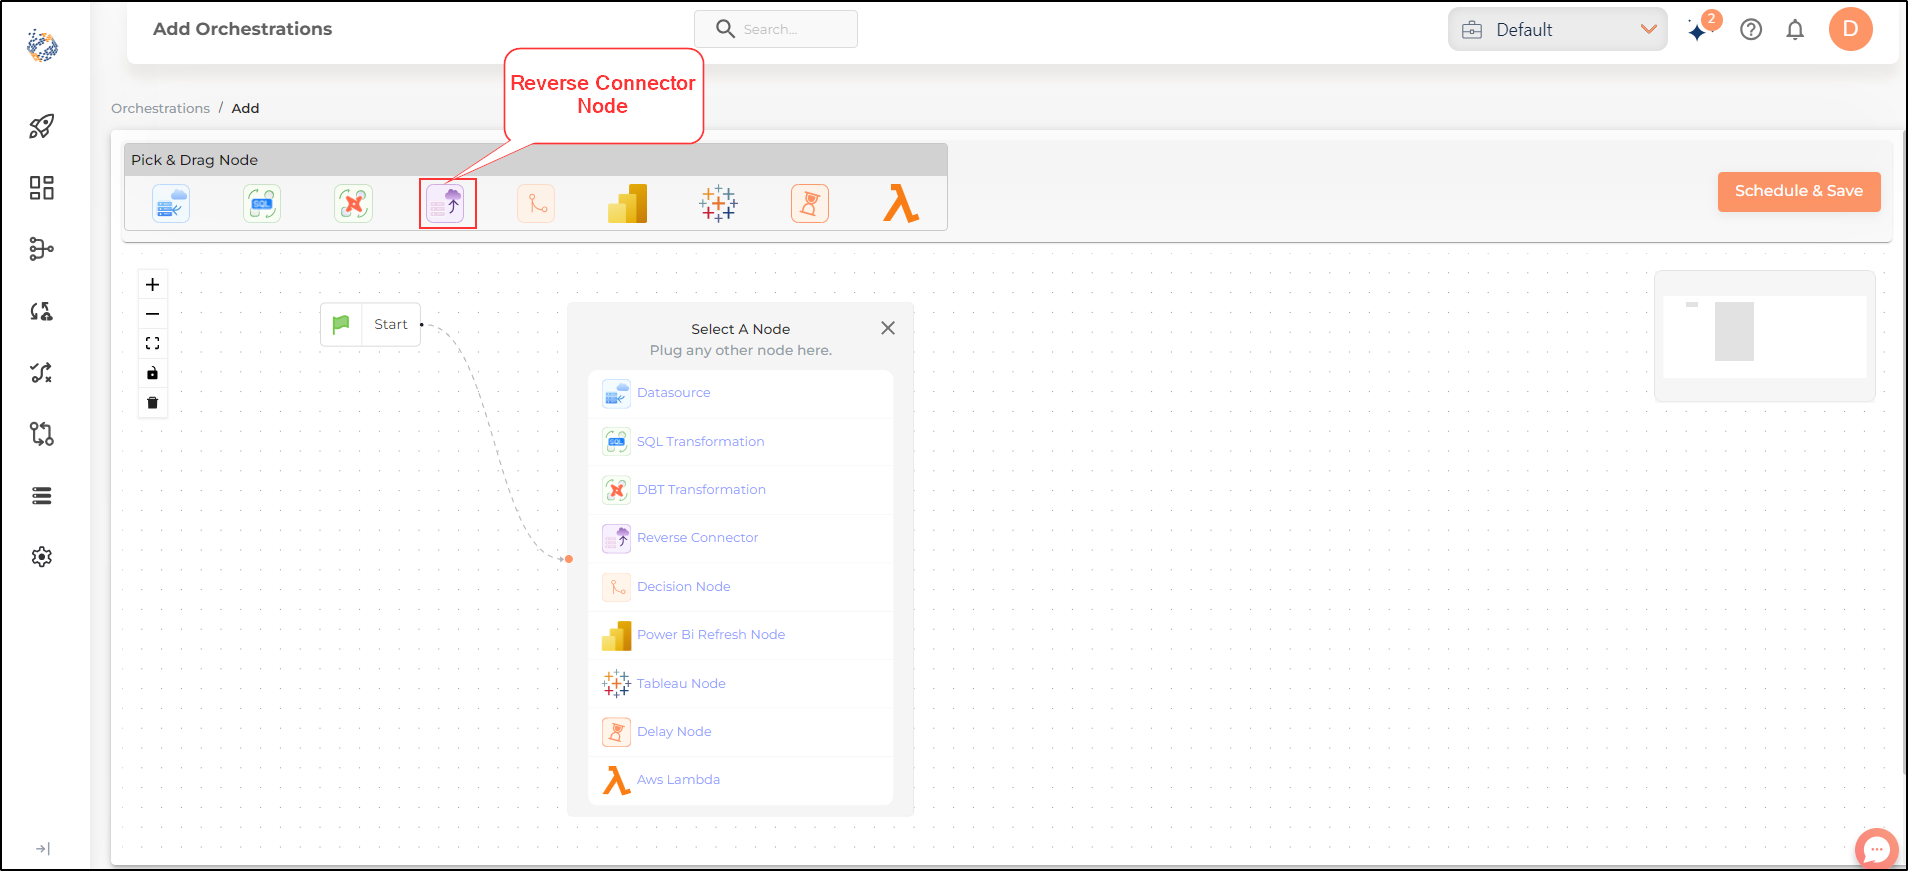
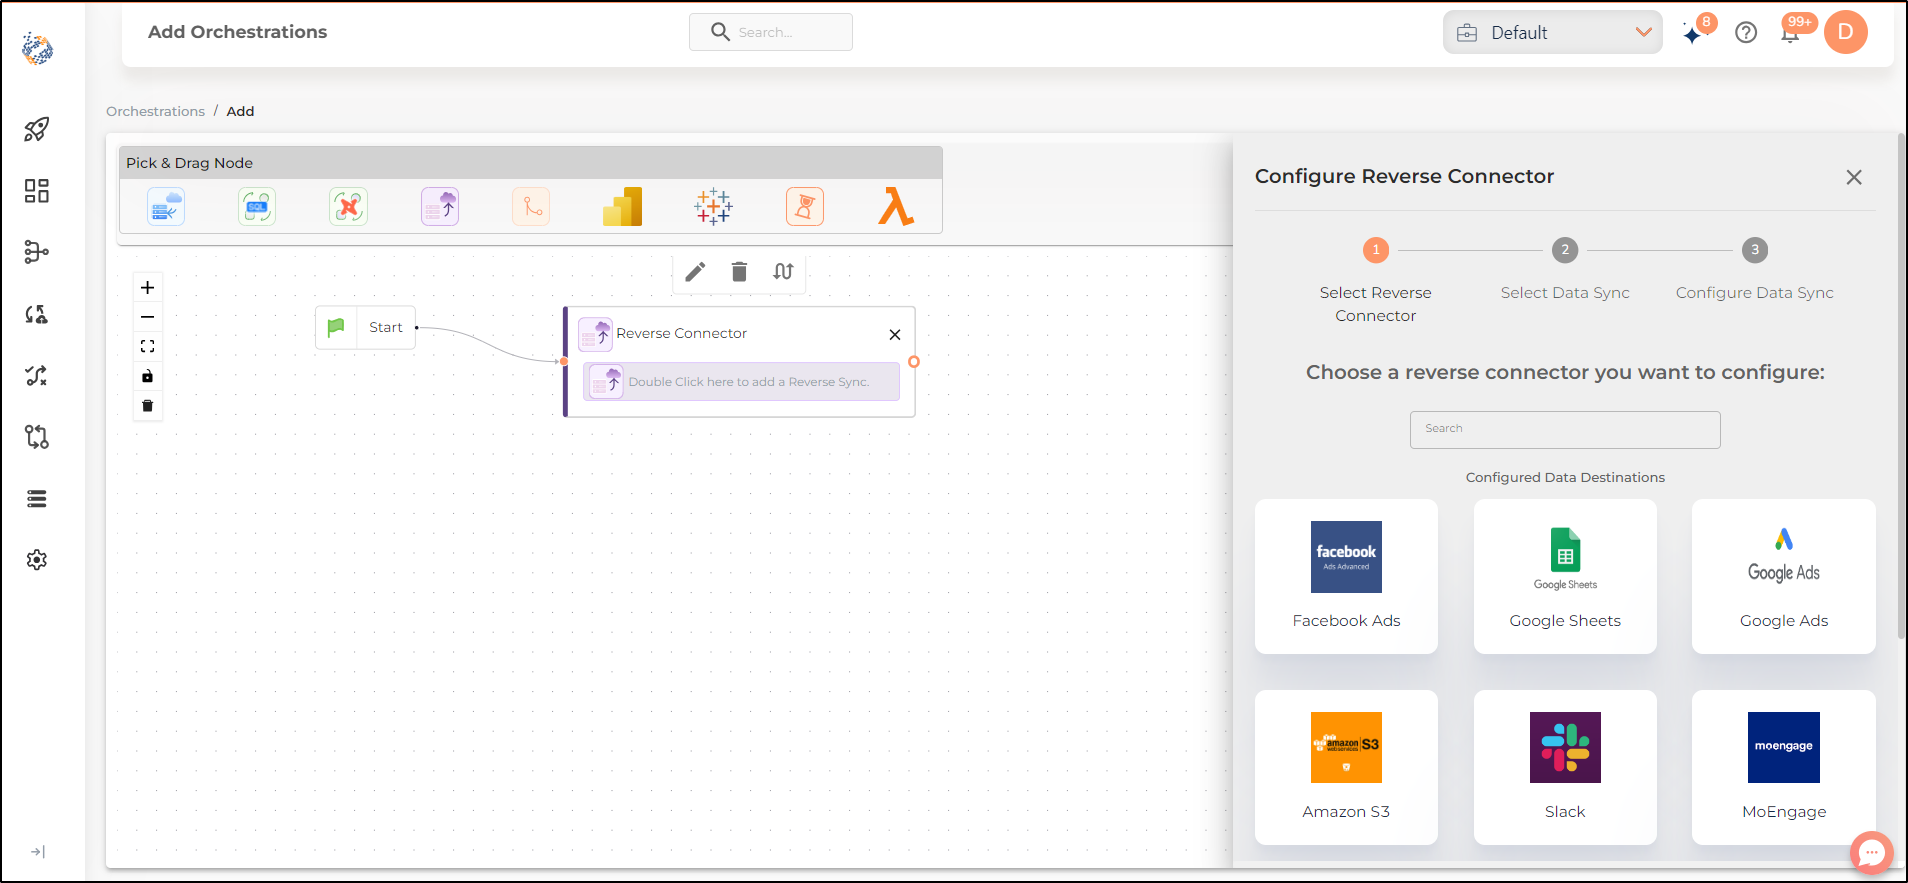
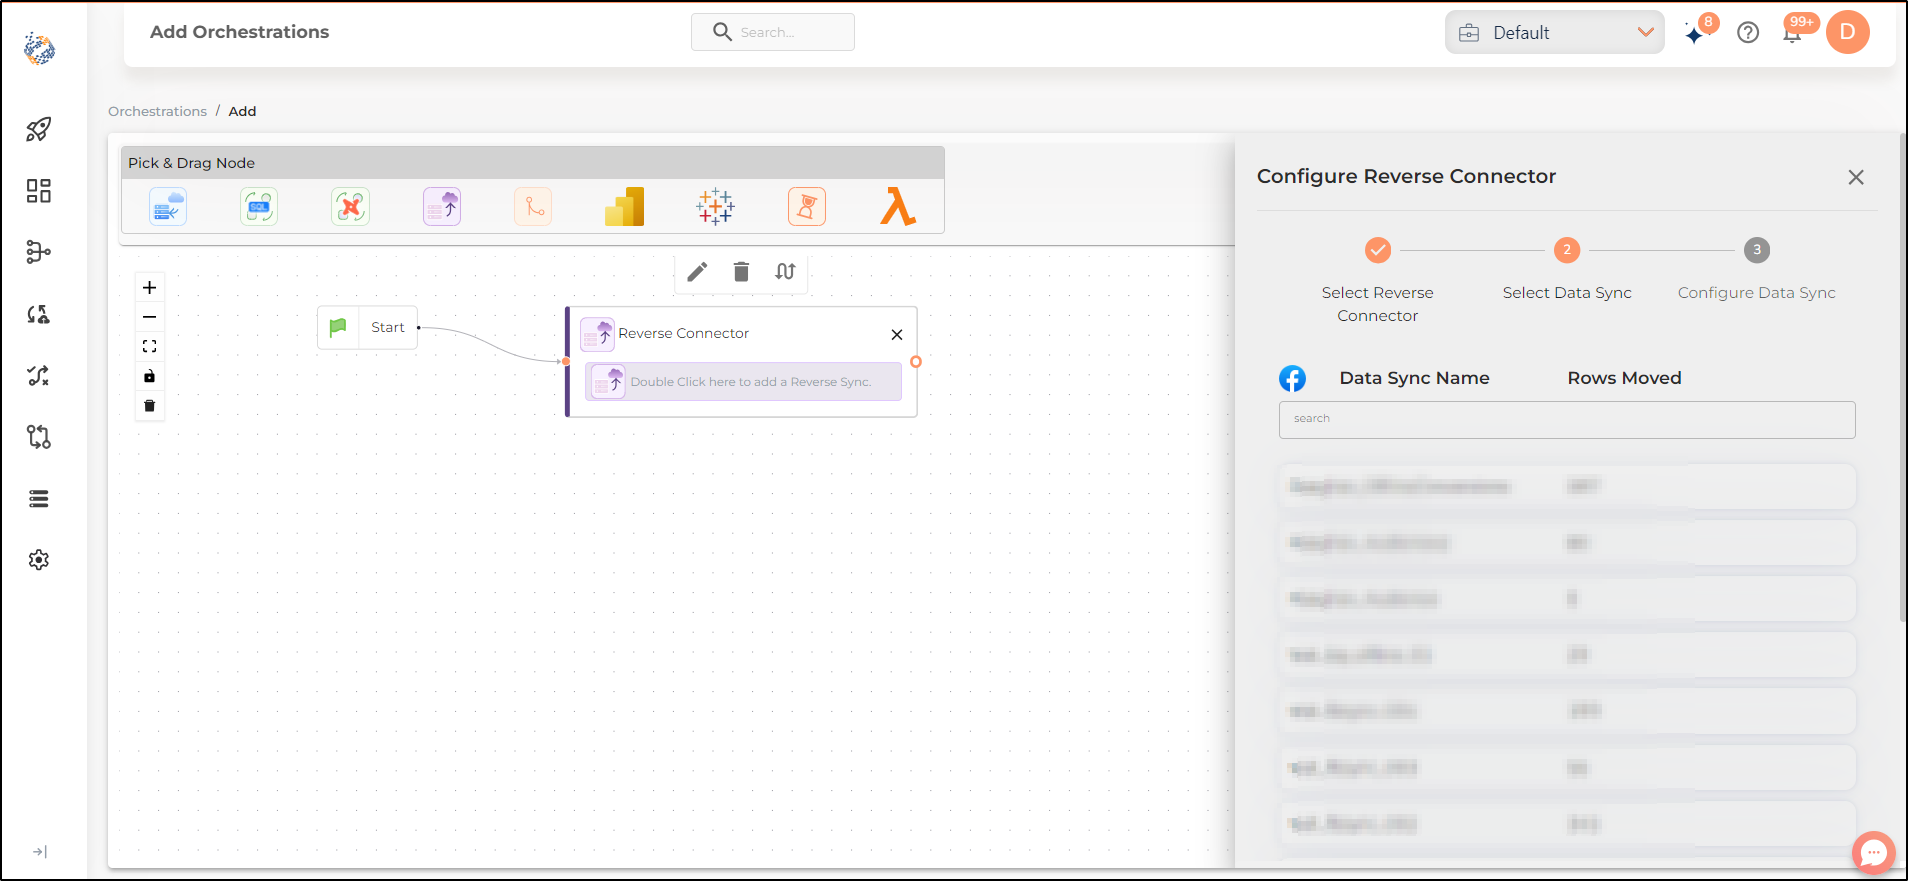
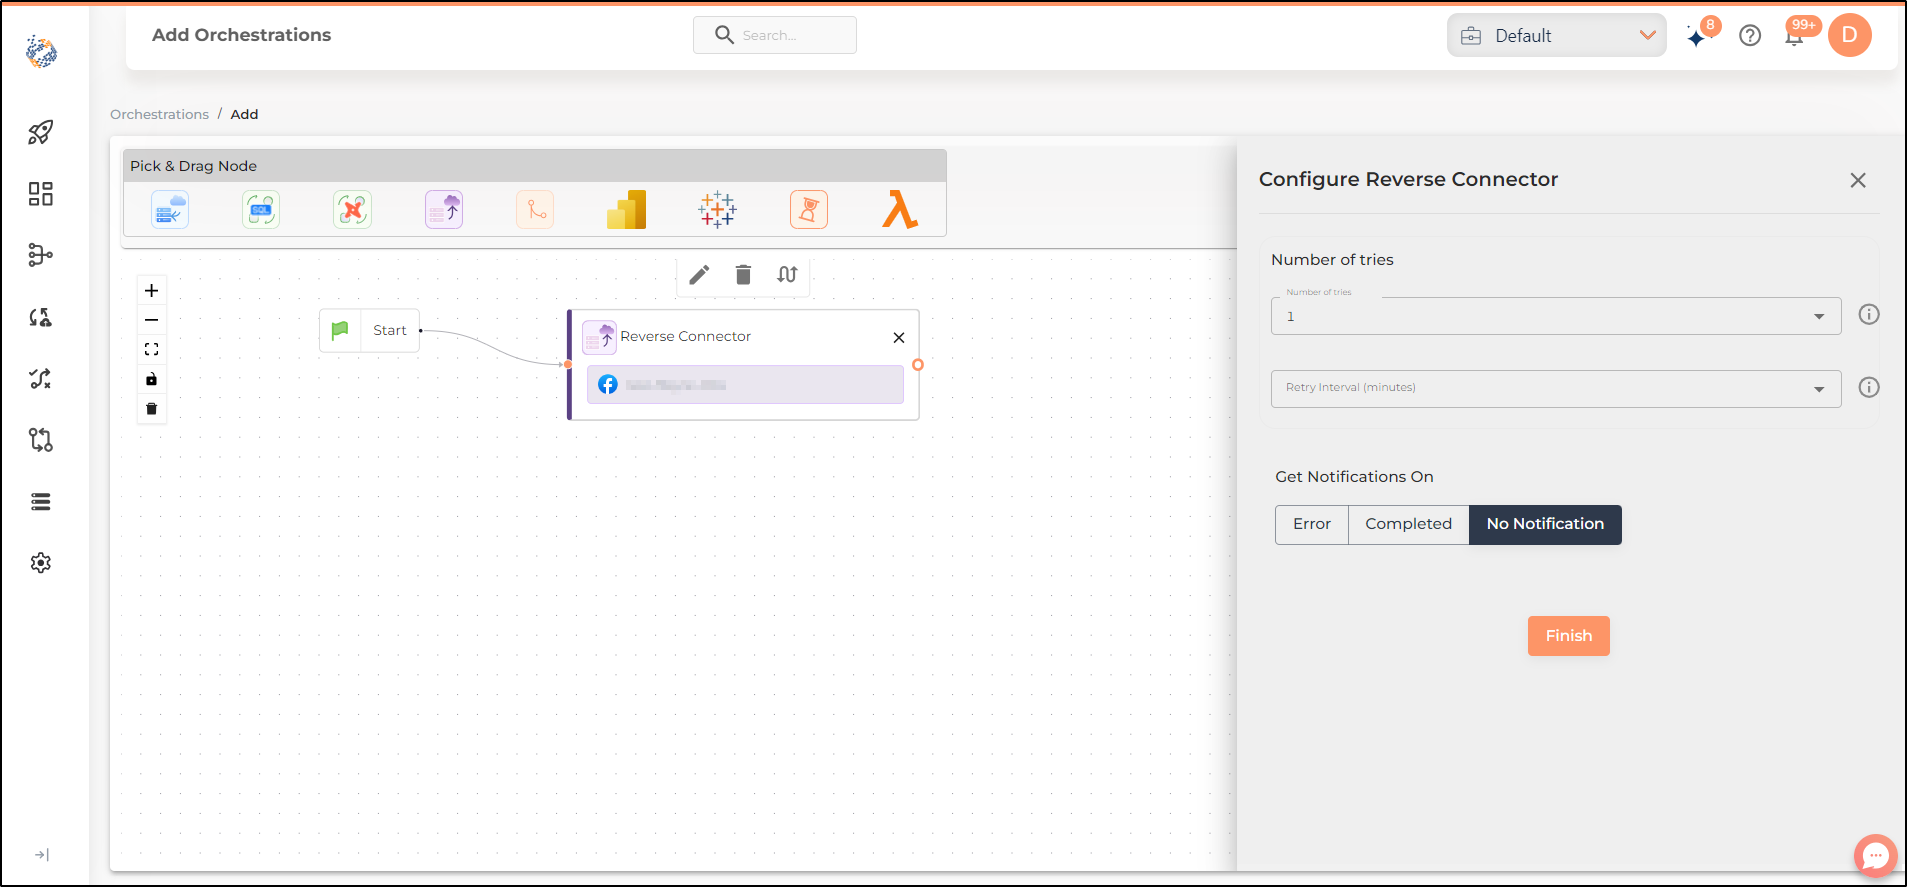
The Reverse Connector node can be used to add any reverse sync to your orchestration. To add the Reverse Connector node you will have to select the previously configured reverse connector’s name from the list. Also, you will have to specify number of tries, retry interval and notification settings before you can finish adding the reverse sync.
Decision Node
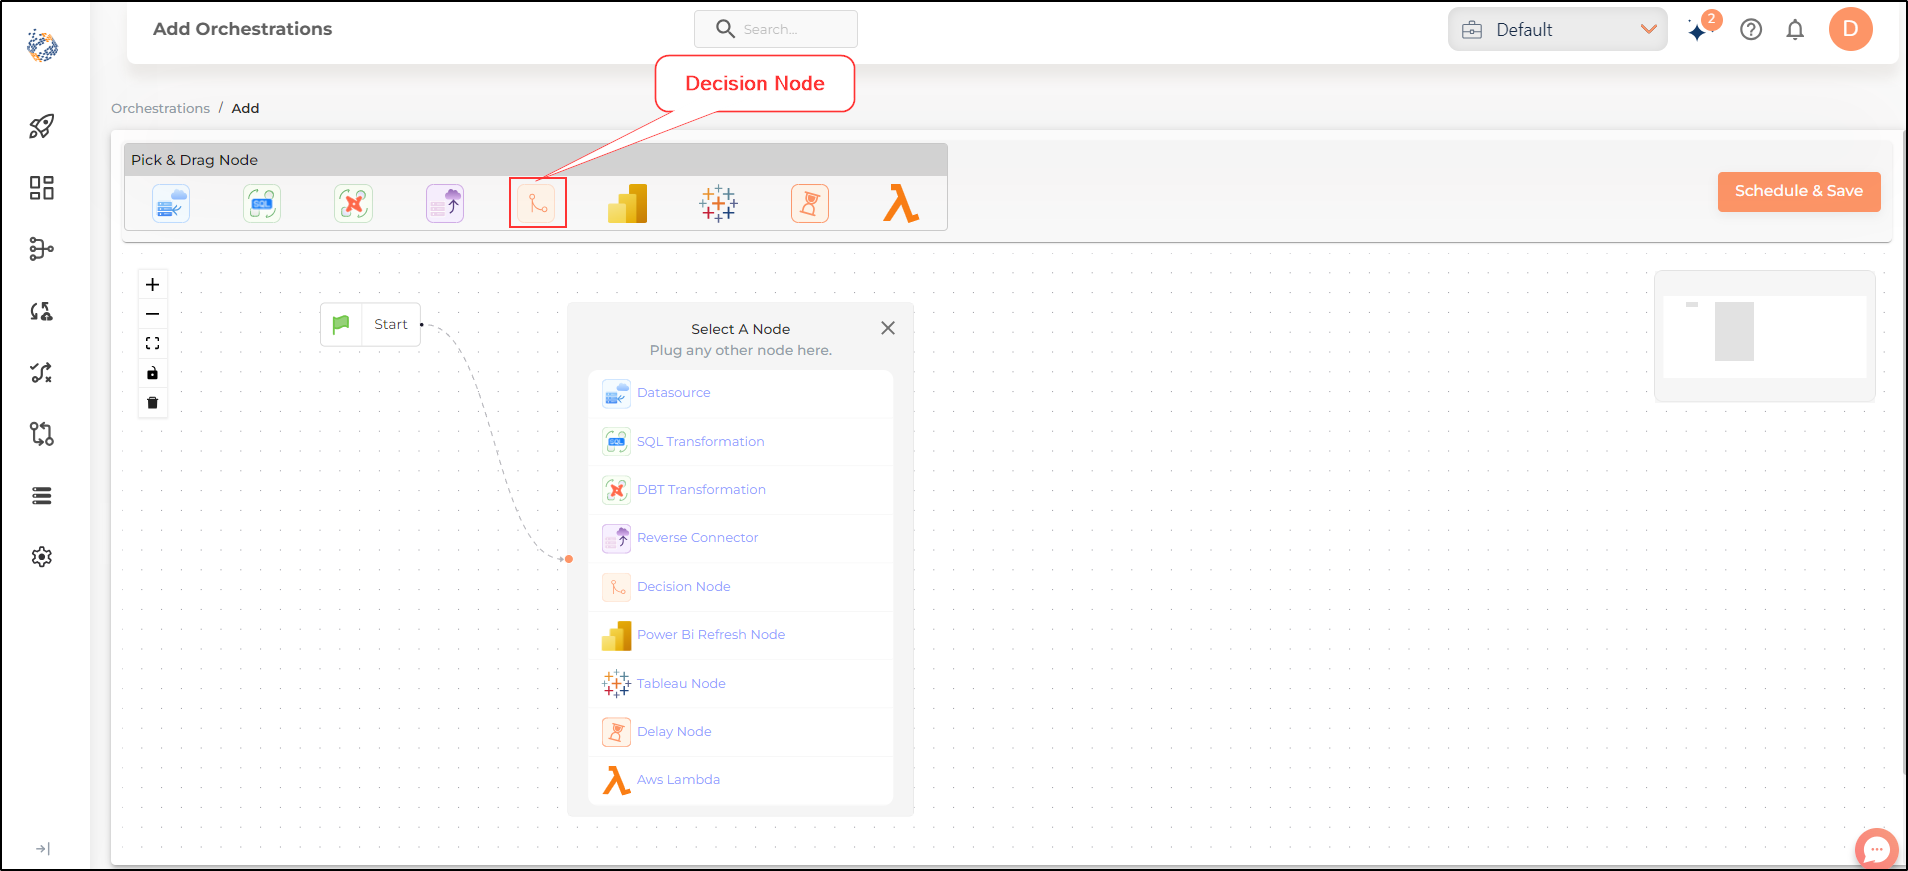
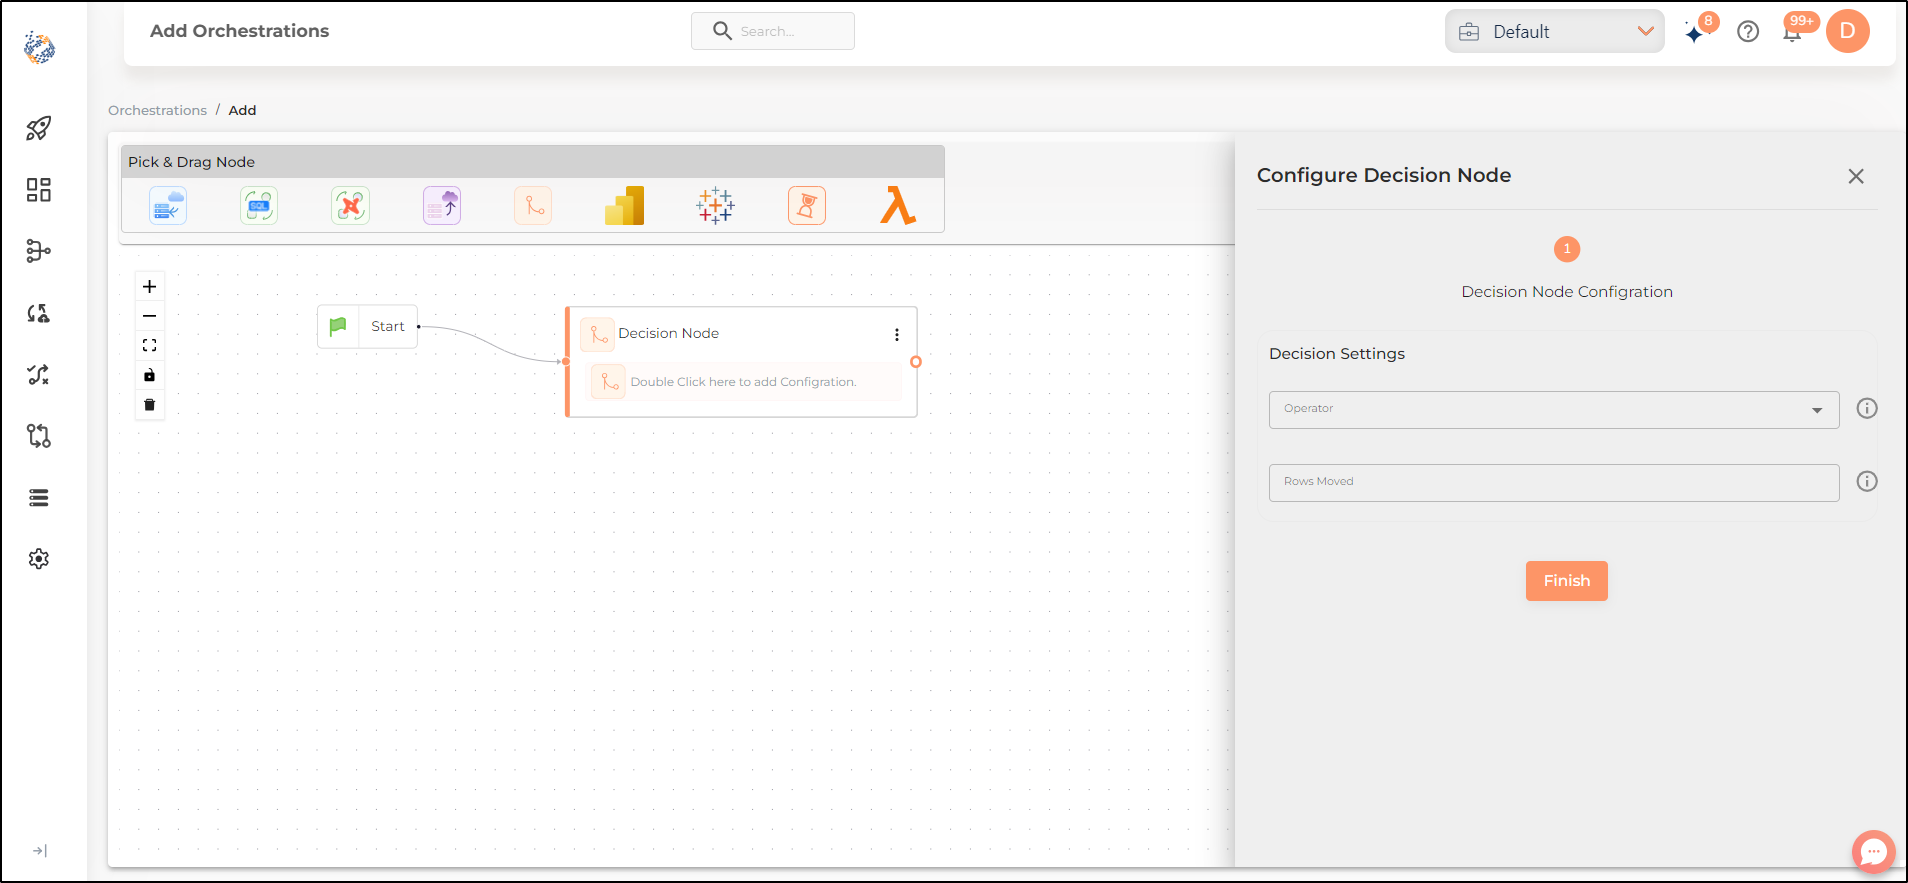
The Decision node can be used to add an action that contains a decision to be made, based on the number of rows moved. The answer is either a Yes or a No, and it determines the downstream actions in the workflow. To configure the Decision node you will have to select the operator from the dropdown and specify the number of rows moved.
Power BI Refresh Node
The Power BI Refresh node can be used for automatically refreshing your datasets (as per the desired schedule) in the Power BI Analytics dashboards created by you. To configure the Power BI Refresh node you will have to select the previously configured credentials from the list. Select the name of the dataset you want to refresh and notification settings before you can finish configuring the node.
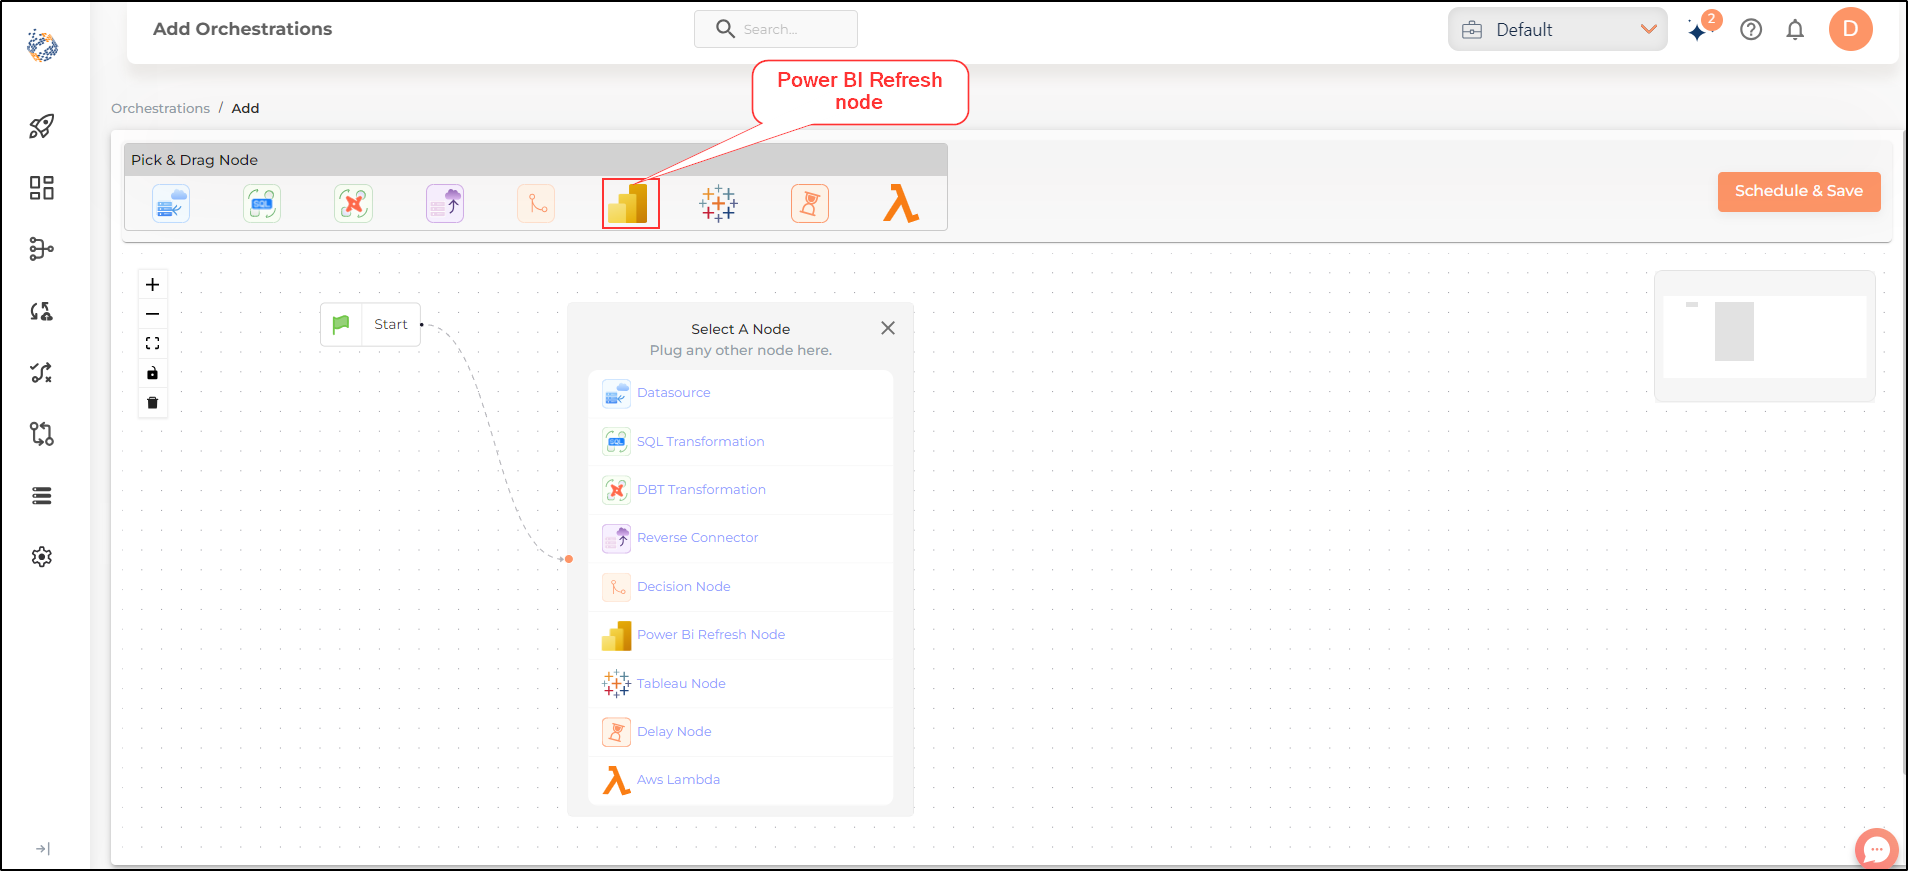
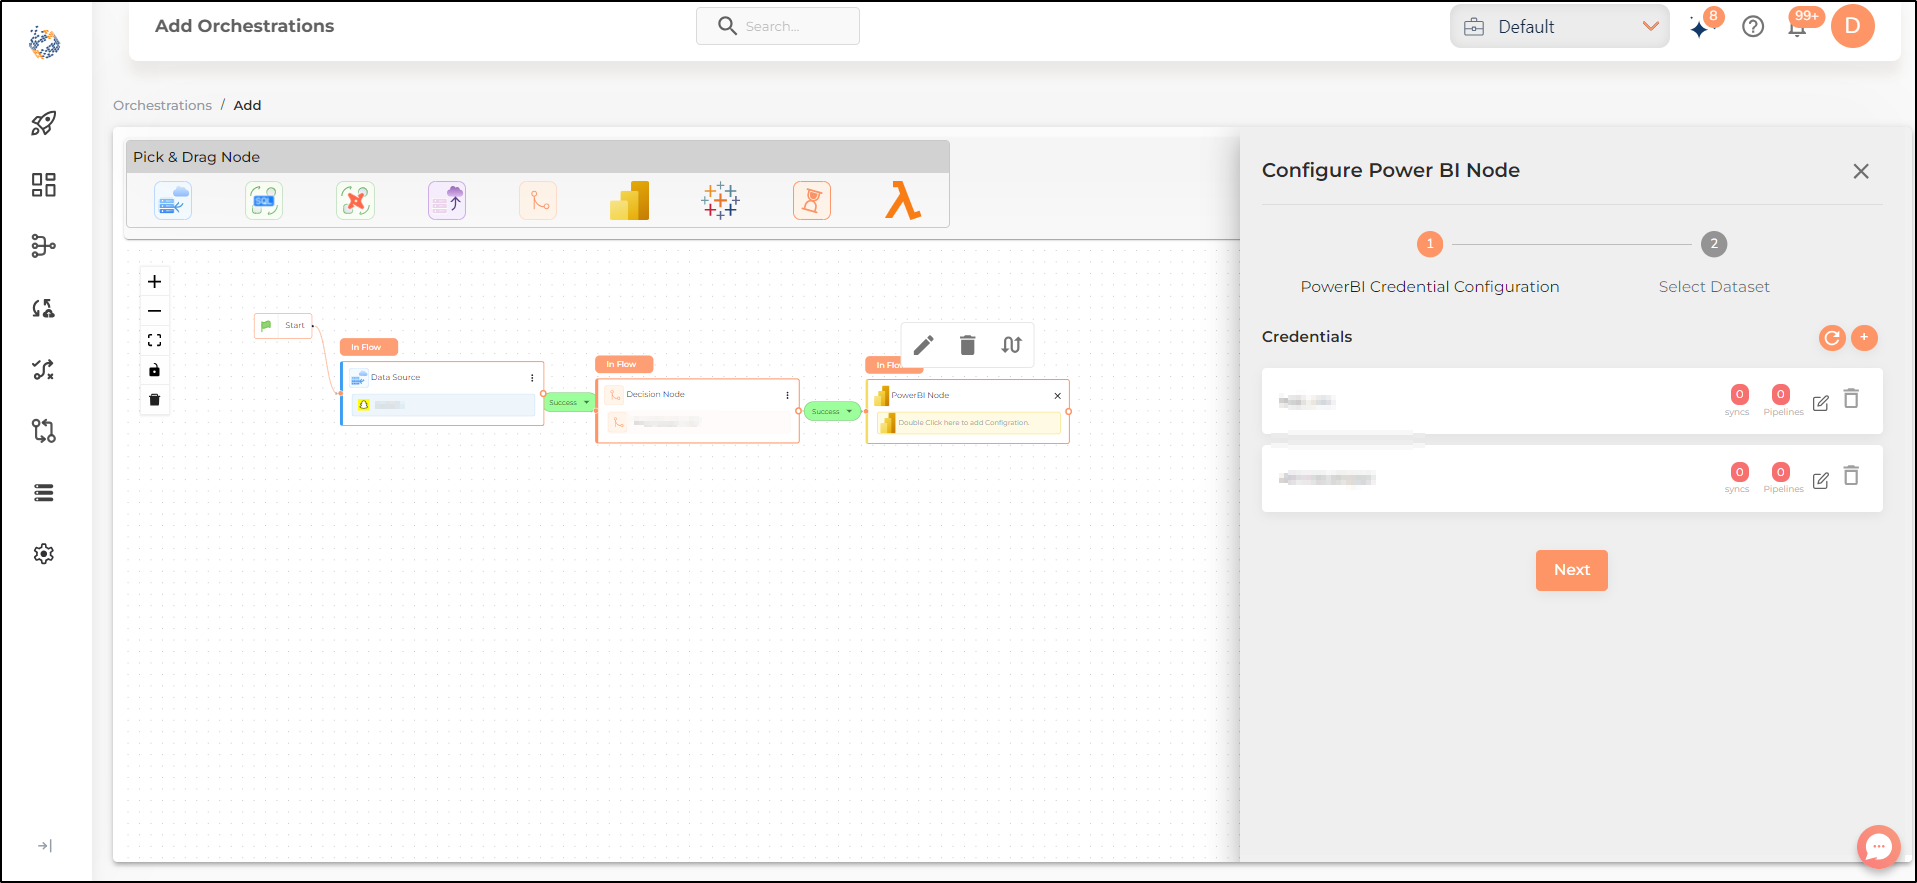
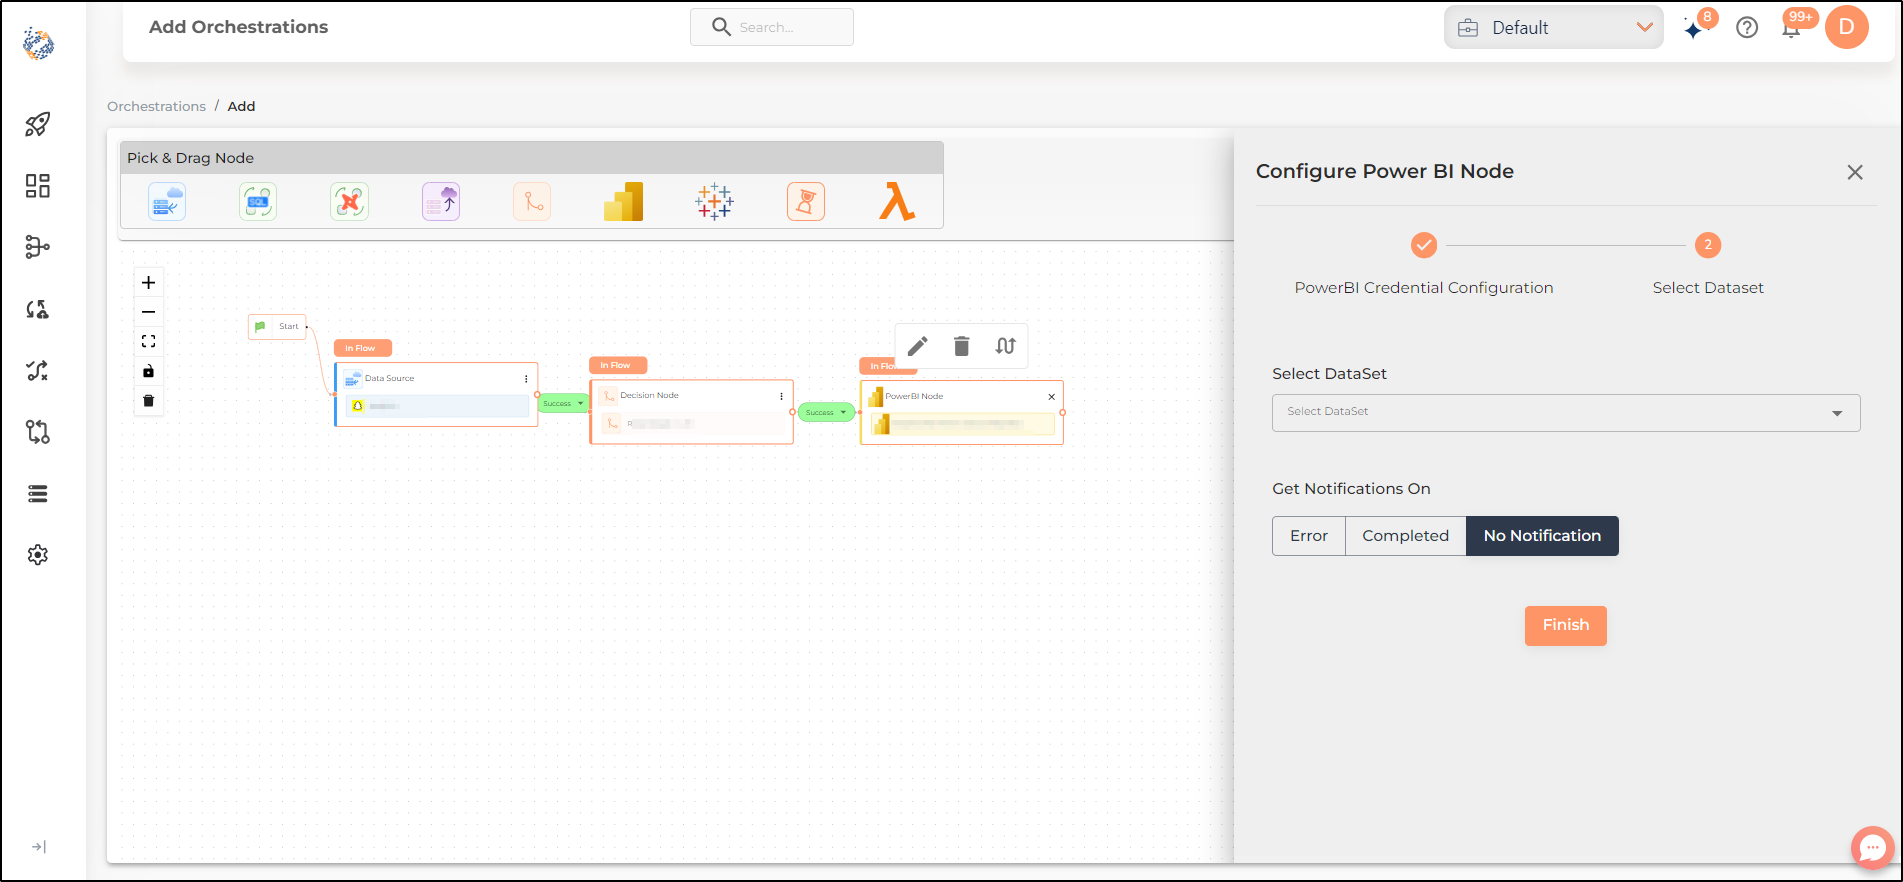
Tableau Node
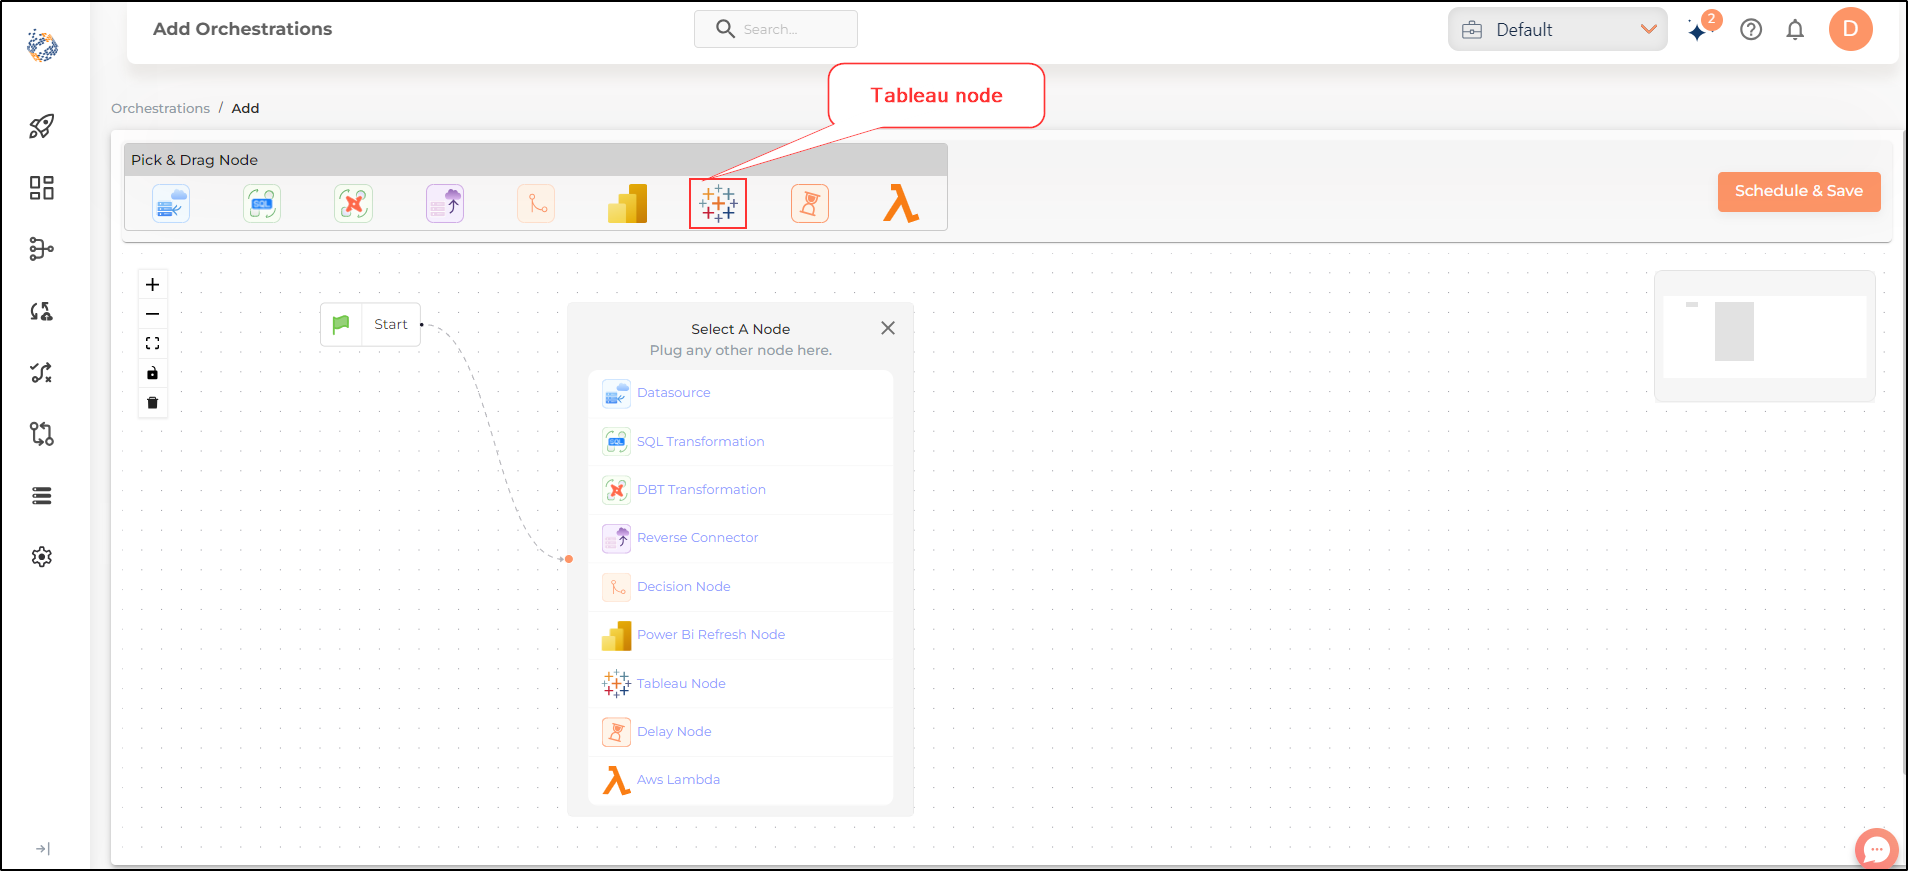
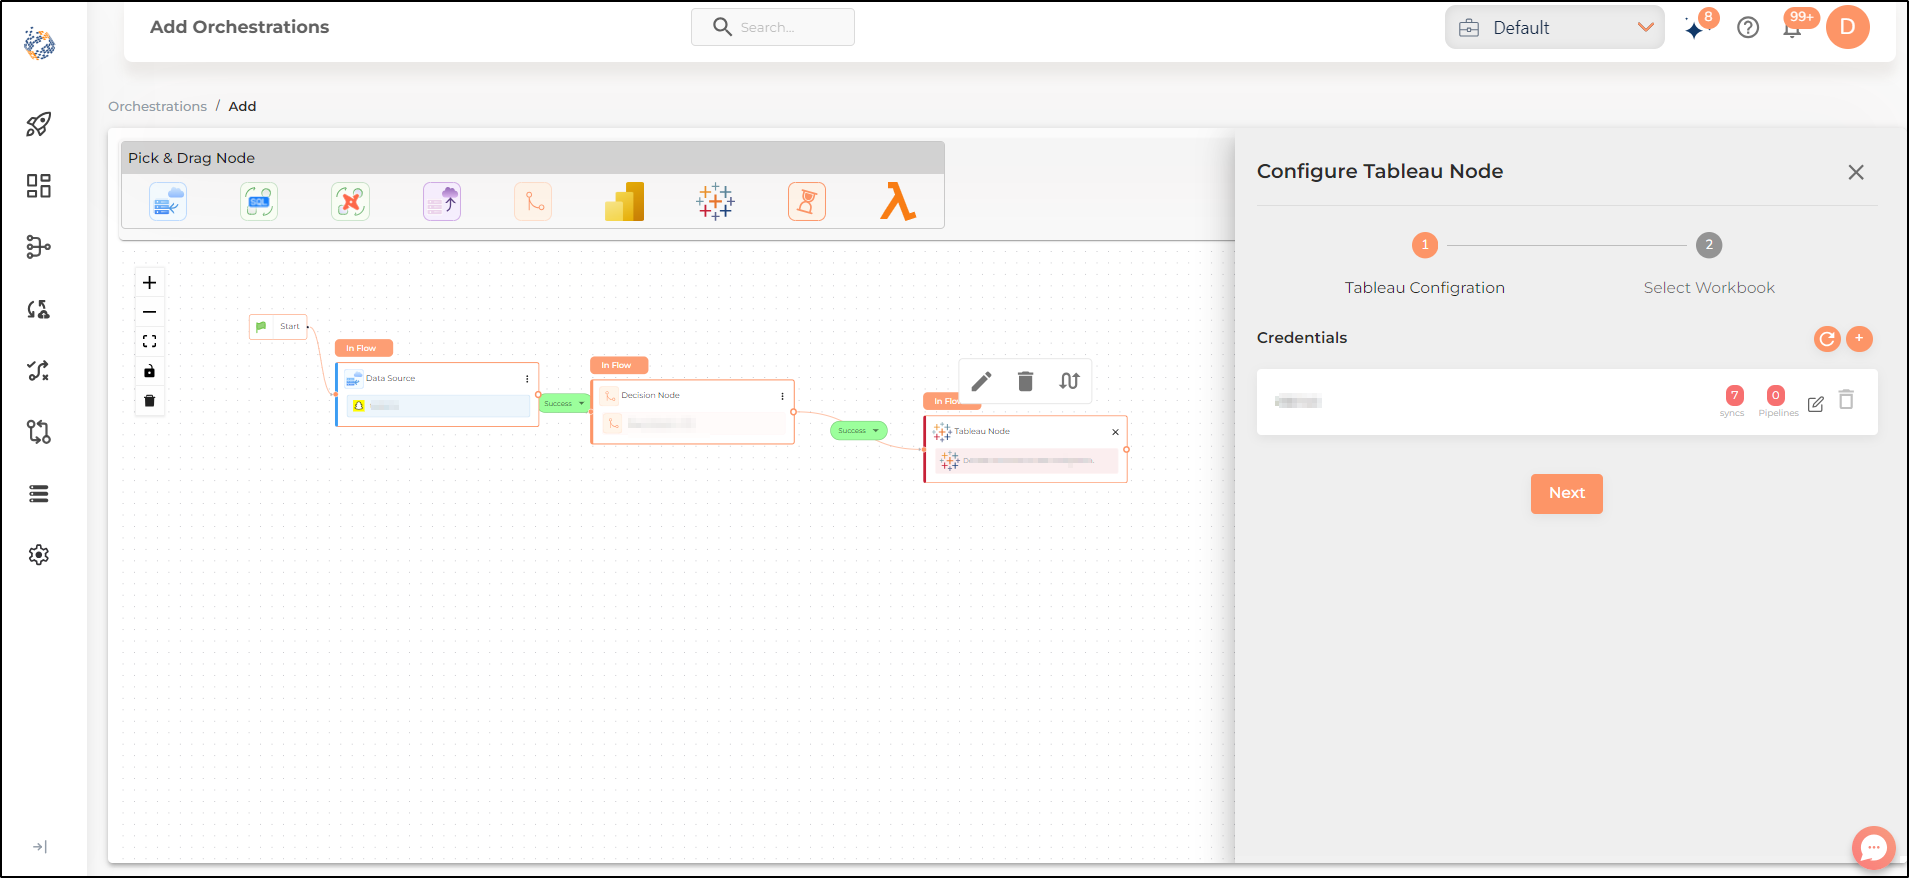
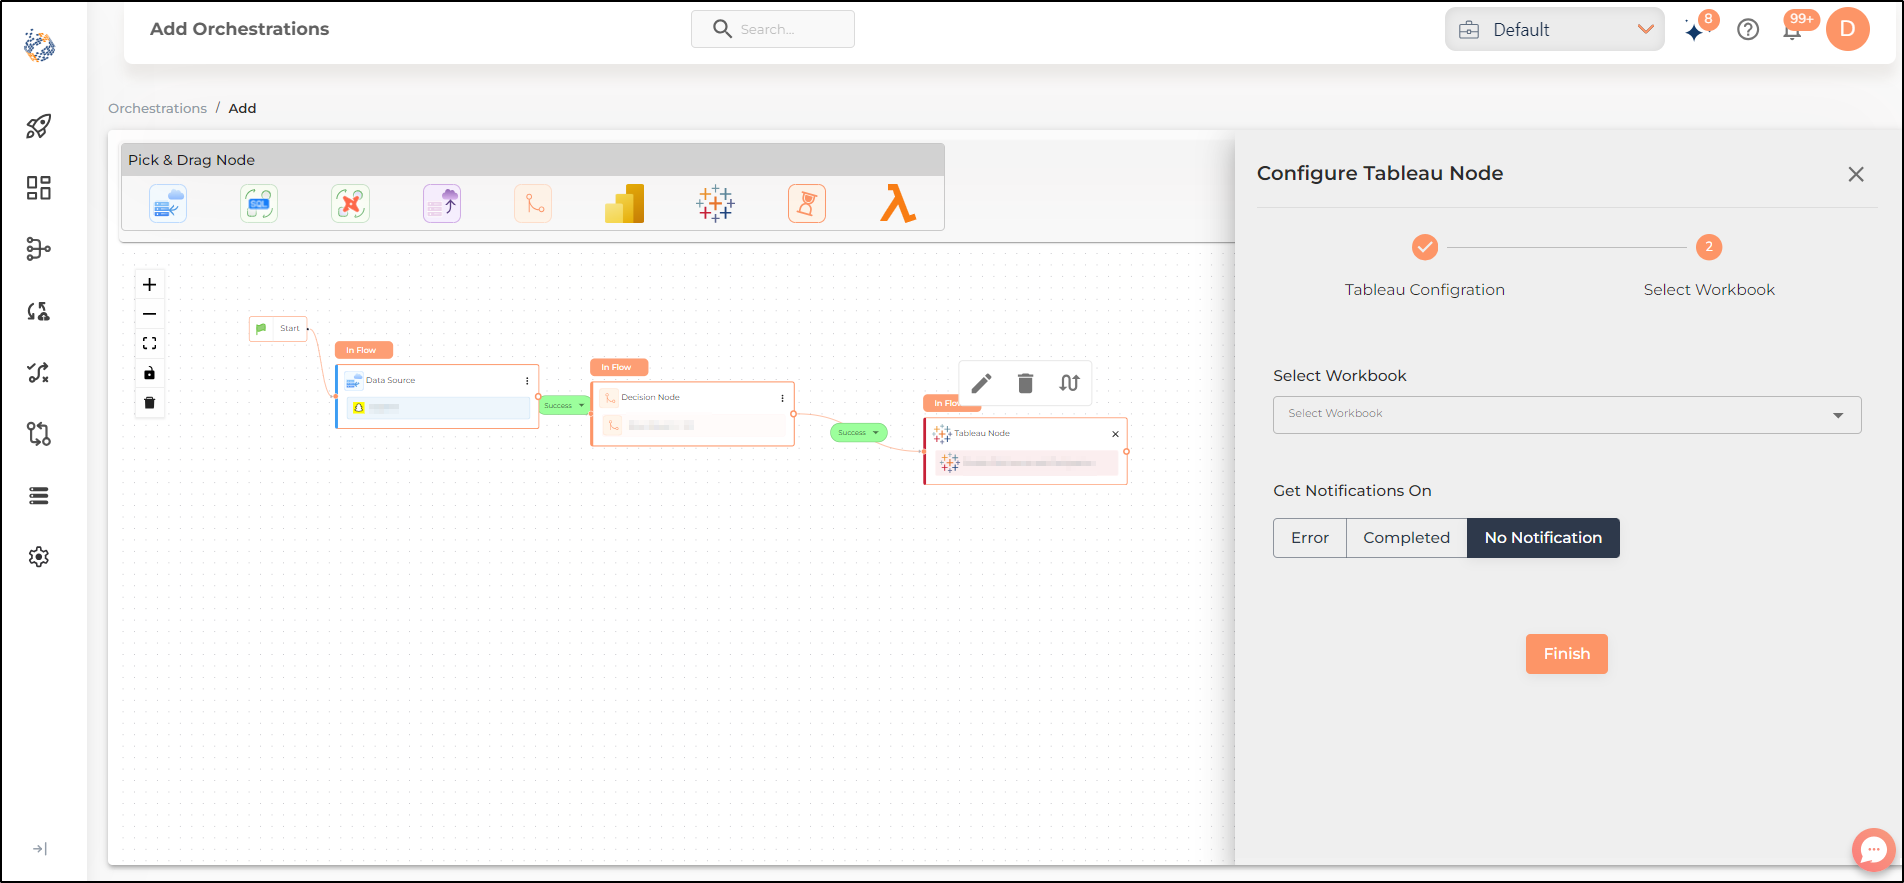
The Tableau node can be used for automatically refreshing your extracts (as per the desired schedule) in the Tableau Analytics dashboards created by you. To configure the Tableau node you will have to select the previously configured credentials from the list. Select the name of the workbook you want to refresh and notification settings before you can finish configuring the node.
Delay Node
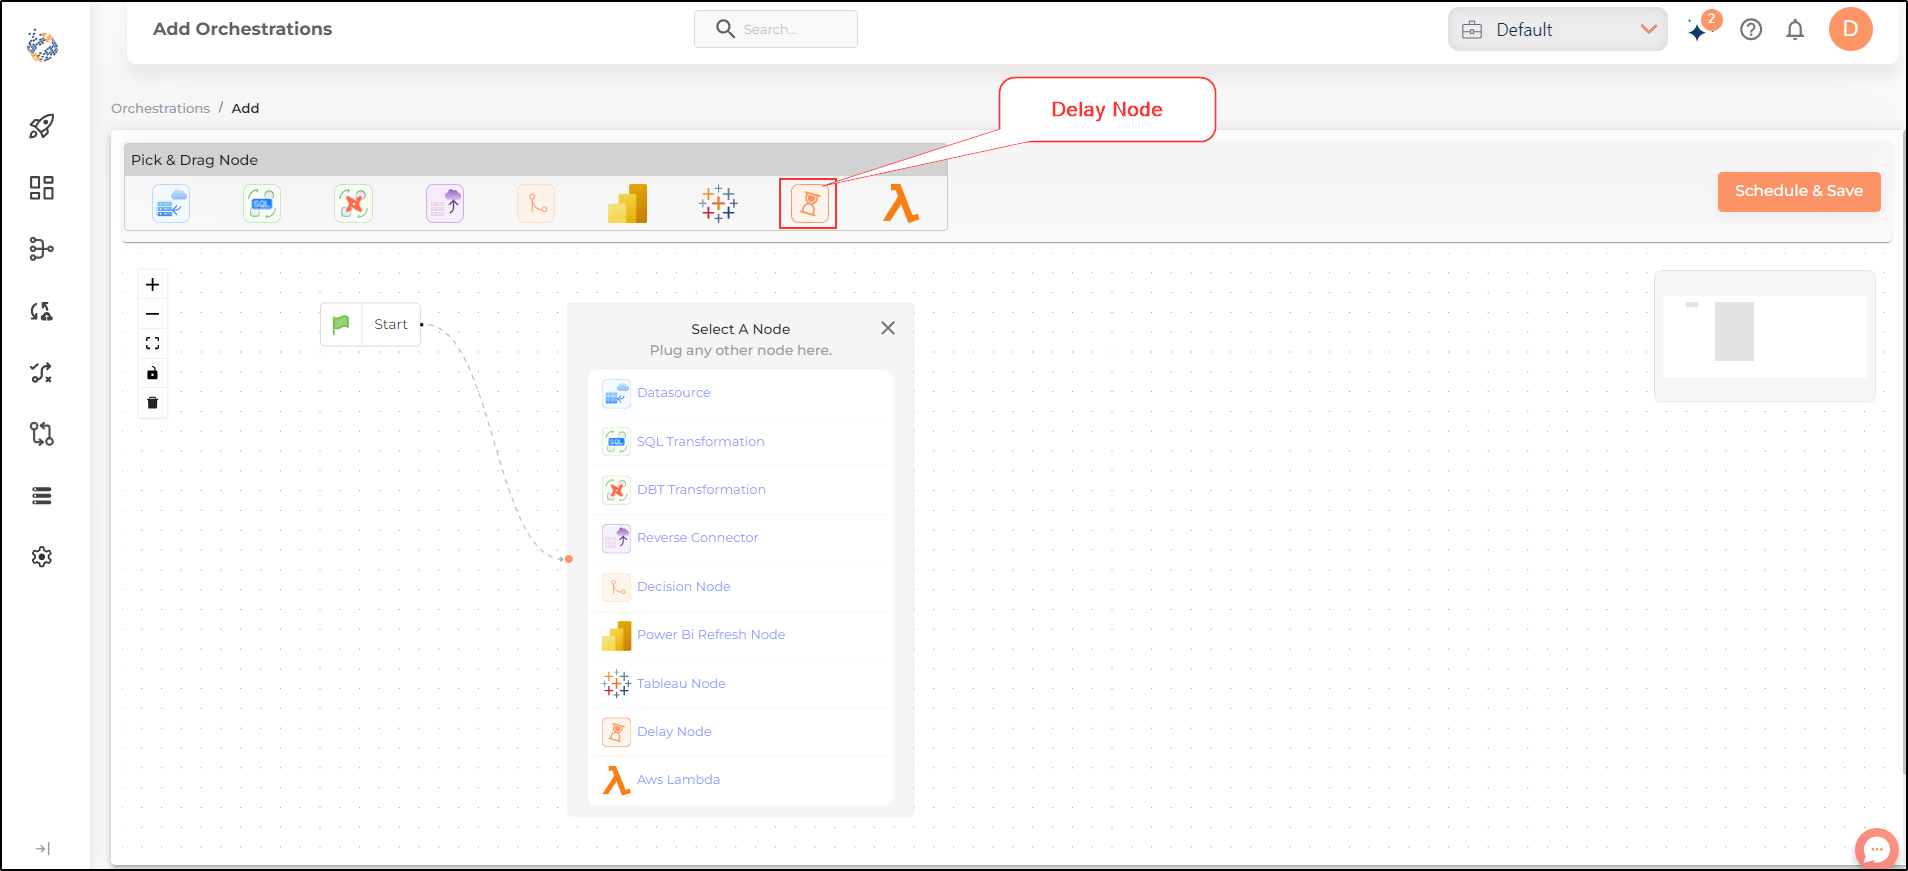
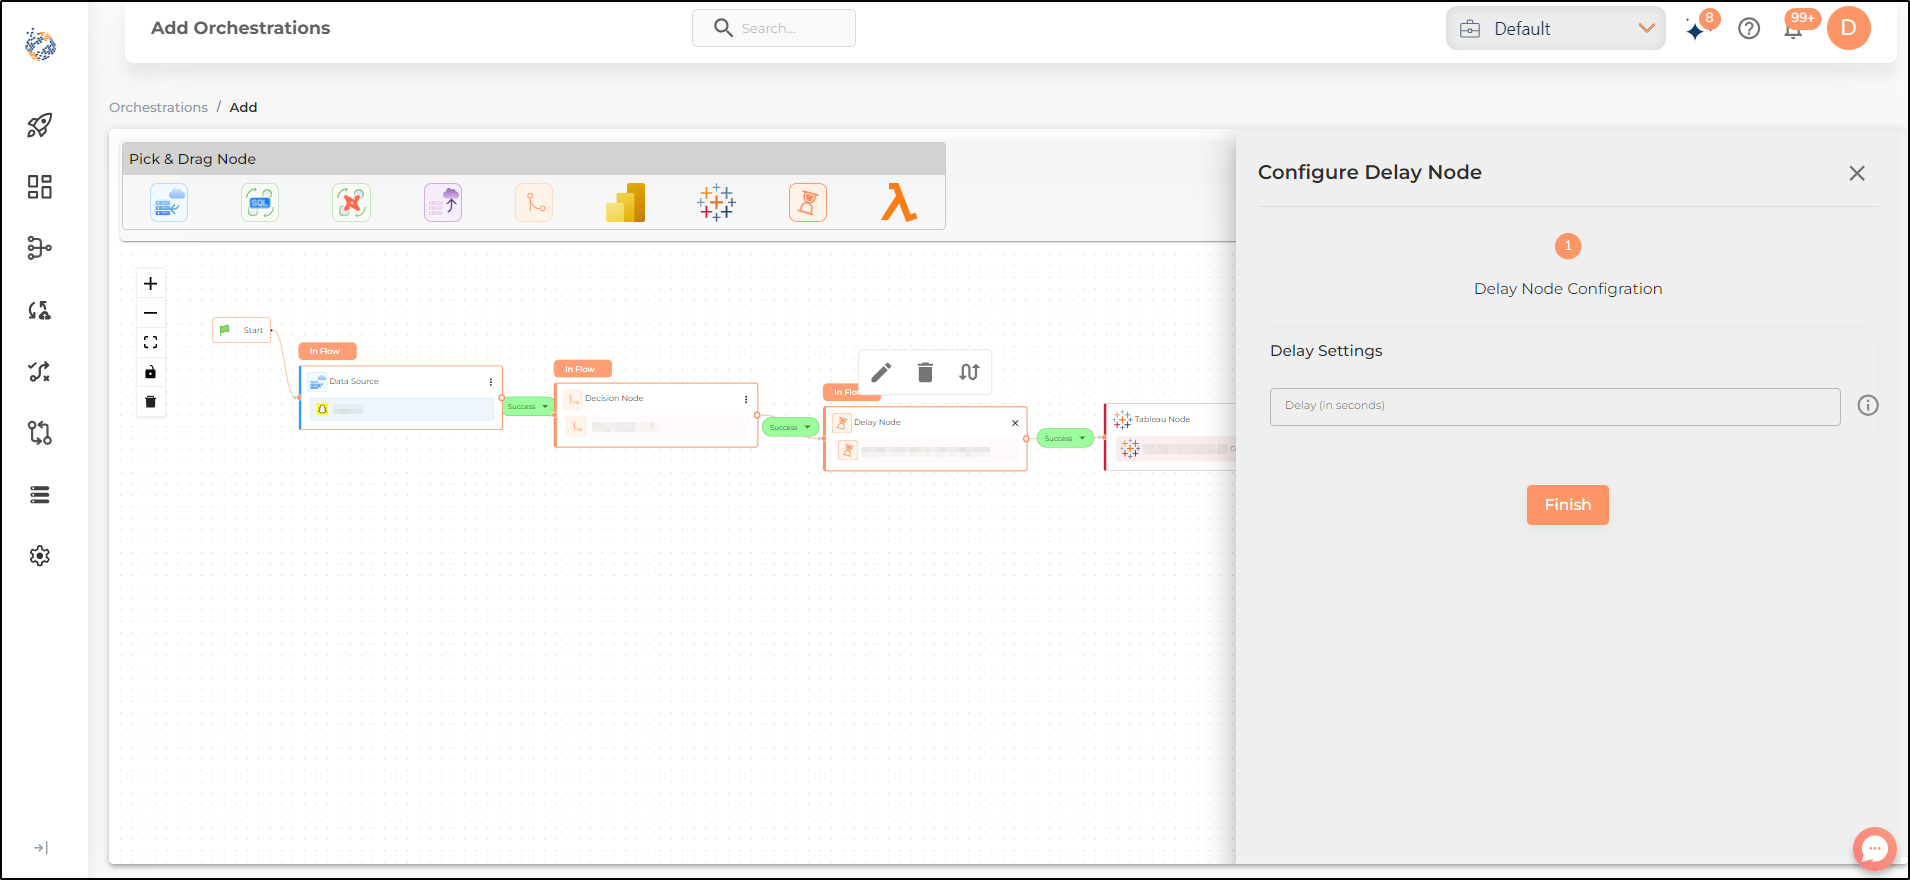
The Delay node can be used to introduce a time lag between the end of the preceding node and commencement of the succeeding node. Once you have specified the delay (in seconds), it will postpone starting the run of the next node by the specified time period. You can include a delay node between any two nodes using the hourglass icon as shown.
AWS Lambda Node
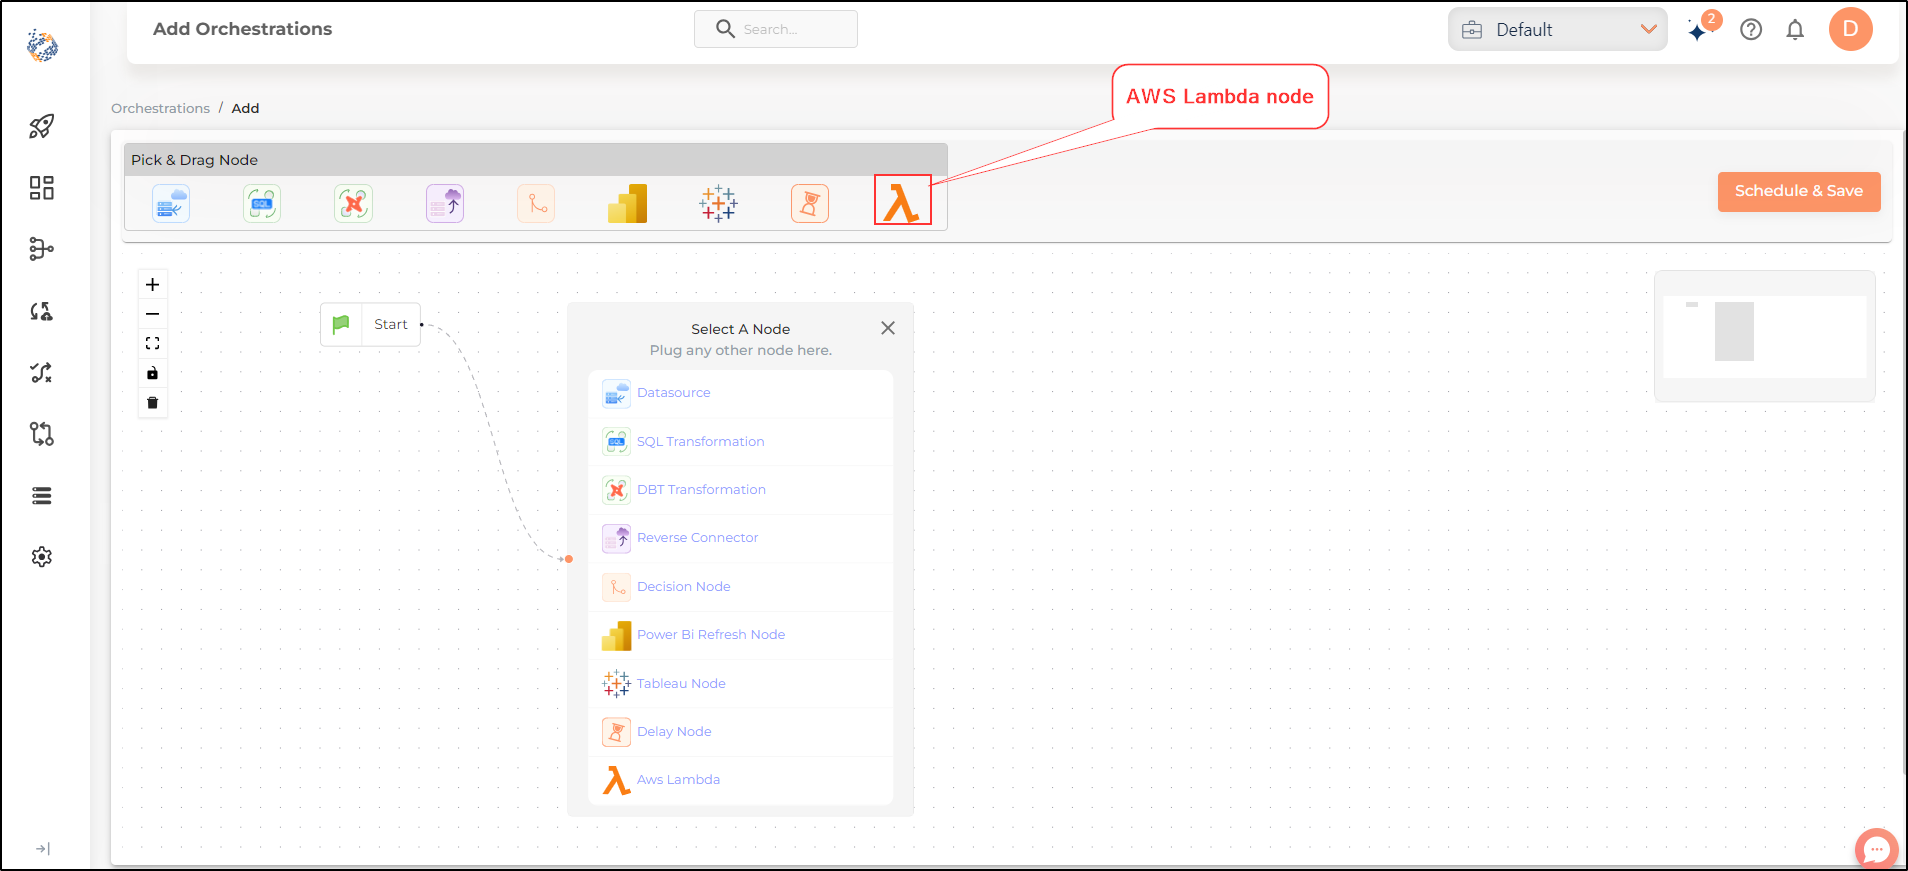
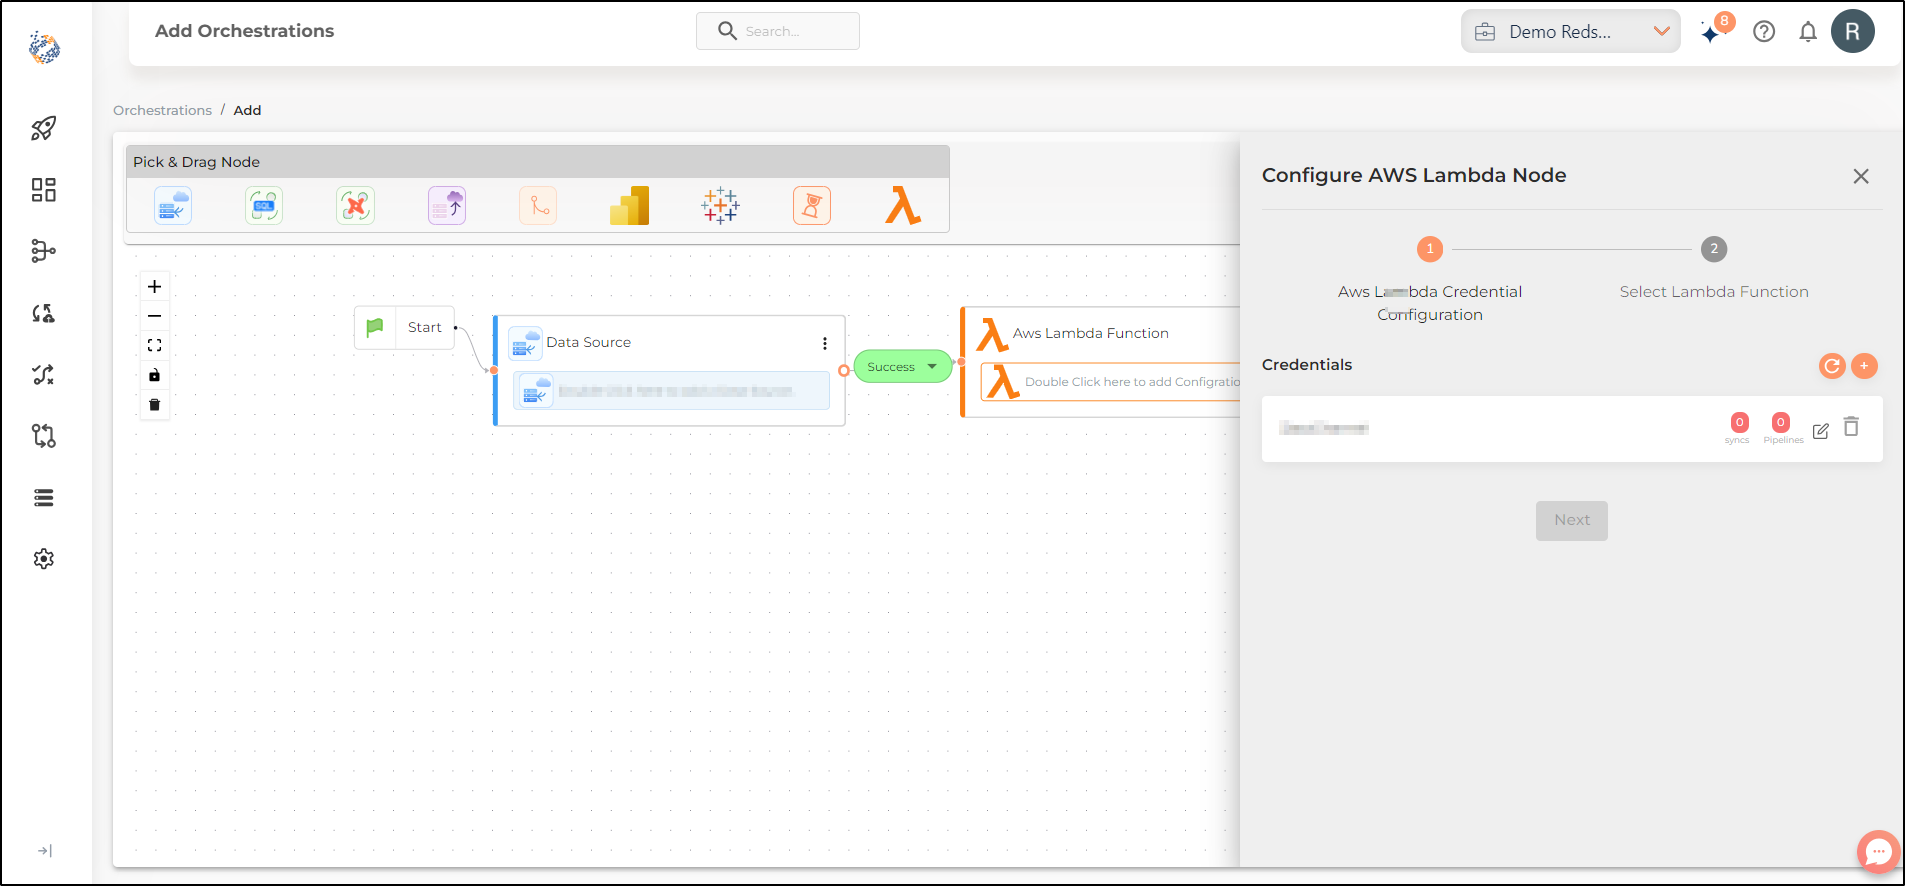
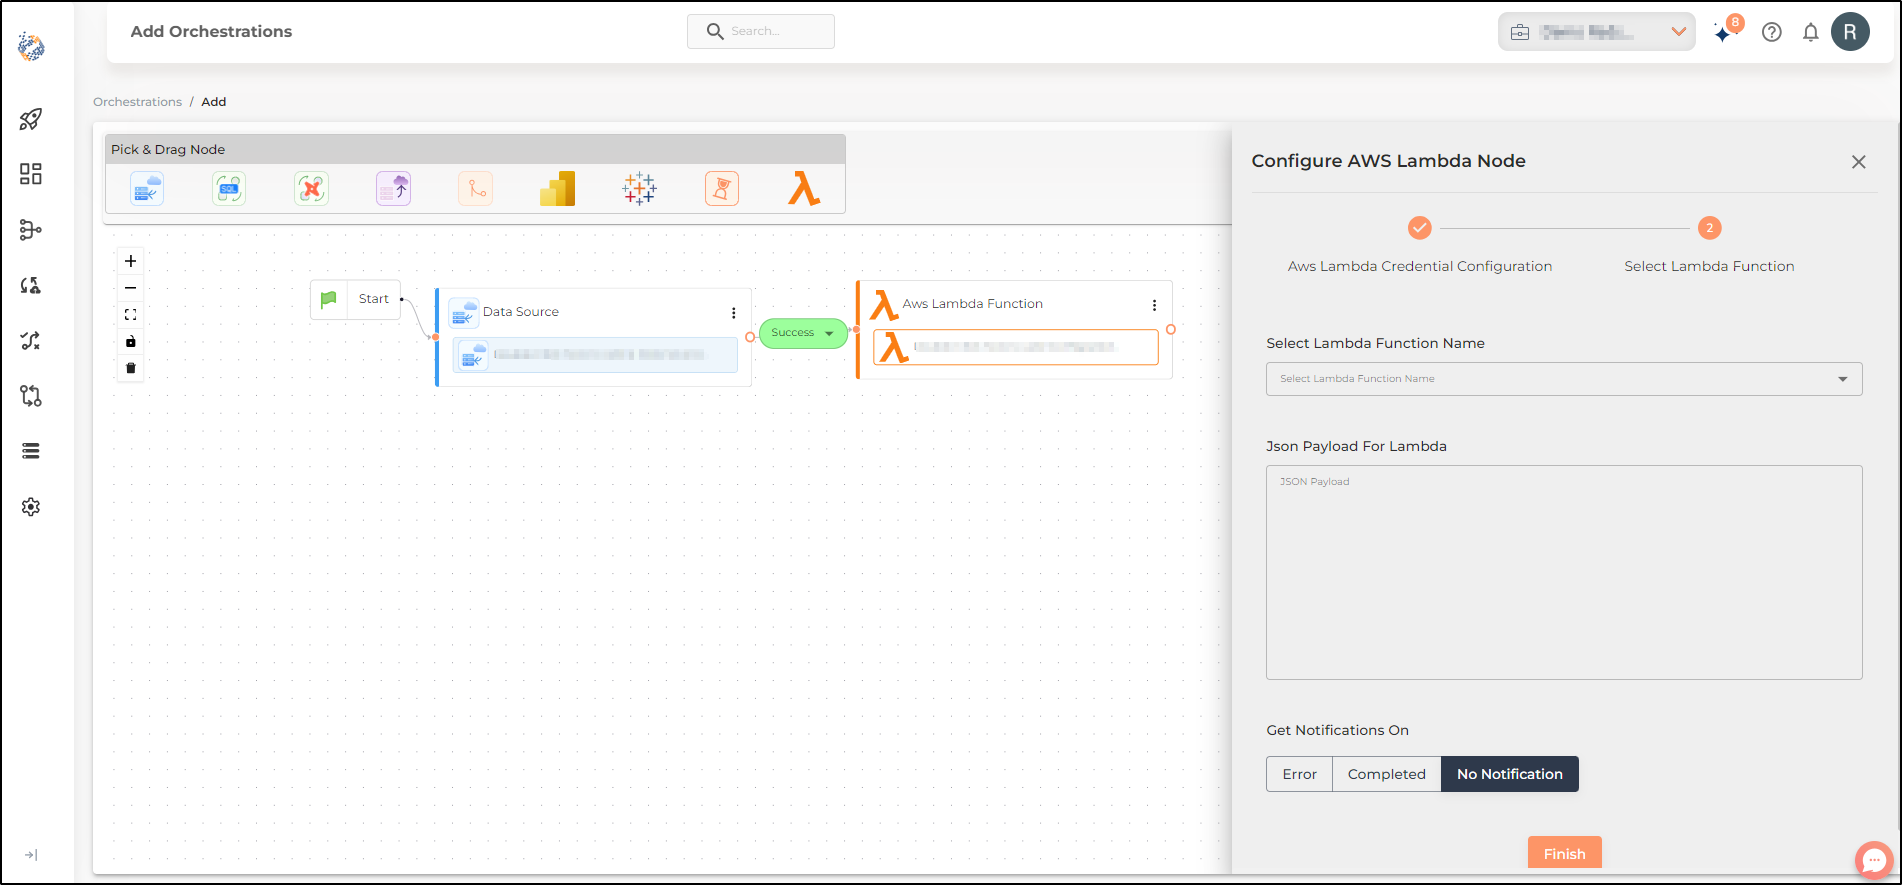
The AWS Lambda Node can be used to automatically schedule your predefined Lambda Functions. To configure the AWS Lambda Node you will have to select the previously configured AWS credentials from the list. Select the Lambda function from the dropdown, enter the Event JSON for the Lambda function. Select the desired notification settings before you can finish configuring the node.
Google Cloud Function Node
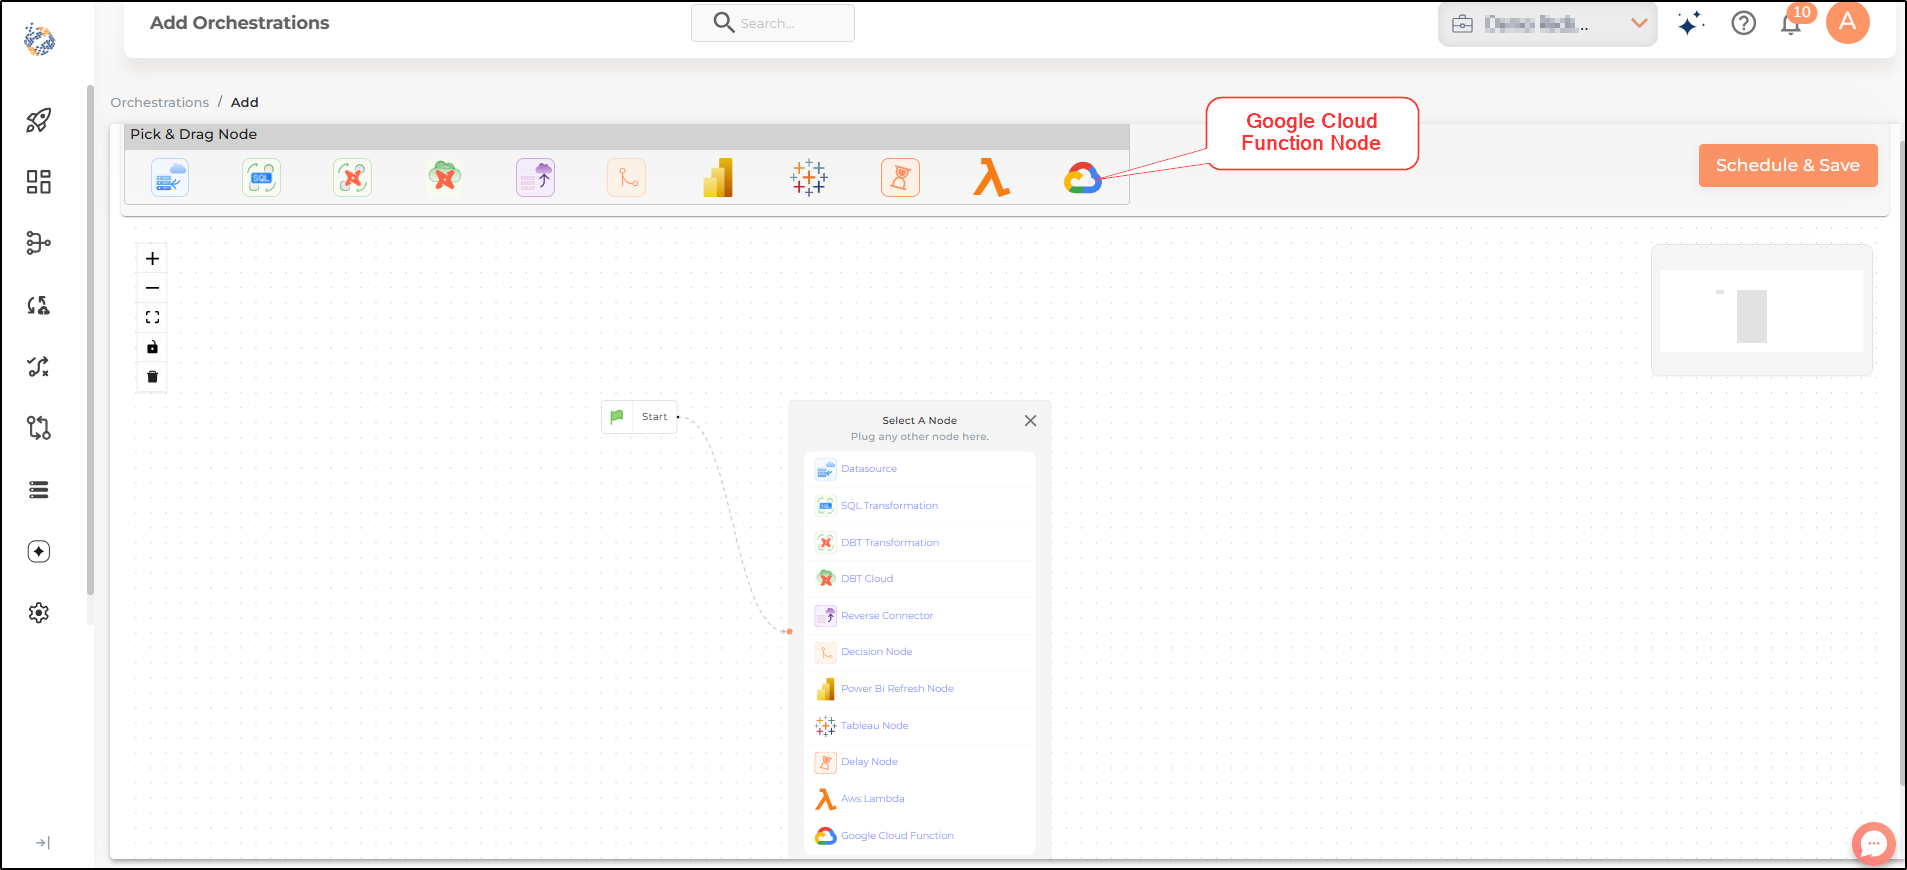
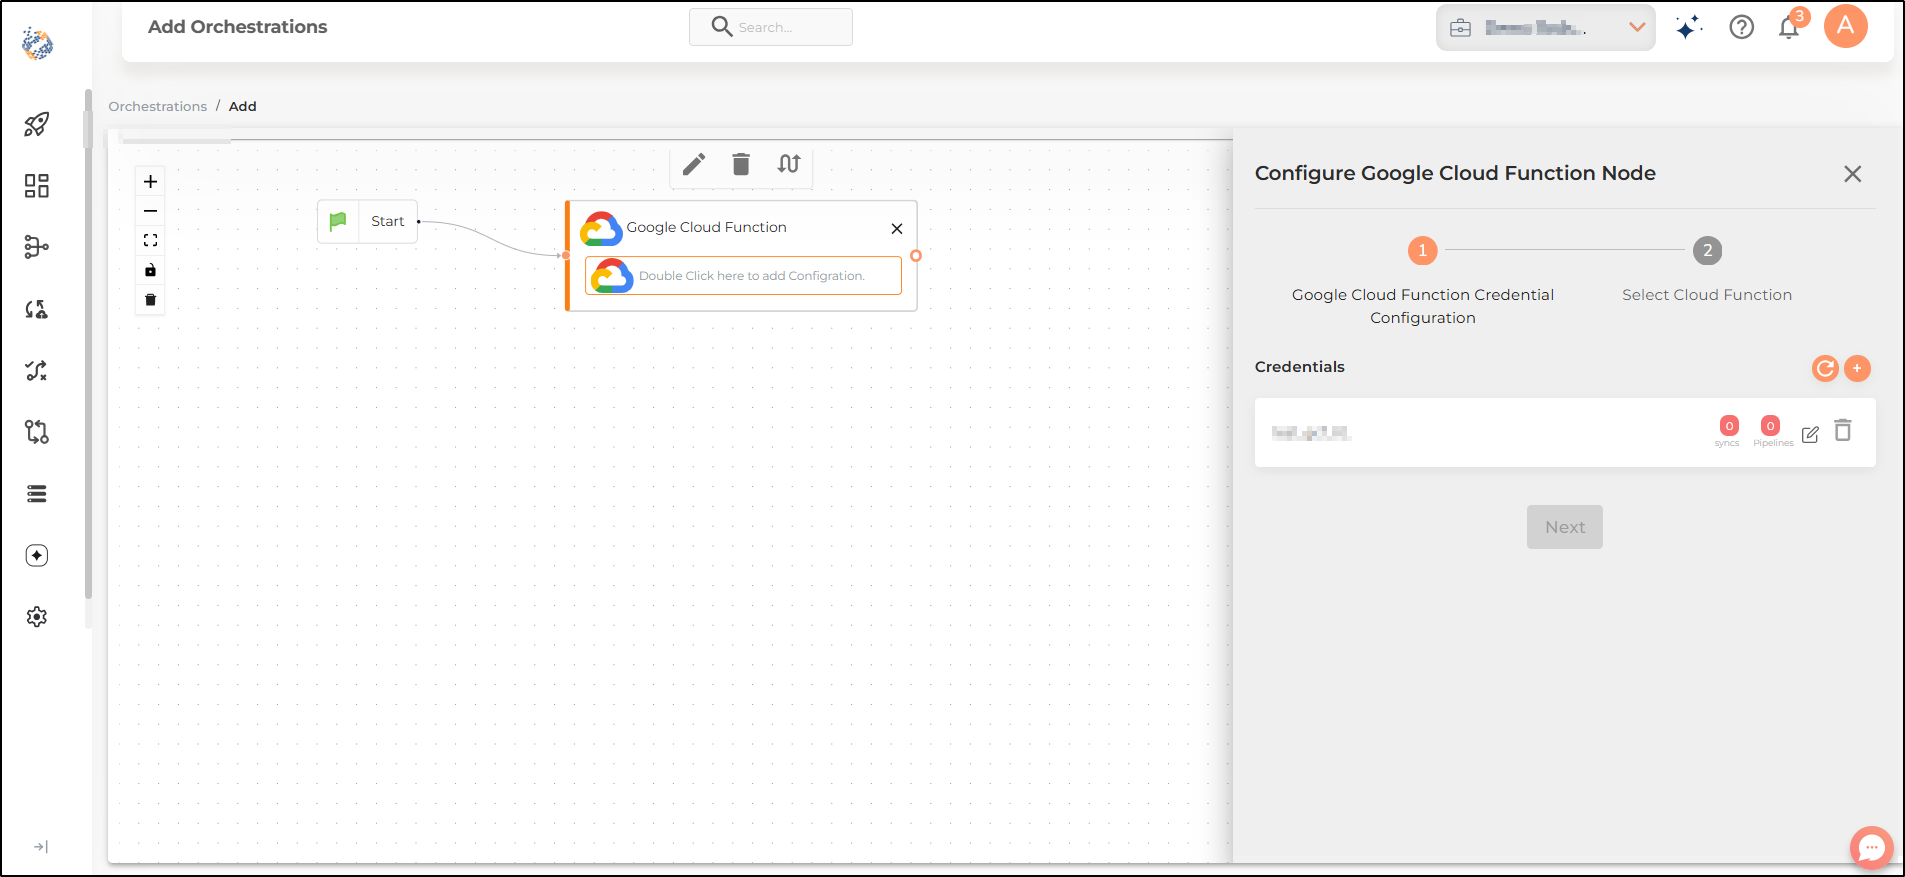
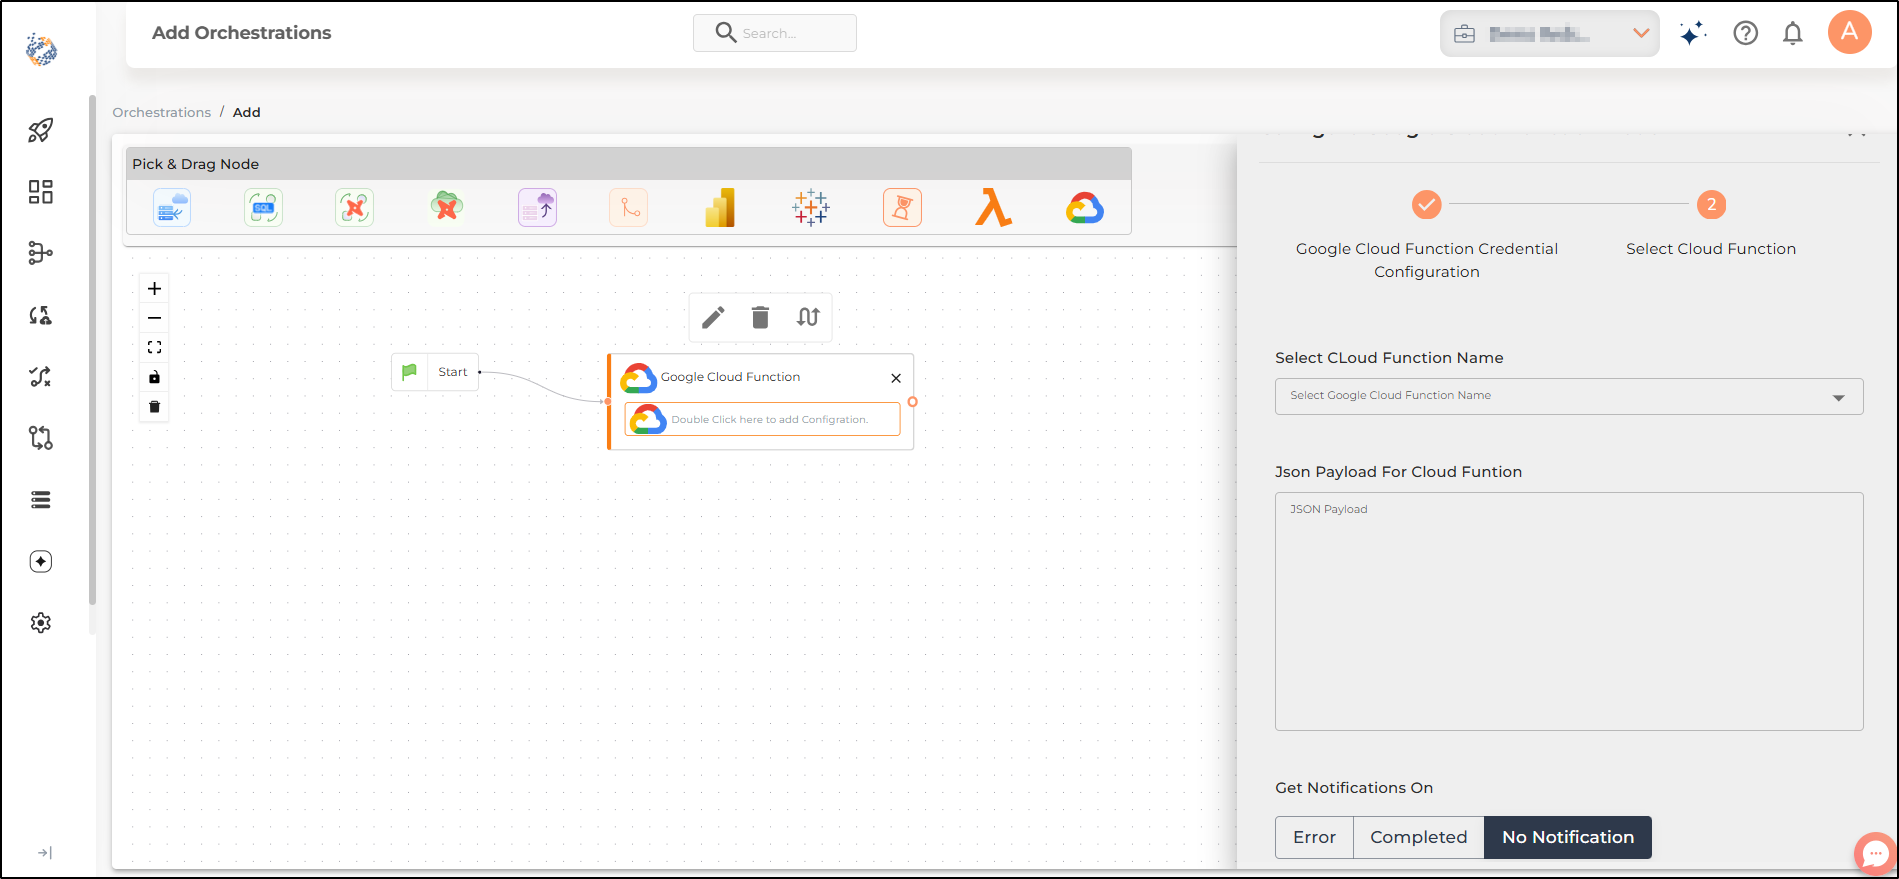
The Google Cloud Function Node can be used to automatically schedule your predefined Google Cloud Functions. To configure the Google Cloud Function Node you will have to select the previously configured Google Cloud credentials from the list. Alternatively, you can add new credentials using Name, Project ID, Region and JSON Credentials. Select the Google Cloud Function from the dropdown, enter the JSON Payload for the Google Cloud function. Select the desired notification settings before you can finish configuring the node.
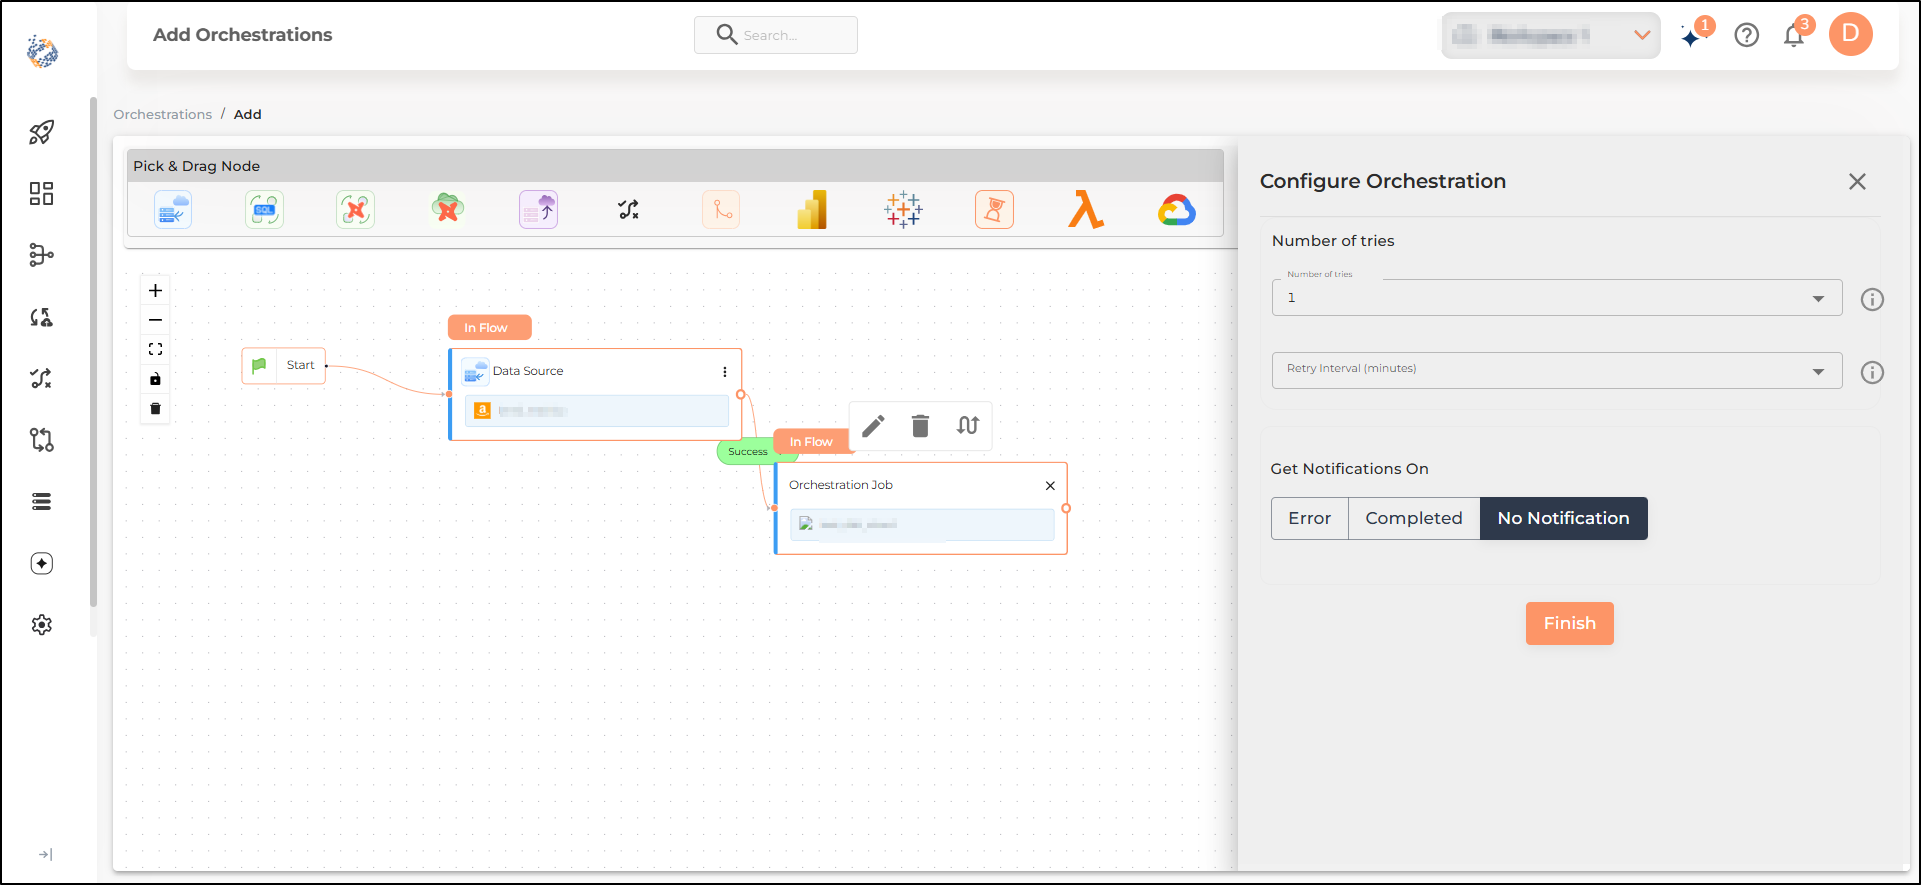
Orchestration Node
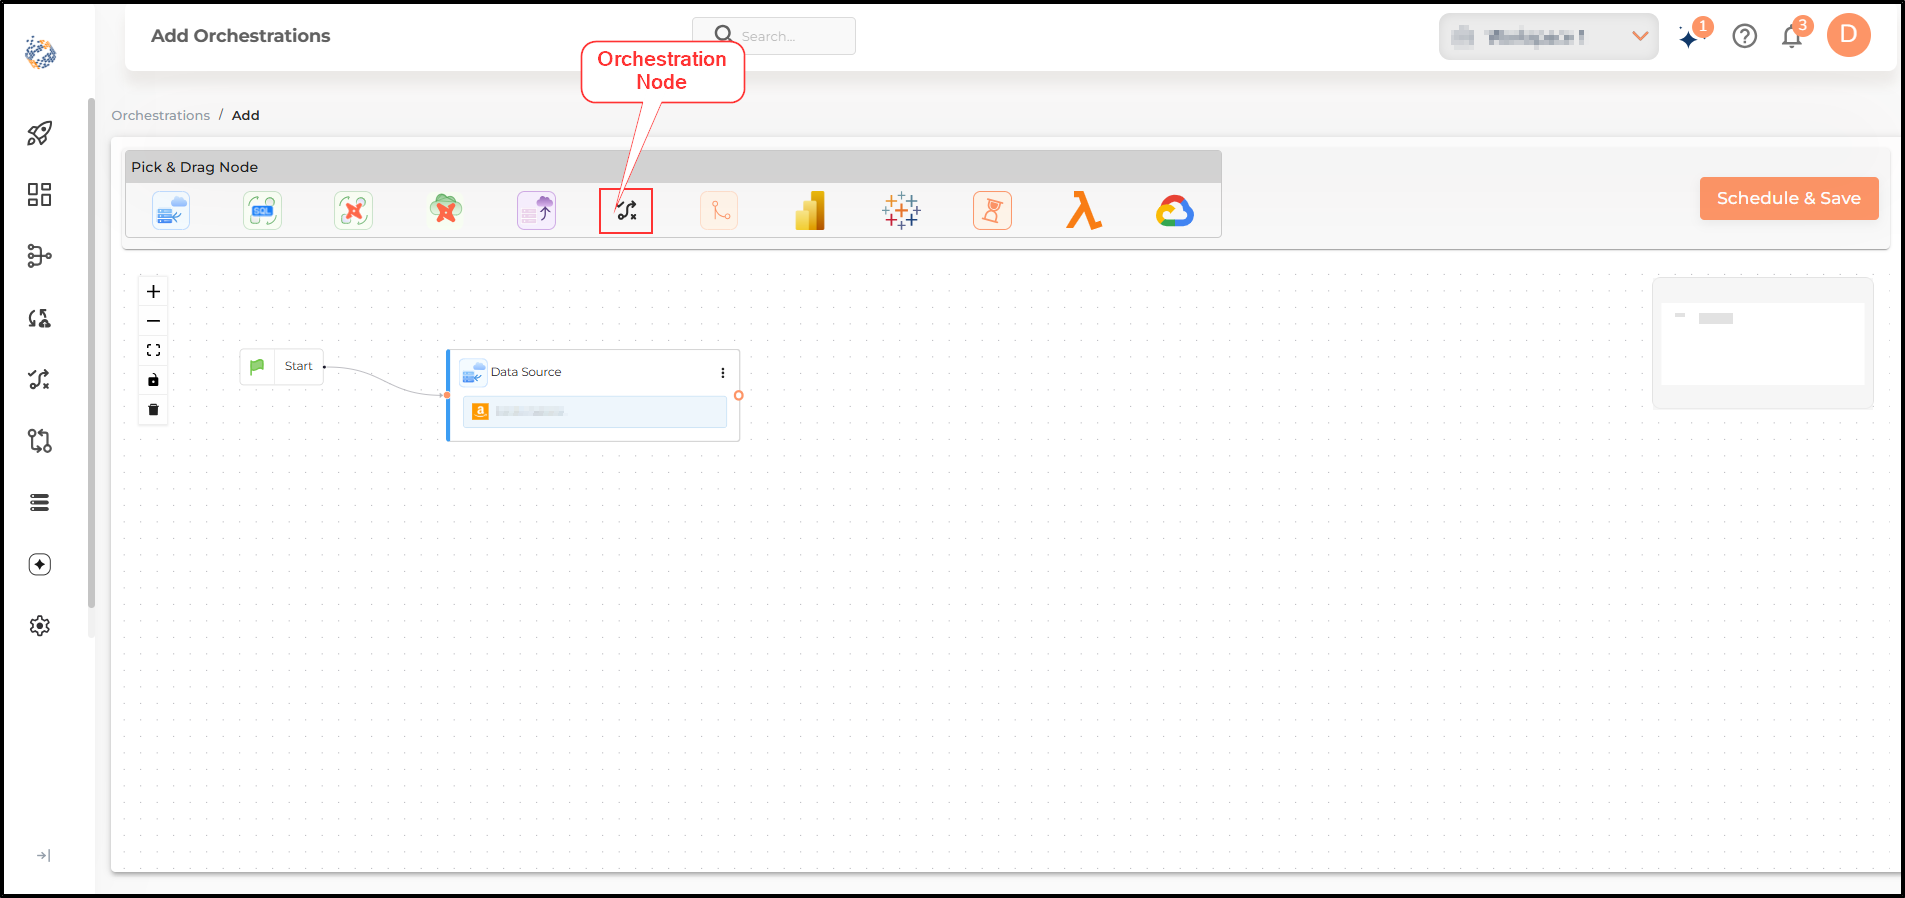
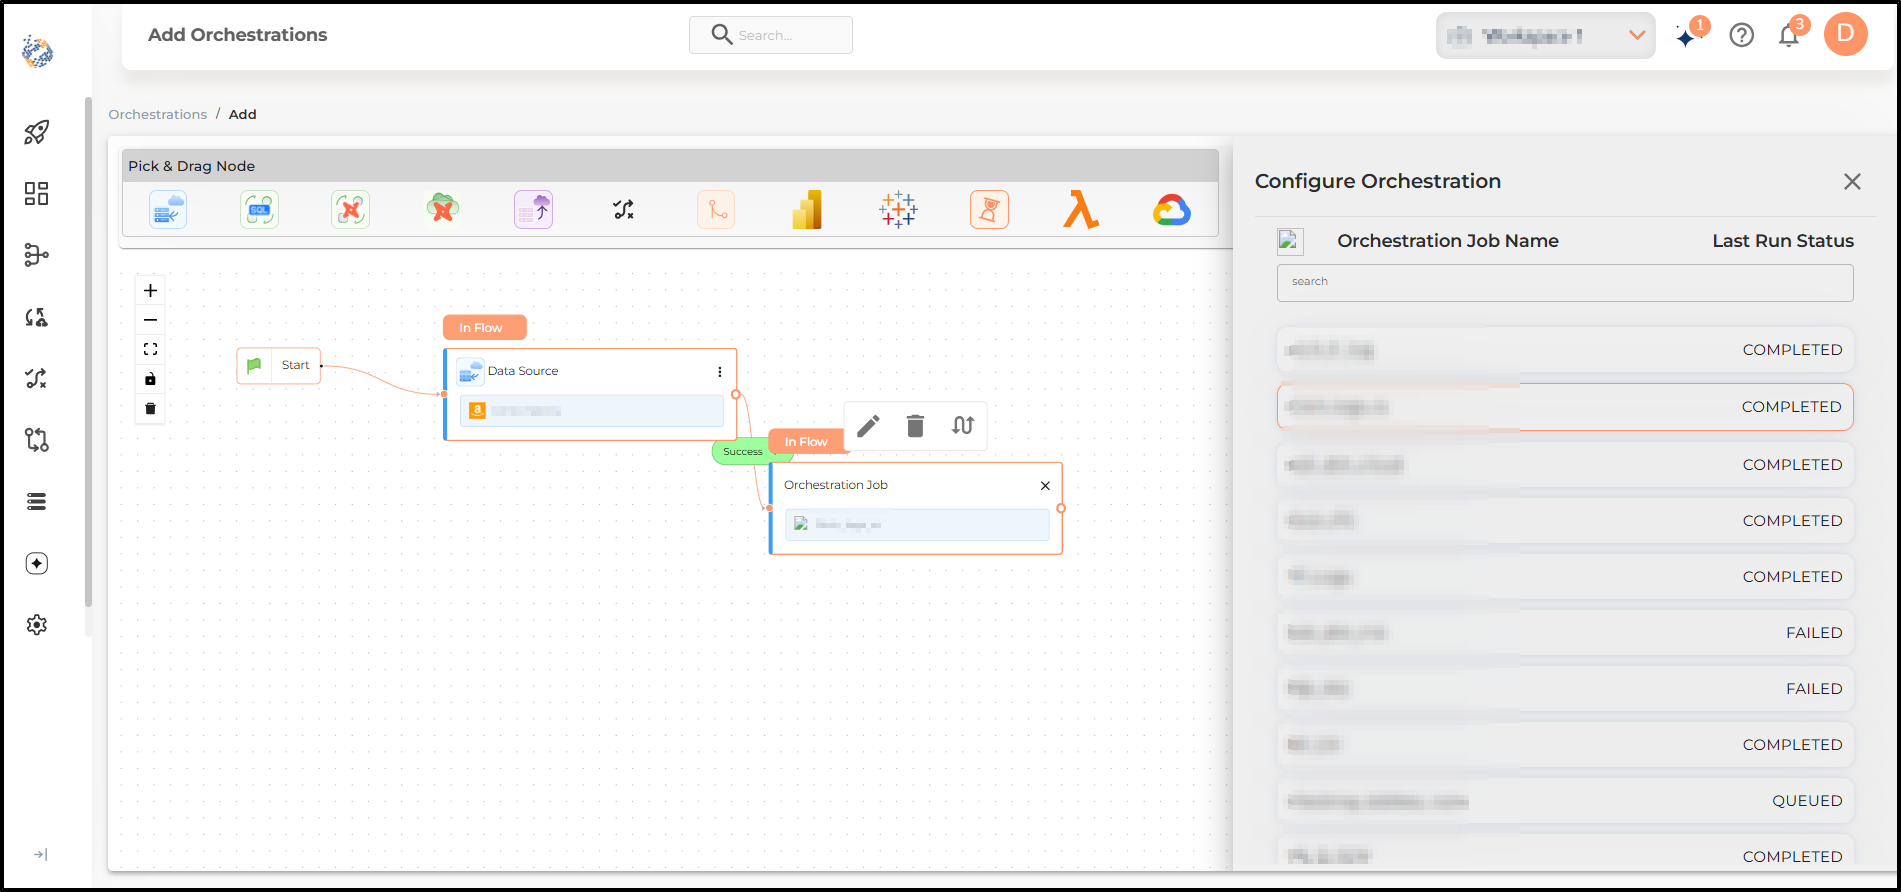
The Orchestration node can be used to add any Orchestration within your orchestration. To add the Orchestration node you will have to select the previously configured Orchestration’s name from the list. Also, you will have to specify number of tries, retry interval and notification settings before you can finish adding the orchestration.
Still have Questions?
We’ll be happy to help you with any questions you might have! Send us an email at info@datachannel.co.
Subscribe to our Newsletter for latest updates at DataChannel.