Products
This sync can be used to upload products details from your data warehouse to the Shopify platform.
You can find more information on Shopify’s documentation page
Configuring the Credentials
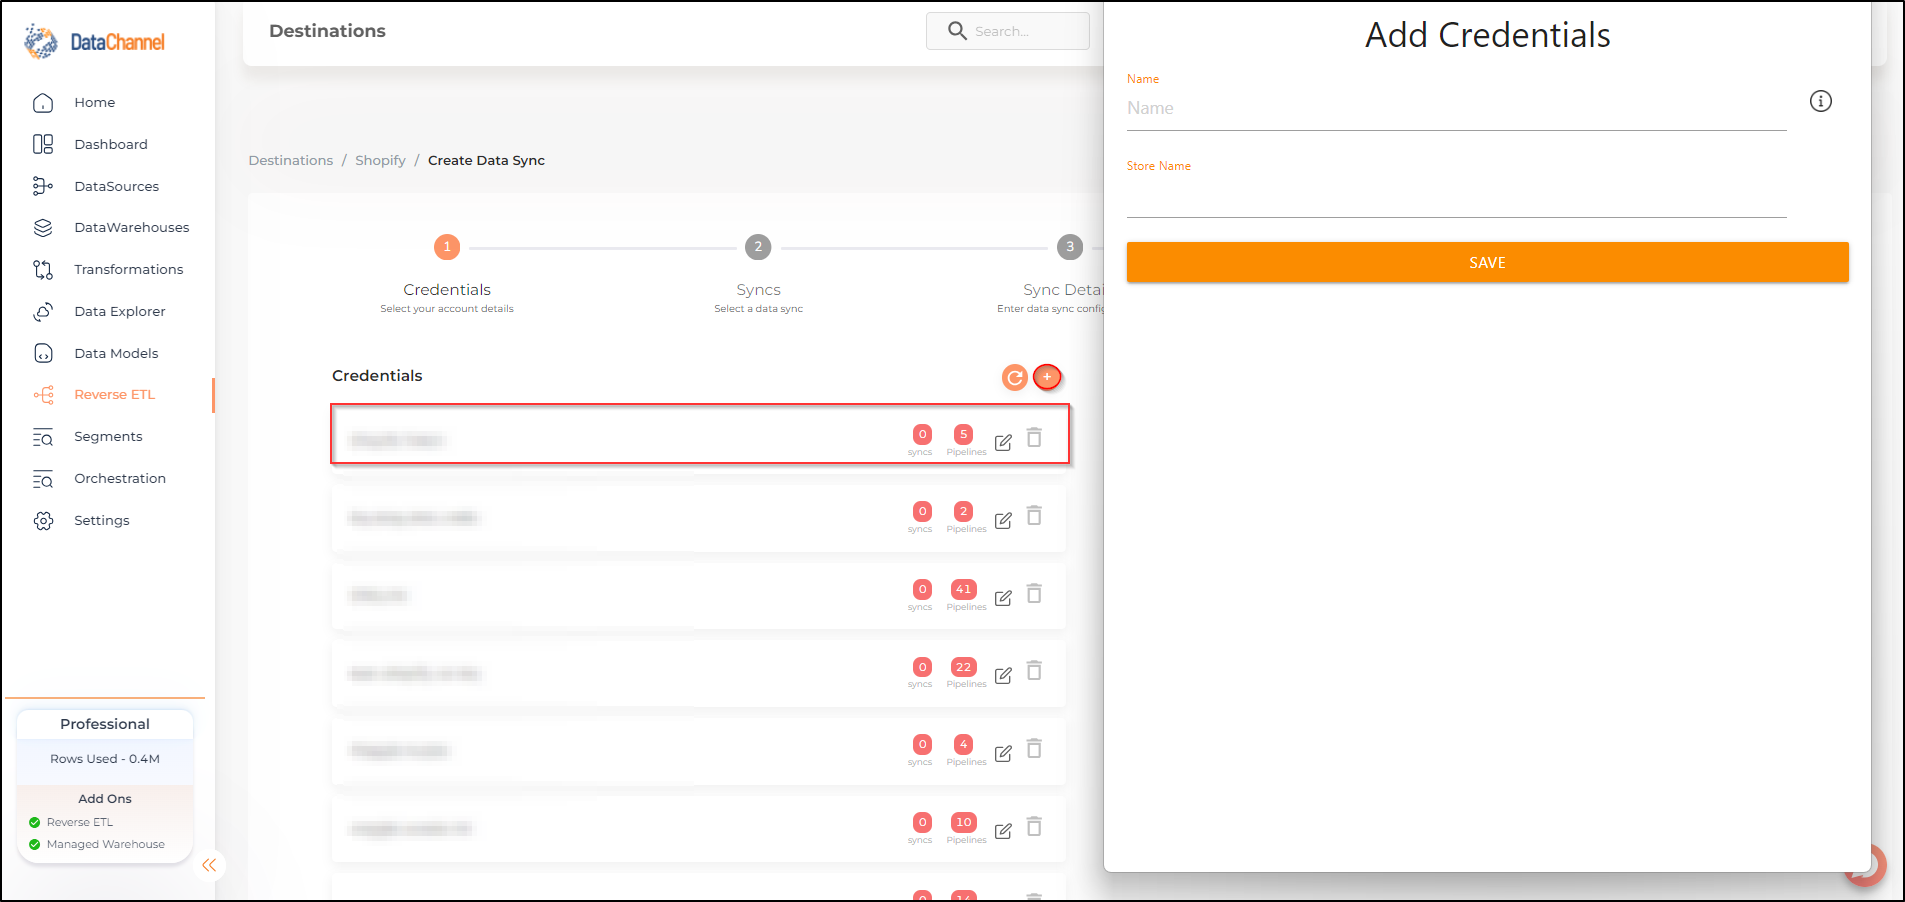
Select the account credentials which has access to relevant Shopify account from the given list & Click Next

Data Sync Details
- Data Sync
-
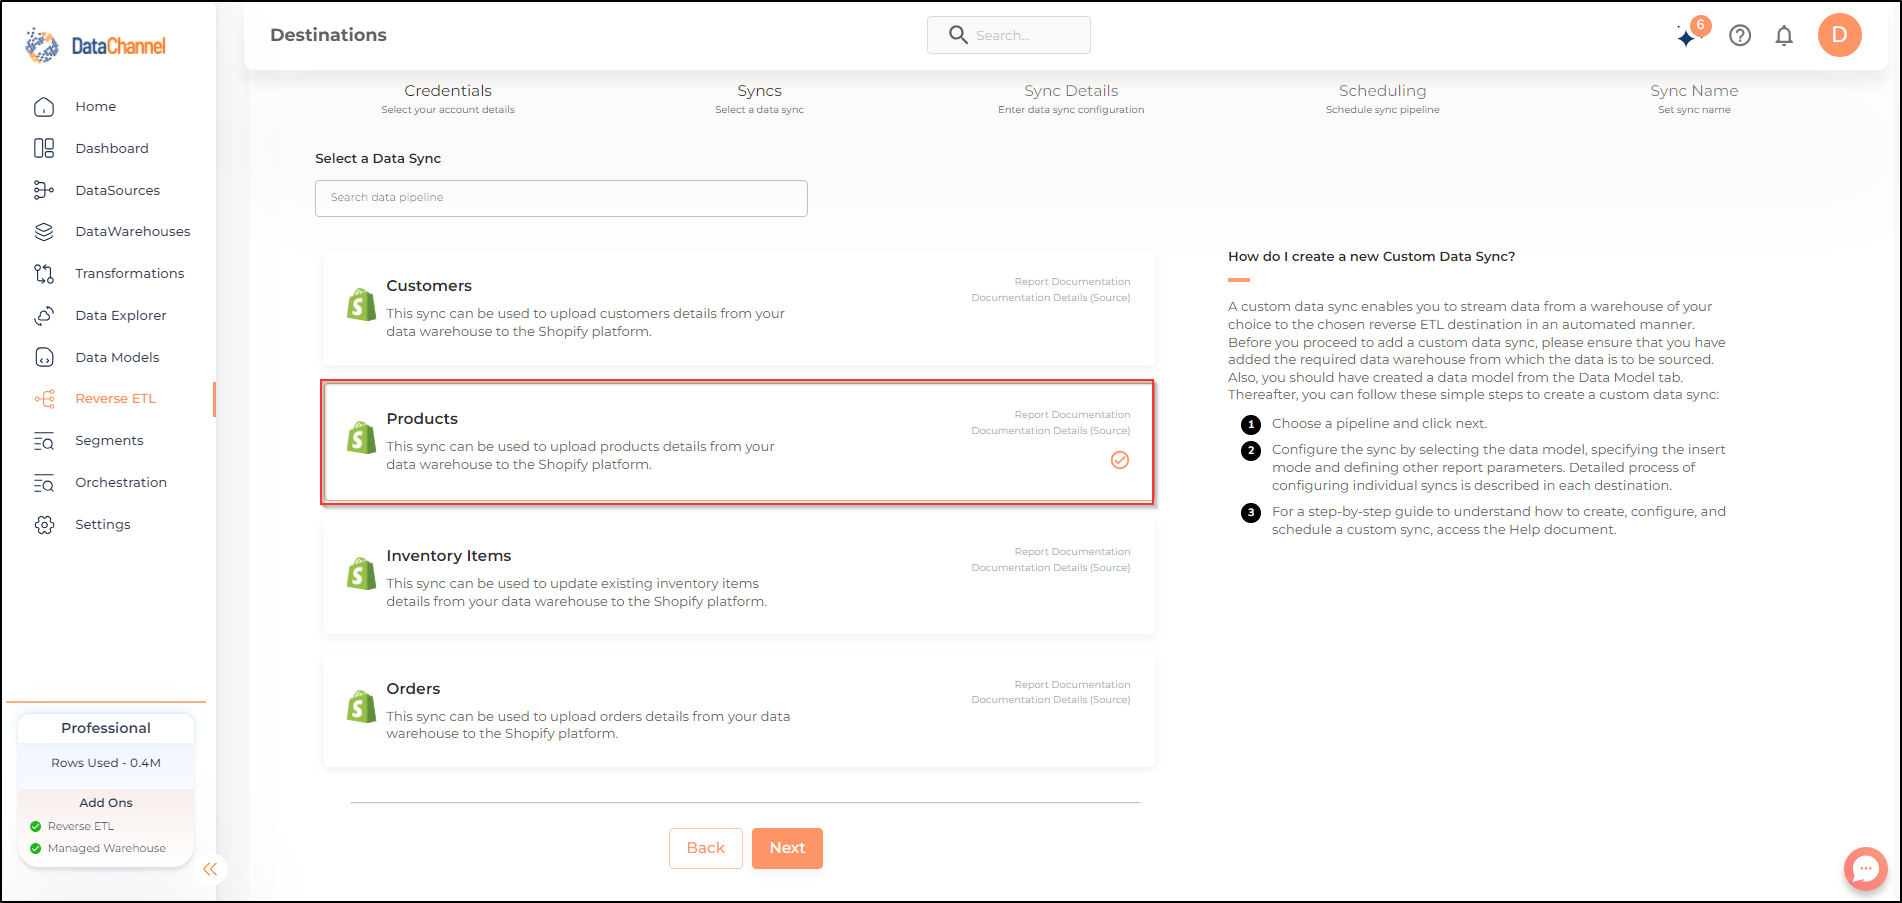
Select Products & click Next

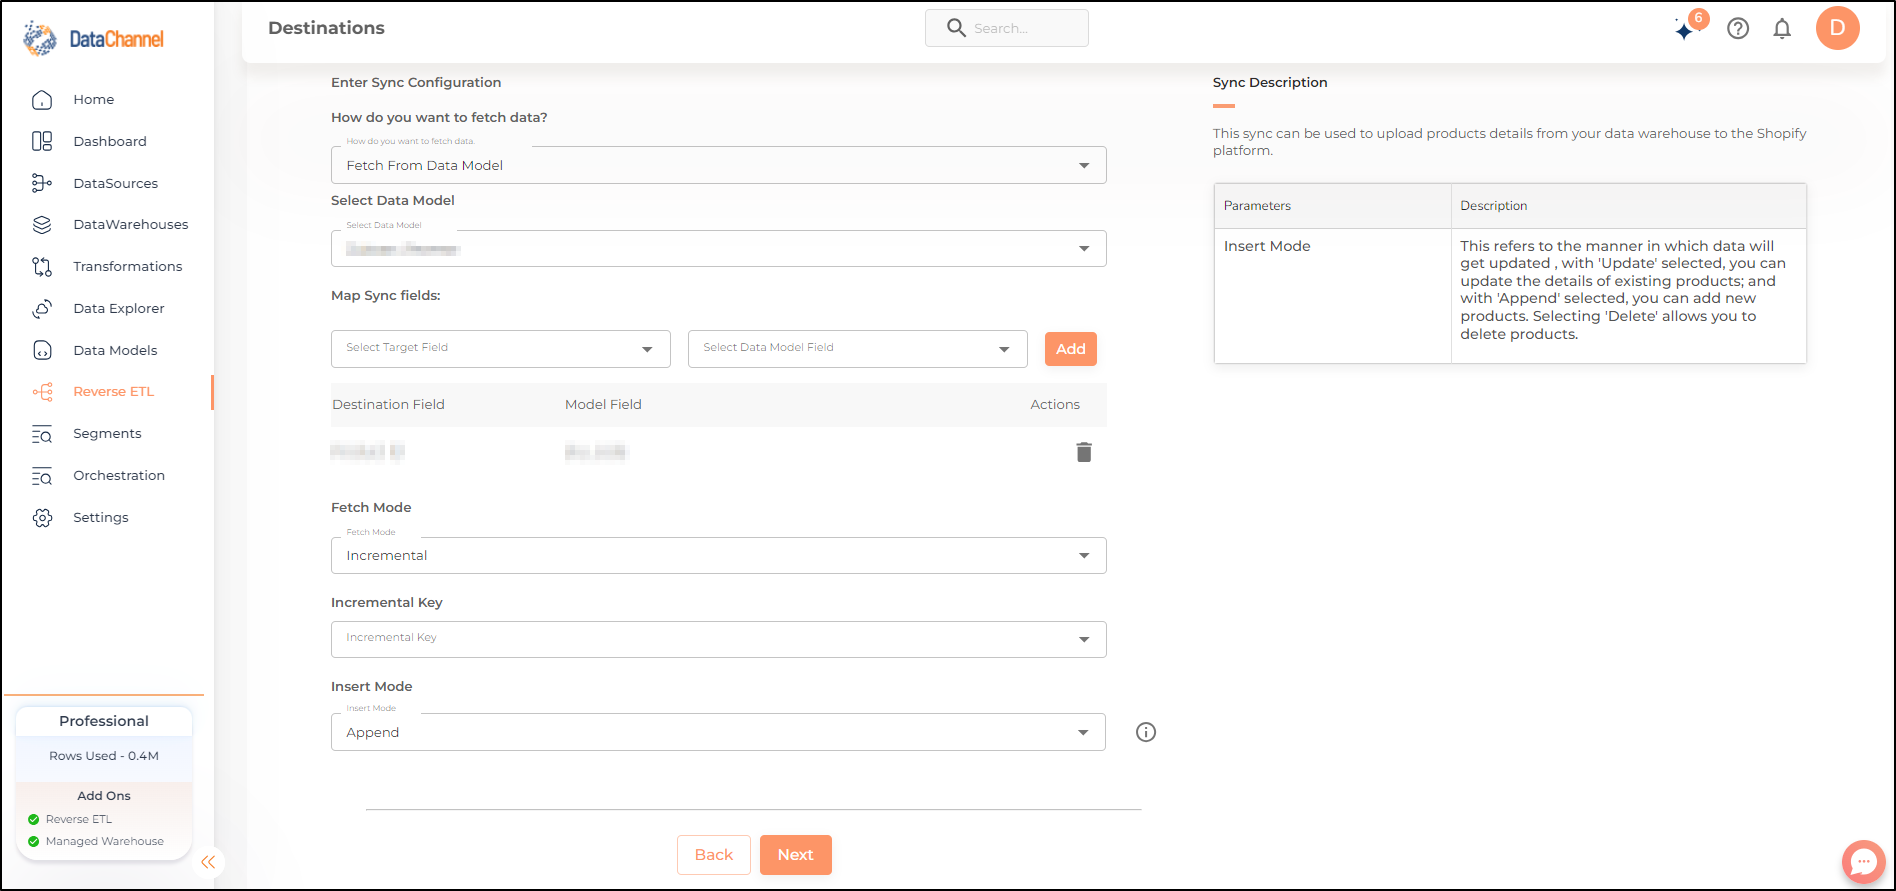
- How do you want to fetch data?
-
Select whether you want to fetch data from the Data Model or from Table/ View.
- Data Model
-
In case you want to fetch data using Data Model, select the data model that you would like to use for this sync. Checkout how to configure a model here.
- Data Warehouse
-
In case you want to fetch data using Table/ View, select the data warehouse that you would like to use for this sync.
- Table / View
-
Select the Table/ view in the data warehouse that you would like to use for this sync.
Setting Parameters

| Parameter | Description | Values |
|---|---|---|
Map Fields |
Required This refers to the manner in which data will get updated from the data warehouse to your Shopify account. Select a destination field and model field, and click Add. |
{Destination Field, Model Field} |
Fetch Mode |
Required This refers to the manner in which data will get updated : FULL will update the entire column(s) from the selected data, INCREMENTAL will update the fresh record(S) added since last fetch |
Default Value: FULL |
Incremental Key Dependant |
Required (If Fetch Mode = Incremental) Choose the field which will serve as Incremental key. |
Select Incremental Key |
Insert Mode |
Required This refers to the manner in which data will get updated , with 'Update' selected, you can update products details and with 'Append' selected, you can add new products. Selecting 'Delete' allows you to delete products. |
Default Value: Append |
Data Sync Scheduling
Set the schedule for the sync to run. Detailed explanation on scheduling of syncs can be found here
Dataset & Name
Give your sync a name and some description (optional) and click on Finish to save it. Read more about naming and saving your syncs including the option to save them as templates here
Still have Questions?
We’ll be happy to help you with any questions you might have! Send us an email at info@datachannel.co.
Subscribe to our Newsletter for latest updates at DataChannel.