Setup Guide - Clickhouse
Follow our setup guide to reverse ETL to Clickhouse using DataChannel.
|
Prerequisites
To connect Clickhouse to DataChannel, you need:
|
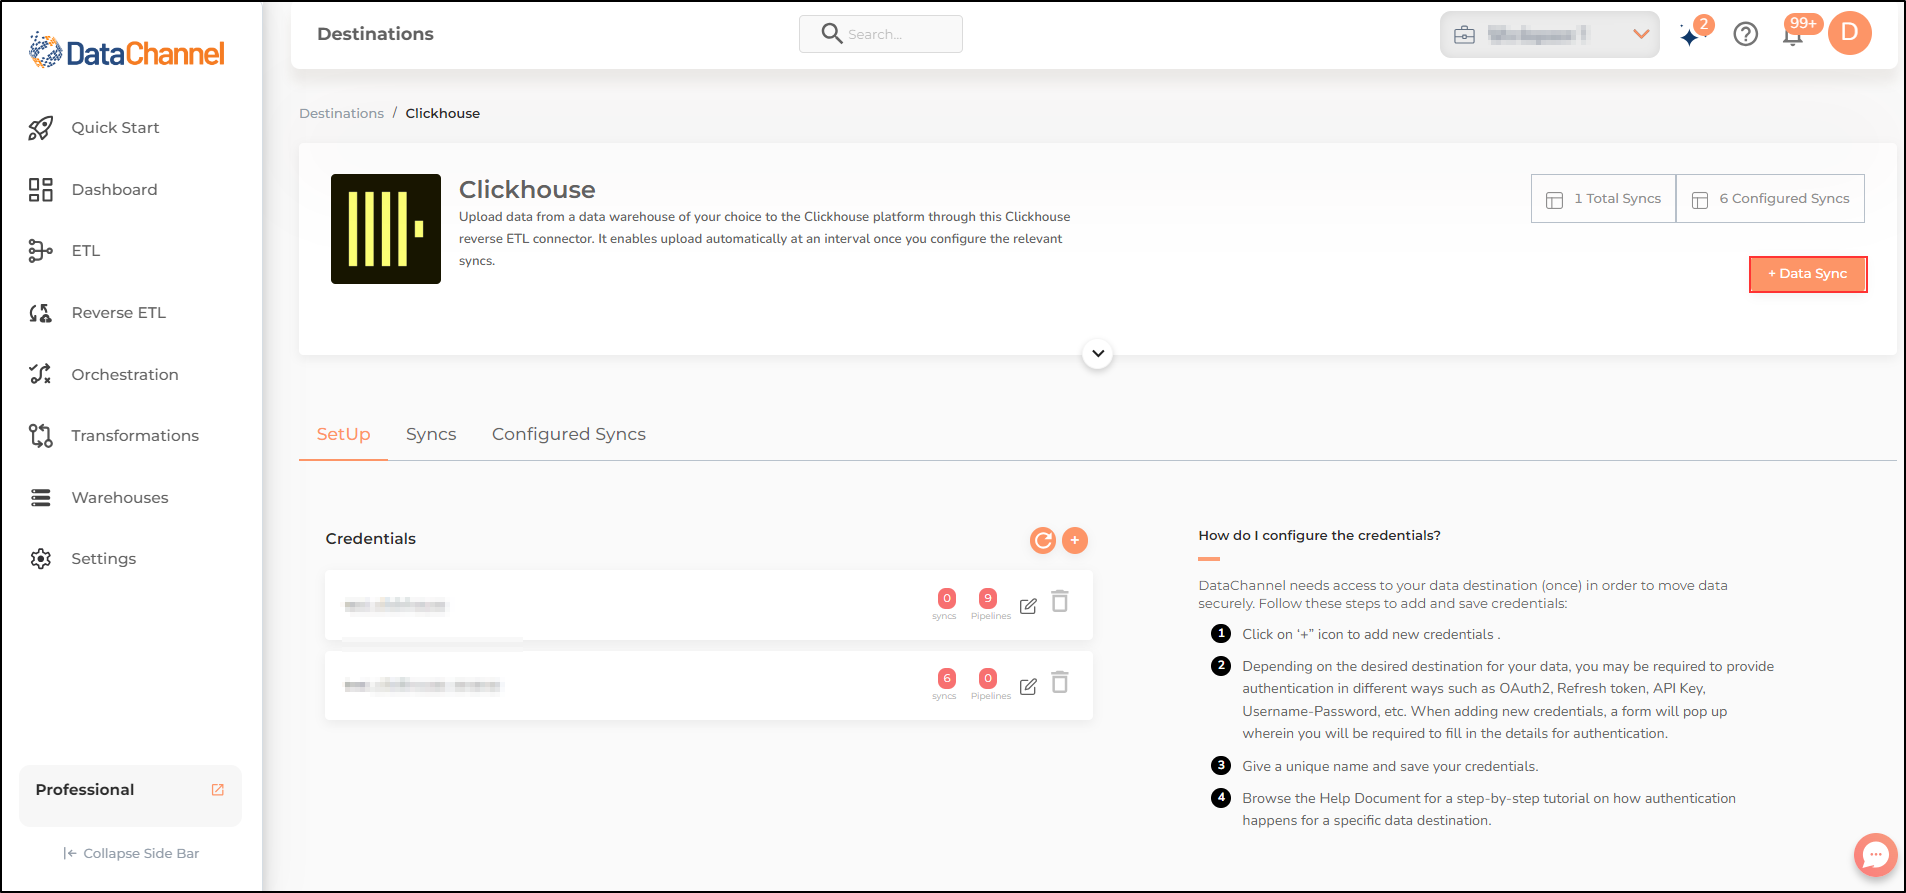
Setup instructions
-
Create a data model and specify the data warehouse from which you want the data for your ClickhouseDB. If you have not yet added a data warehouse, go to data warehouse tab and add a warehouse.
-
Authorise DataChannel to connect to your ClickhouseDB using the following details:

| Field | Description |
|---|---|
Name |
Required Provide any name for your credentials. |
DB Host |
Required Provide the hostname or end-point for the database. |
Username |
Required Provide a username which will be used to create the tables and load data. This user needs to have all rights on the schema that you intend to use. In case you are creating a dedicated schema for the data from DataChannel (which is recommended), then this user can be the schema owner. |
Password |
Required Provide the password for the load user. |
DB Port |
Required Provide the port number for your Clickhouse database. |
DB Name |
Required Provide the name of the database. |
-
Click on + Data Sync to start adding data syncs to your account.
-
Details of individual syncs are available here.
Still have Questions?
We’ll be happy to help you with any questions you might have! Send us an email at info@datachannel.co.
Subscribe to our Newsletter for latest updates at DataChannel.