Familiarisation with the User Interface
Quick Start
Overview
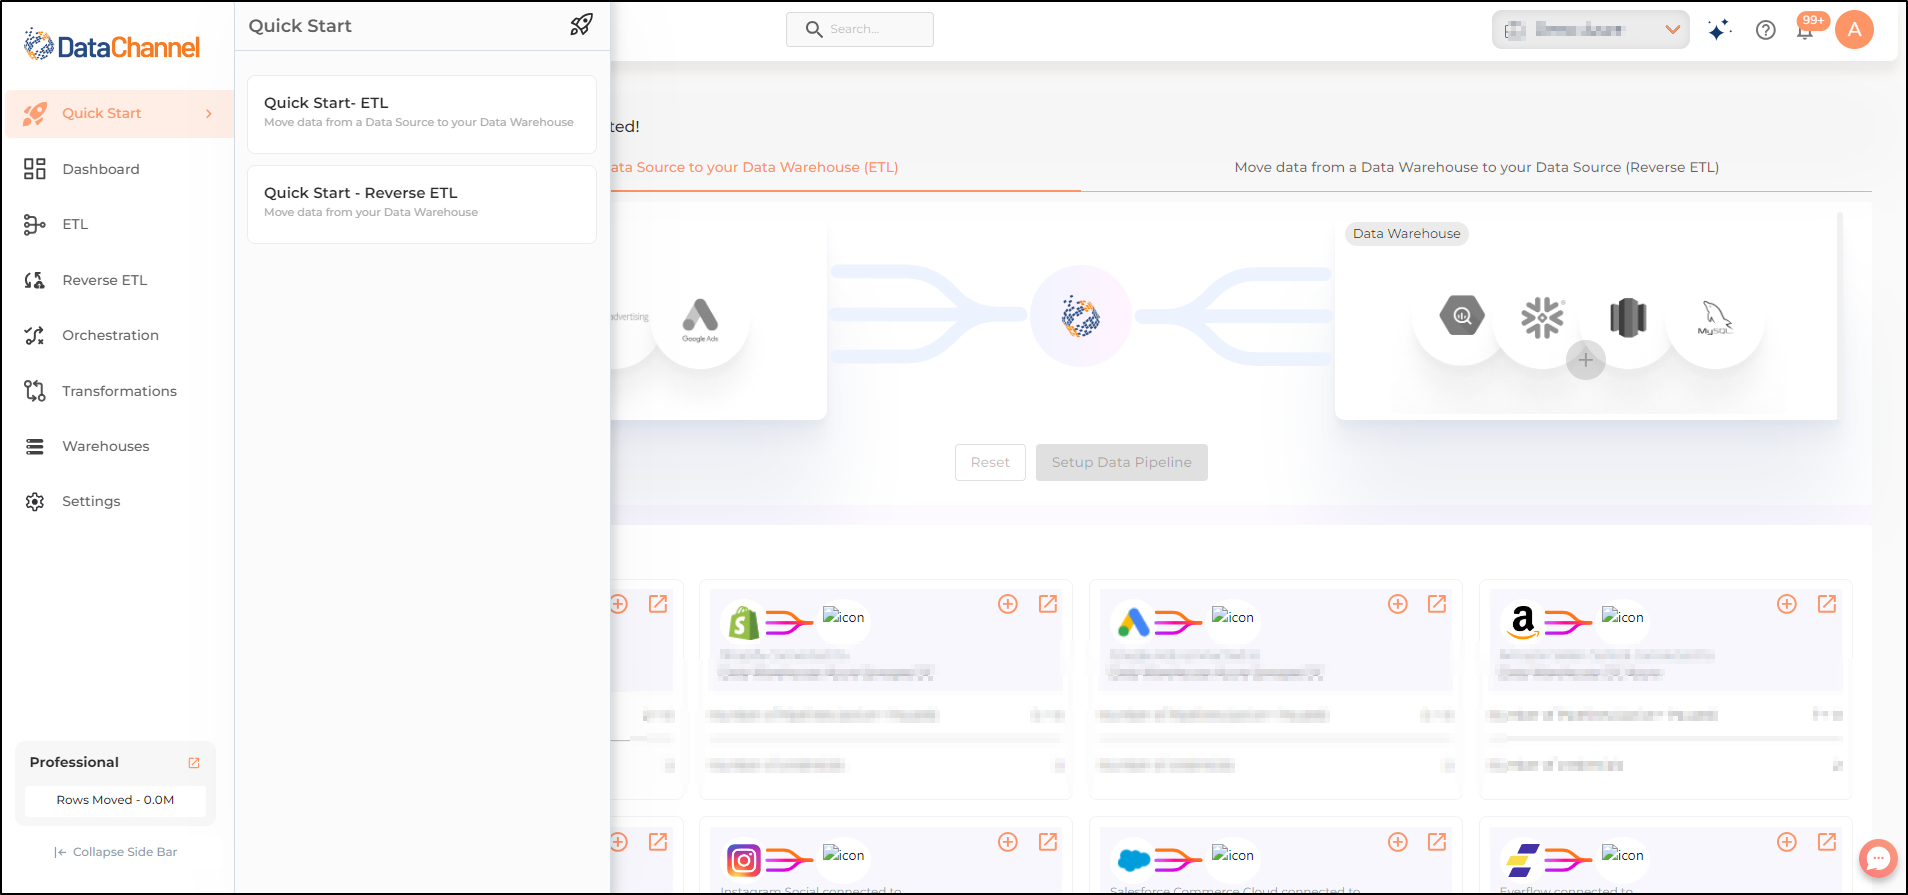
This section will help to familiarize you with the layout on the Home page of the DataChannel Console. You can access the home page by clicking on the Quick Start menu which is the topmost icon on the sidebar, right below the DataChannel Logo.
Forward Connector Wizard
-
Access the home page by clicking on Quick Start-ETL option in the Quick Start Tab. Once there, you’ll notice that the Main UI screen on the Home page is divided into two side-by-side panes which allow you to access the forward and reverse connector wizards.
-
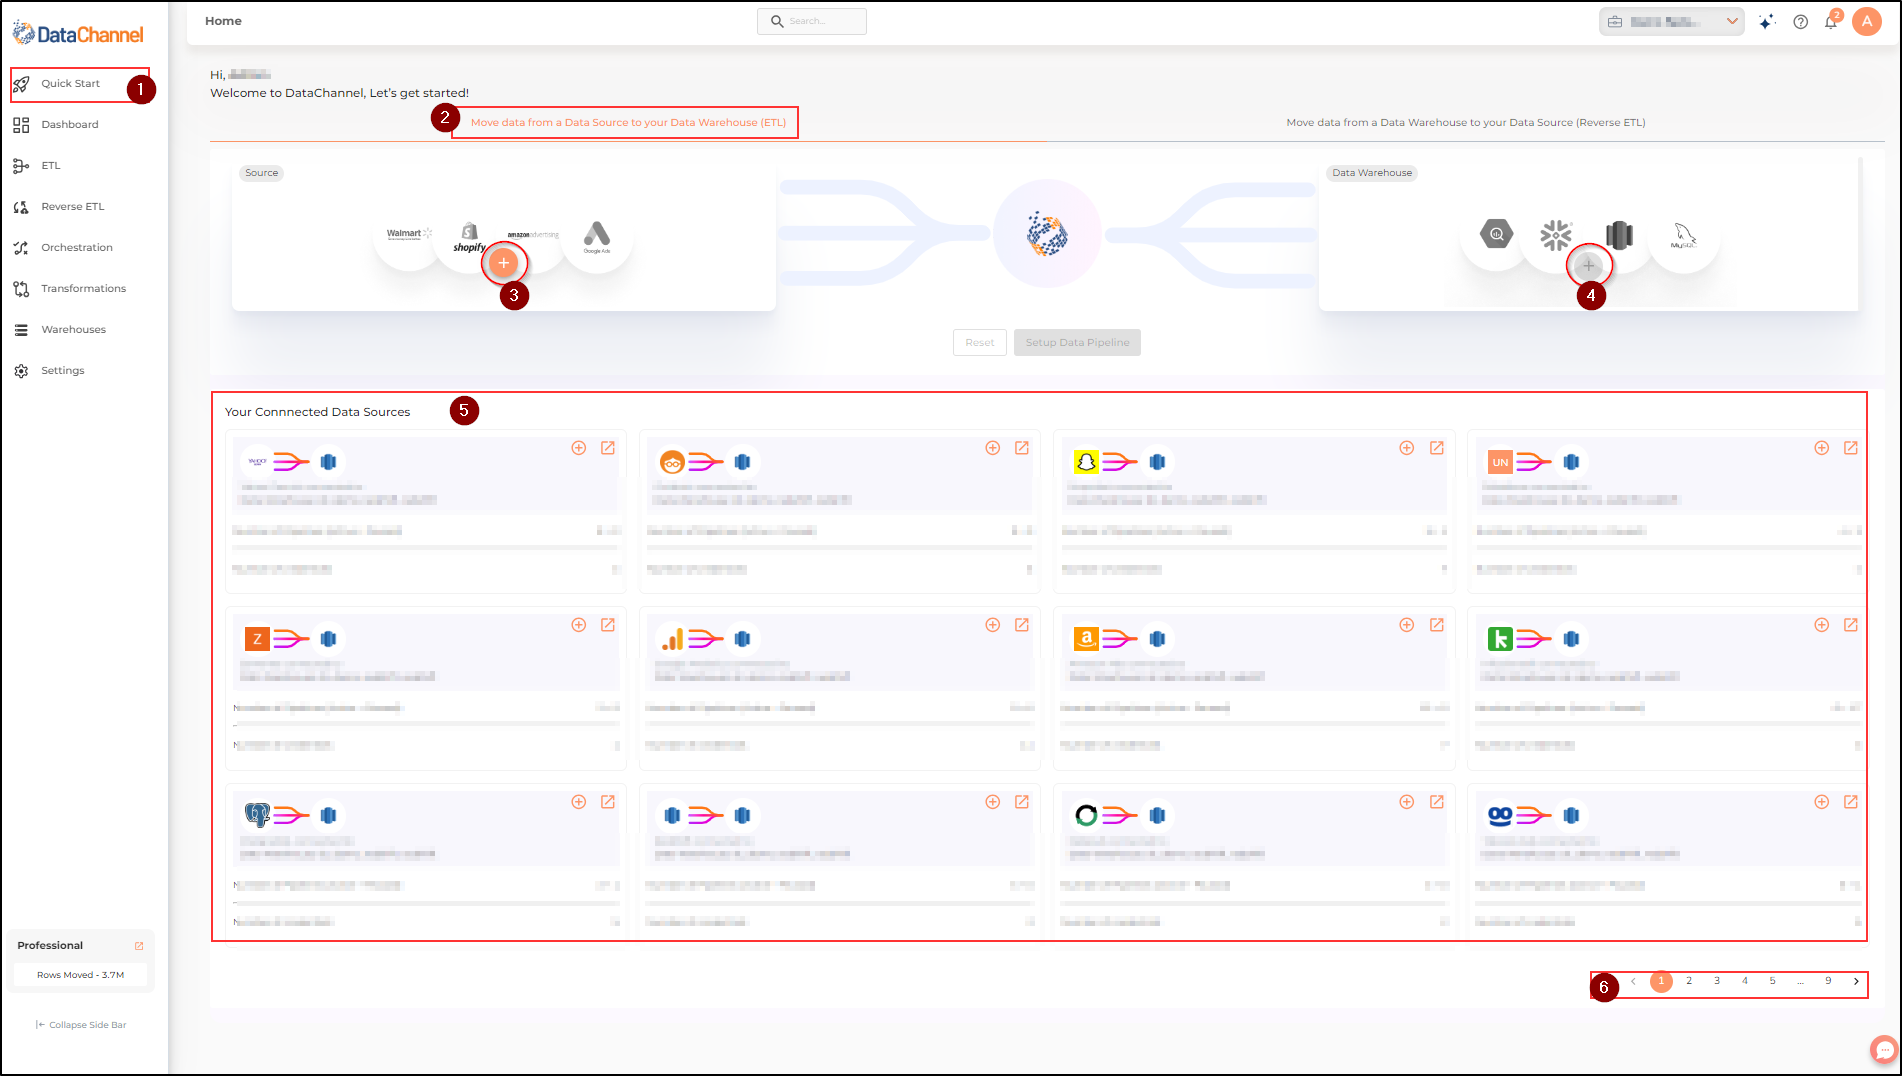
The first pane which is the forward connector wizard gives access to the Move data from a Data Source to your Data Warehouse (ETL) tab.
-
Click on the + button on the Data Source card. This will launch the Forward connector wizard, which will prompt you to choose the data source and add credentials (with access to the source data) for the forward connector.
-
Thereafter, click on the + button on the Data Warehouse card. The Forward connector wizard will prompt you to choose the data warehouse(if not already chosen) where you want to move the data. Once finished, click on the Setup Data Pipeline button and in hardly any time you have easily set up your Data Pipeline.
-
Once configured, Your connected Data Sources appear on the card below.
-
Navigating between different pages of the Your connected Data Sources card is possible through the page numbers on the navigation bar, near the bottom right corner of the home page.
Reverse Connector Wizard
-
Access the home page by clicking on Quick Start-Reverse ETL option in the Quick Start Tab. Once there, you’ll notice that the Main UI screen on the Home page is divided into two side-by-side panes which allow you to access the forward and reverse connector wizards.
-
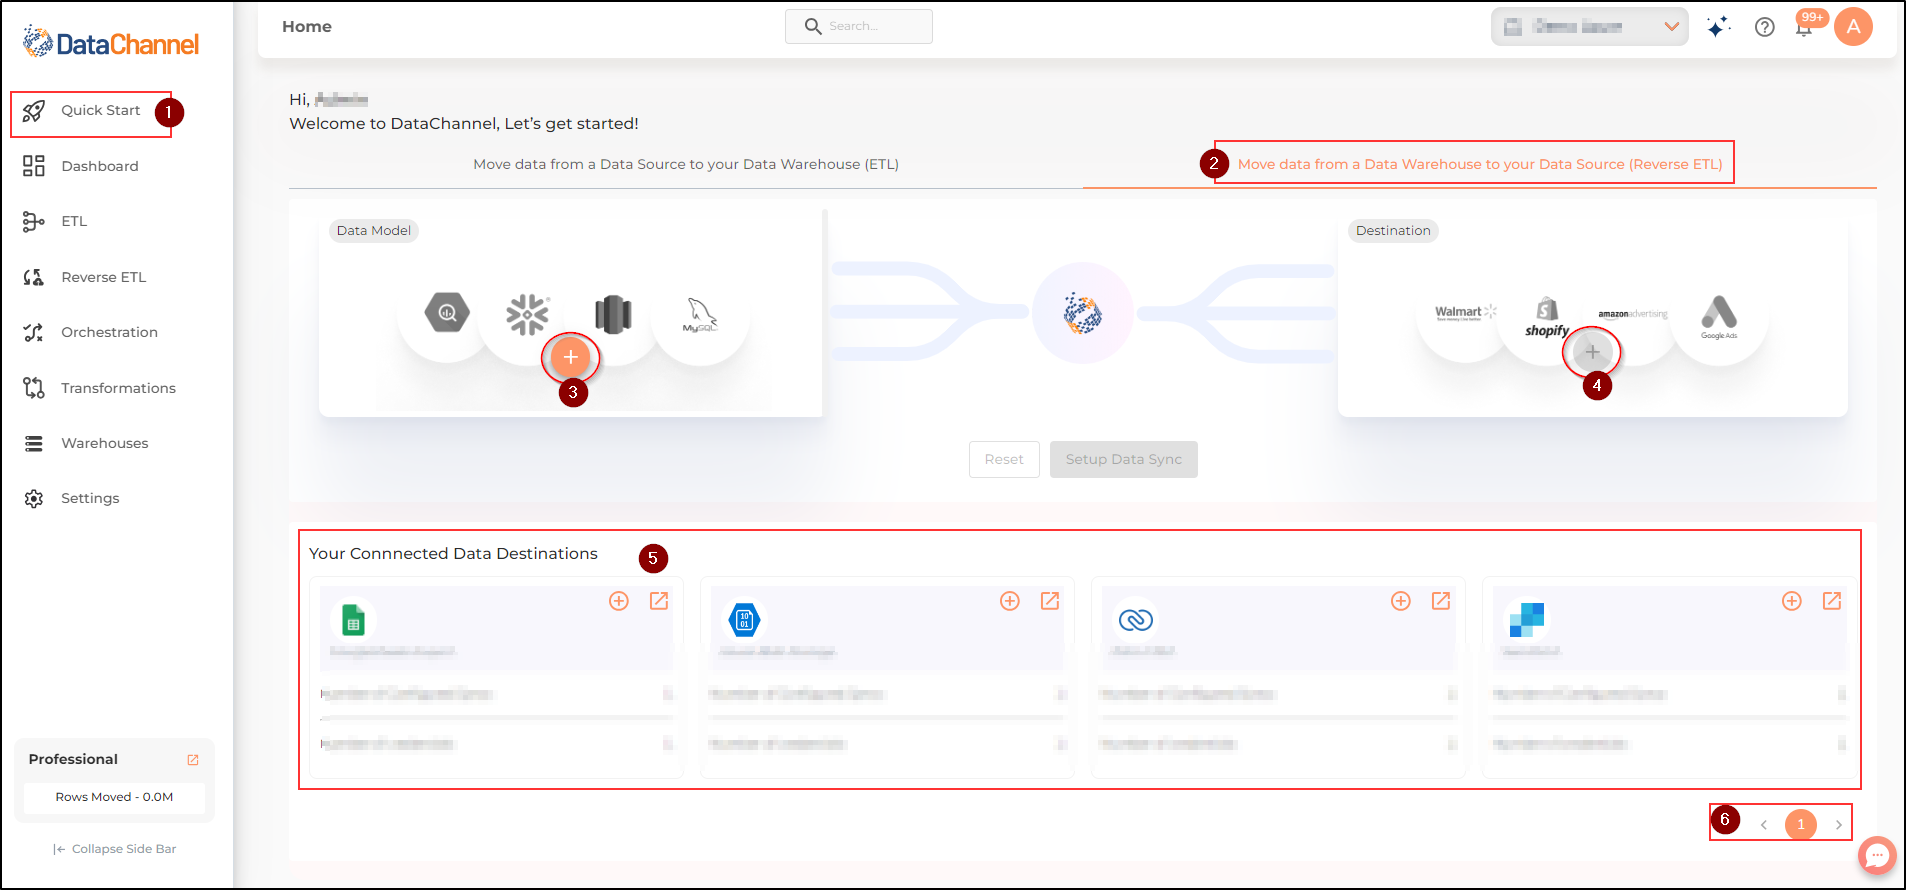
The second pane which is the reverse connector wizard gives access to the Move data from a Data Warehouse to your Data Source (Reverse ETL) Tab.
-
Click on the + button on the Data Model card. This will launch the Reverse connector wizard, which will prompt you to select the Data Model/ Segment you want to connect.
-
Thereafter, click on the + button on the Destination card. The Reverse connector wizard will prompt you to choose the data destination(from the list of supported destinations) where you want to move the data. You will then be asked for the credentials (with access to the destination) for the reverse connector. Once finished, click on the Connect Reverse Connector button to finish setting up the reverse connector.
-
Once configured, Your connected Data Destinations appear on the card below.
-
Navigating between different pages of the Your Connected Data Destinations card is possible through the page numbers on the navigation bar, near the bottom right corner of the home page.
Still have Questions?
We’ll be happy to help you with any questions you might have! Send us an email at info@datachannel.co.
Subscribe to our Newsletter for latest updates at DataChannel.