Adding users to a Workspace
Once you have created a workspace, you’ll need to add users to it and assign roles to each user.
-
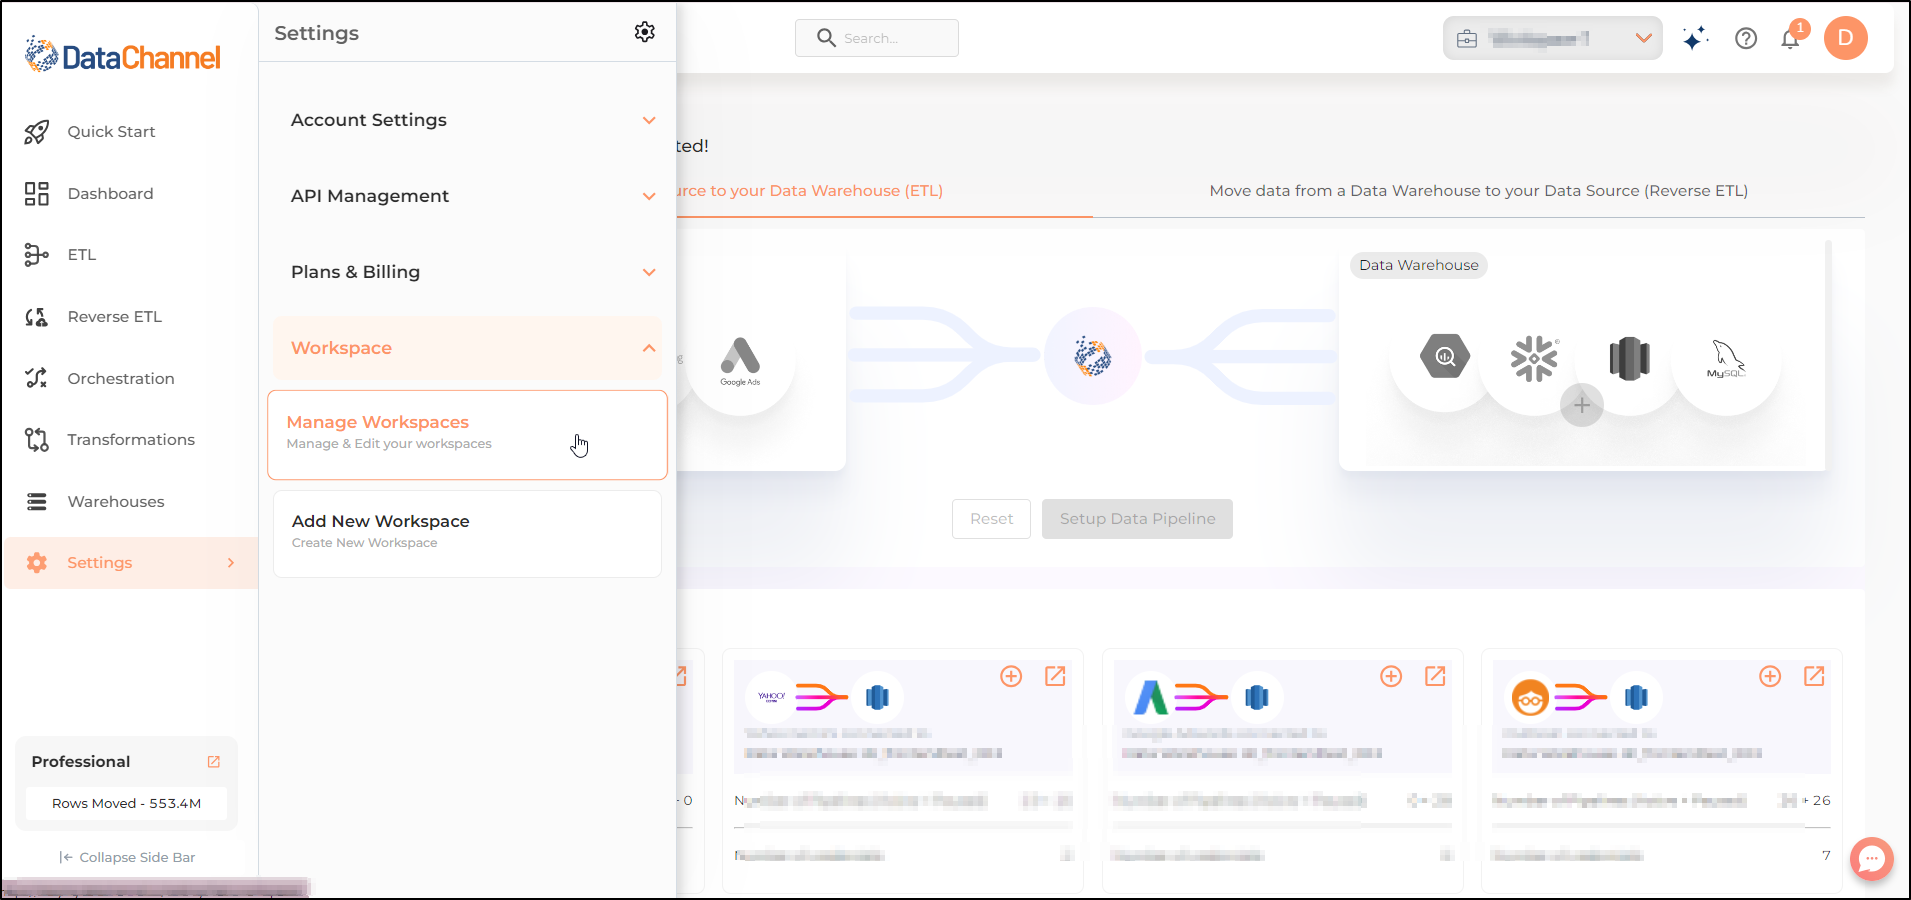
Go to the Settings tab which is the bottommost icon on the sidebar.
-
Go to the Workspace menu and select the Manage Workspaces option, to manage all your Workspaces in one place.
-
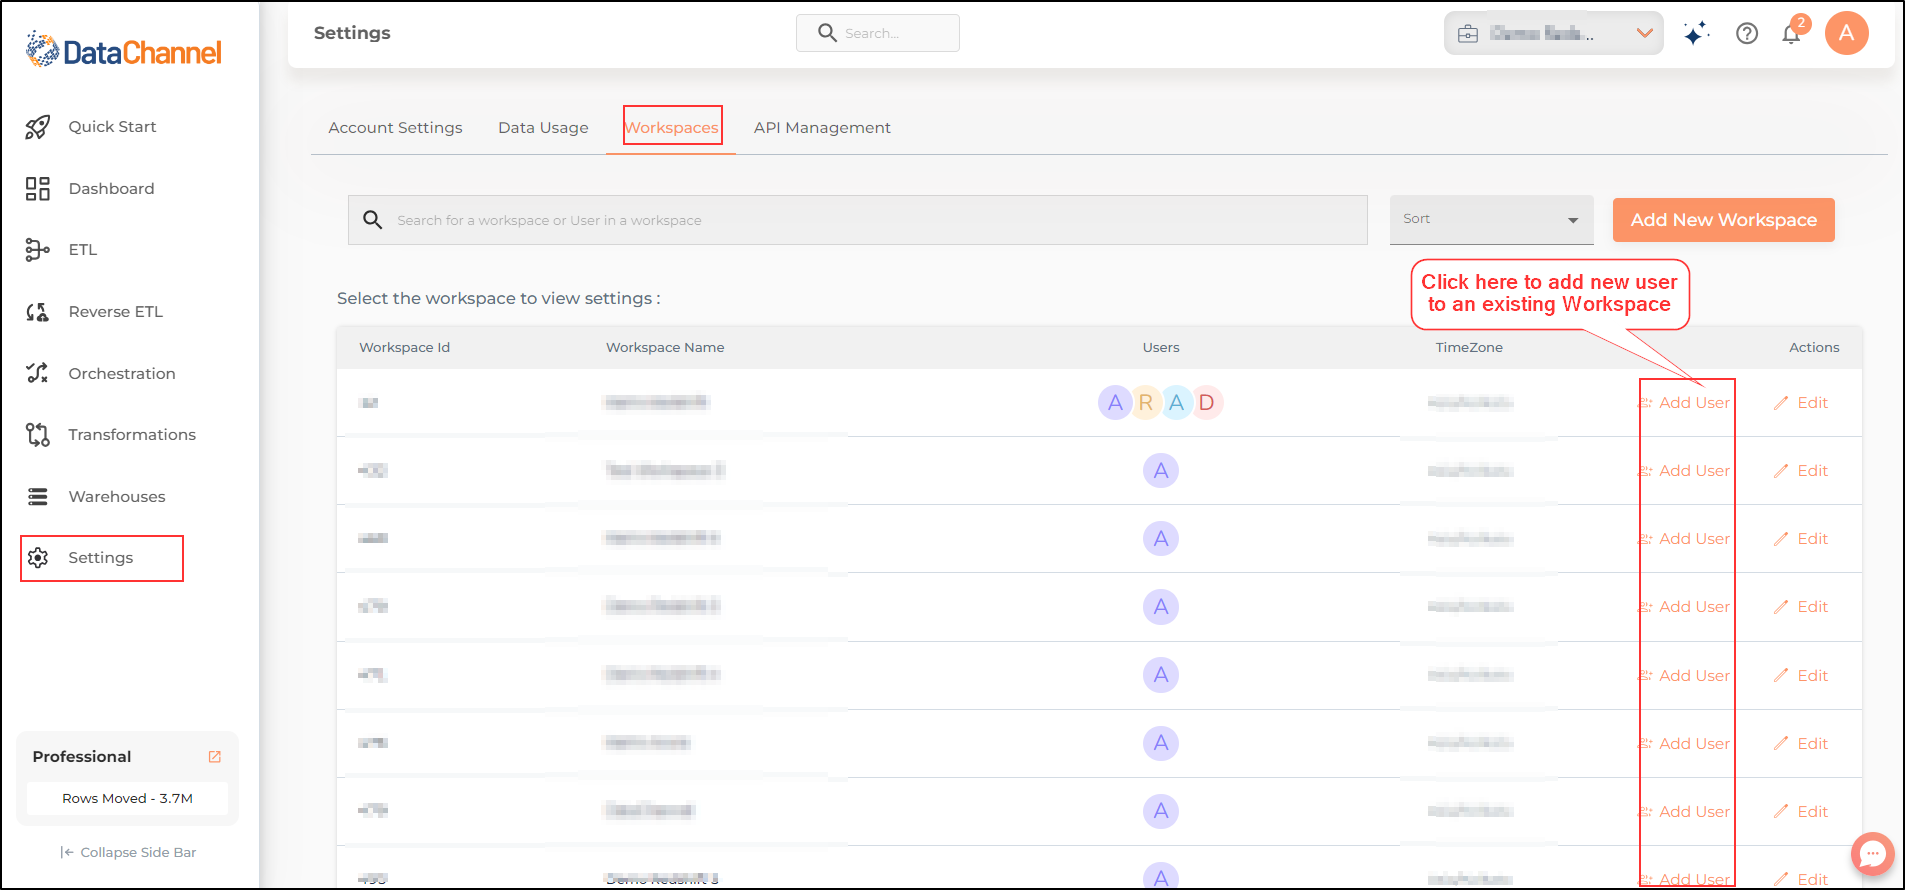
You can view the list of all the workspaces added to your account here.
-
You can add a user to the workspace by clicking on the Add User.
-
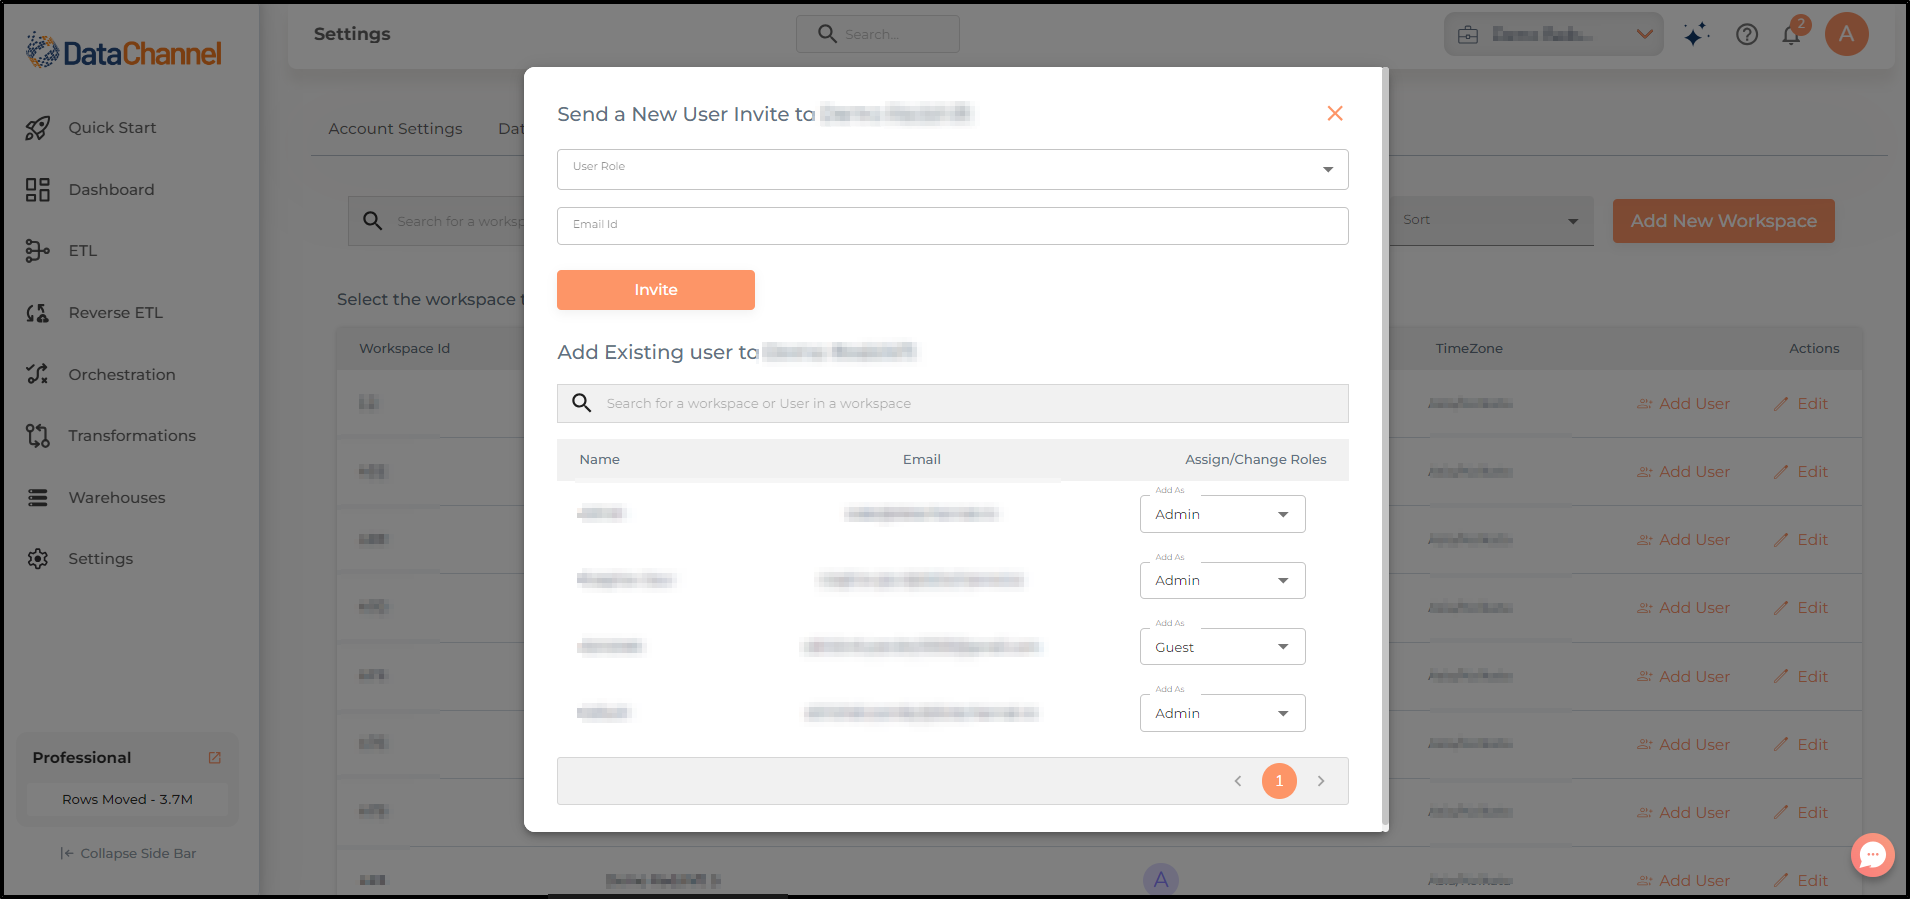
A pop-up will ask you for the user role and email for sending the invite. Once the details are added, click on Invite to send an invitation to verify the email address.
-
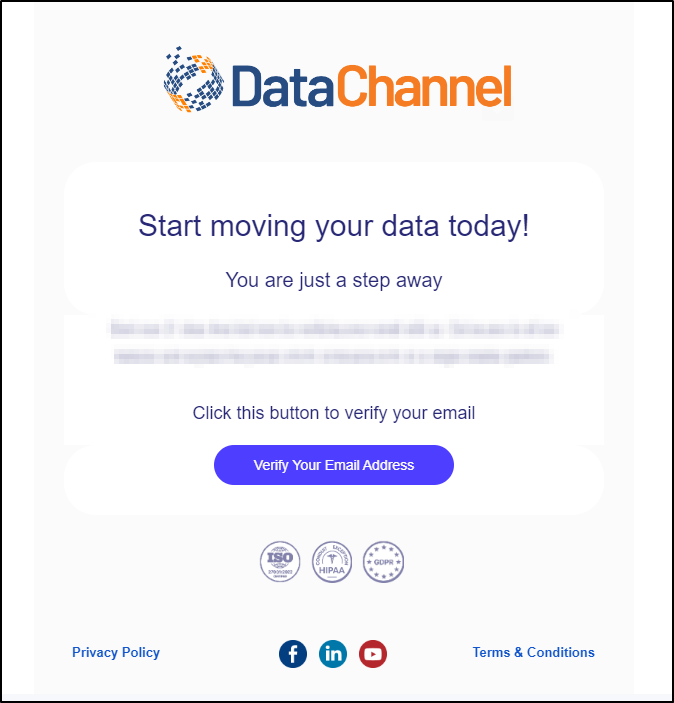
The added user will receive an invitation as shown below on the email id provided. Click on Verify your email address
-
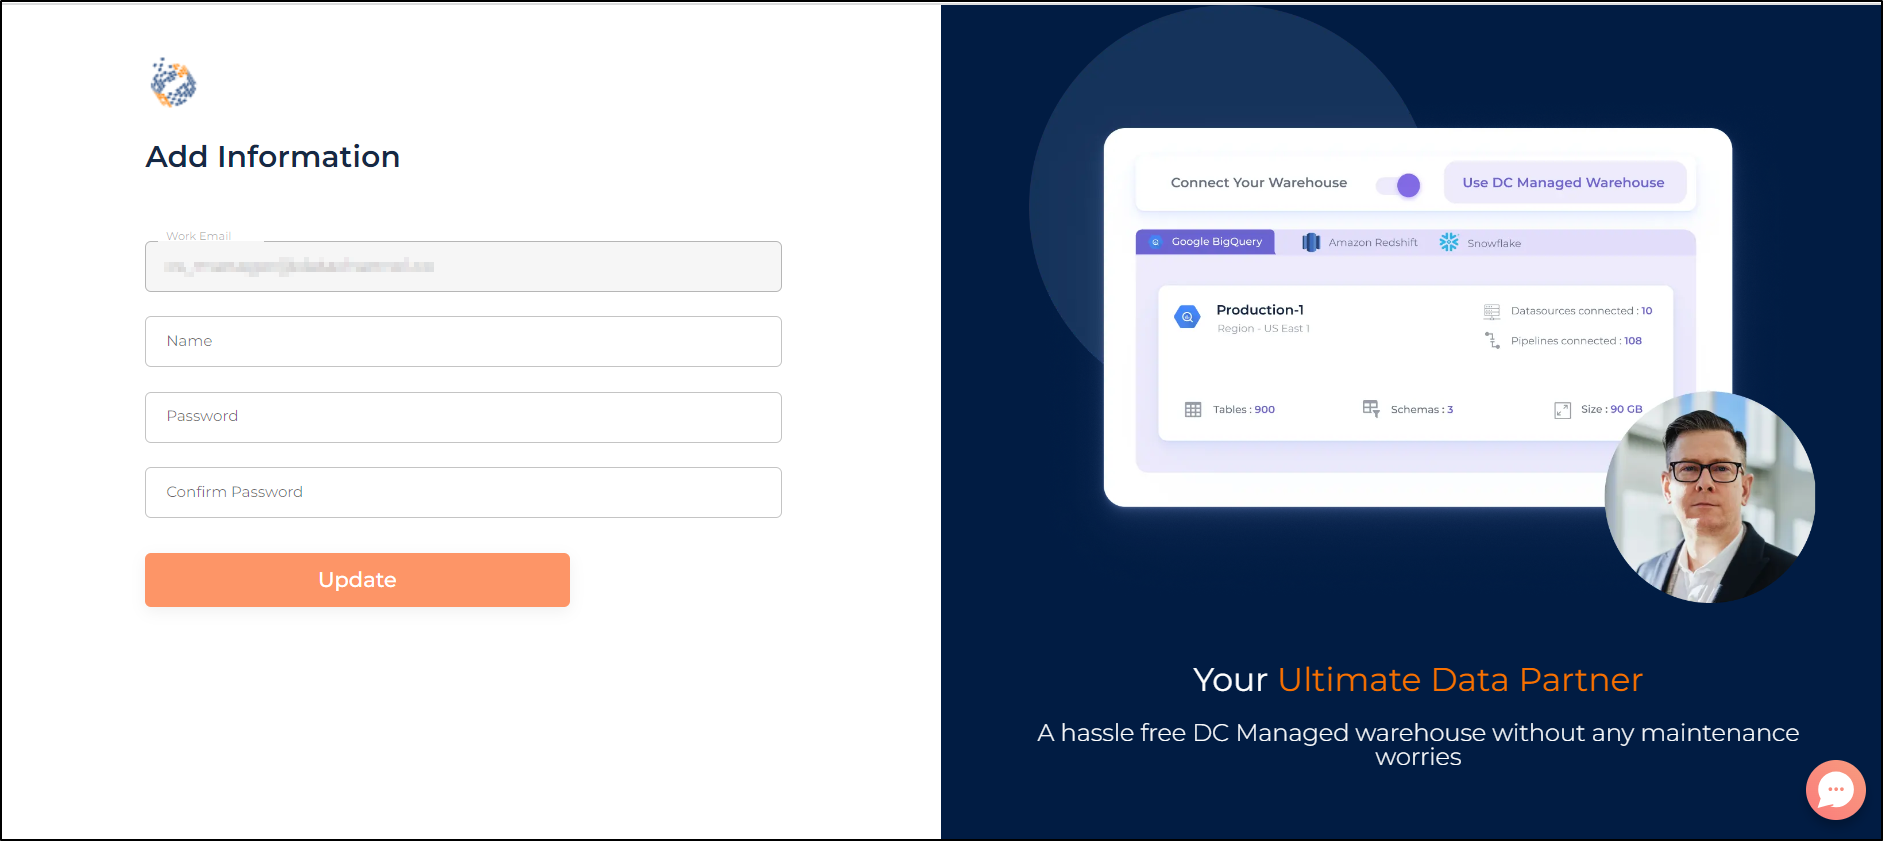
The user will be prompted to add details such as email and Name. We recommend you to select any strong password (containing upper and lowercase letters, symbols and numbers) to keep your account and information safe. Once done click on Update. The user must remember these details as these will be required to login to the Workspace.
-
Once verified, the user will be added to the Workspace.
Still have Questions?
We’ll be happy to help you with any questions you might have! Send us an email at info@datachannel.co.
Subscribe to our Newsletter for latest updates at DataChannel.