Onboarding Wizard
When you login for the first time, a Wizard will open up to guide you through the process of setting up your first Data Source and your Data Warehouse.
-
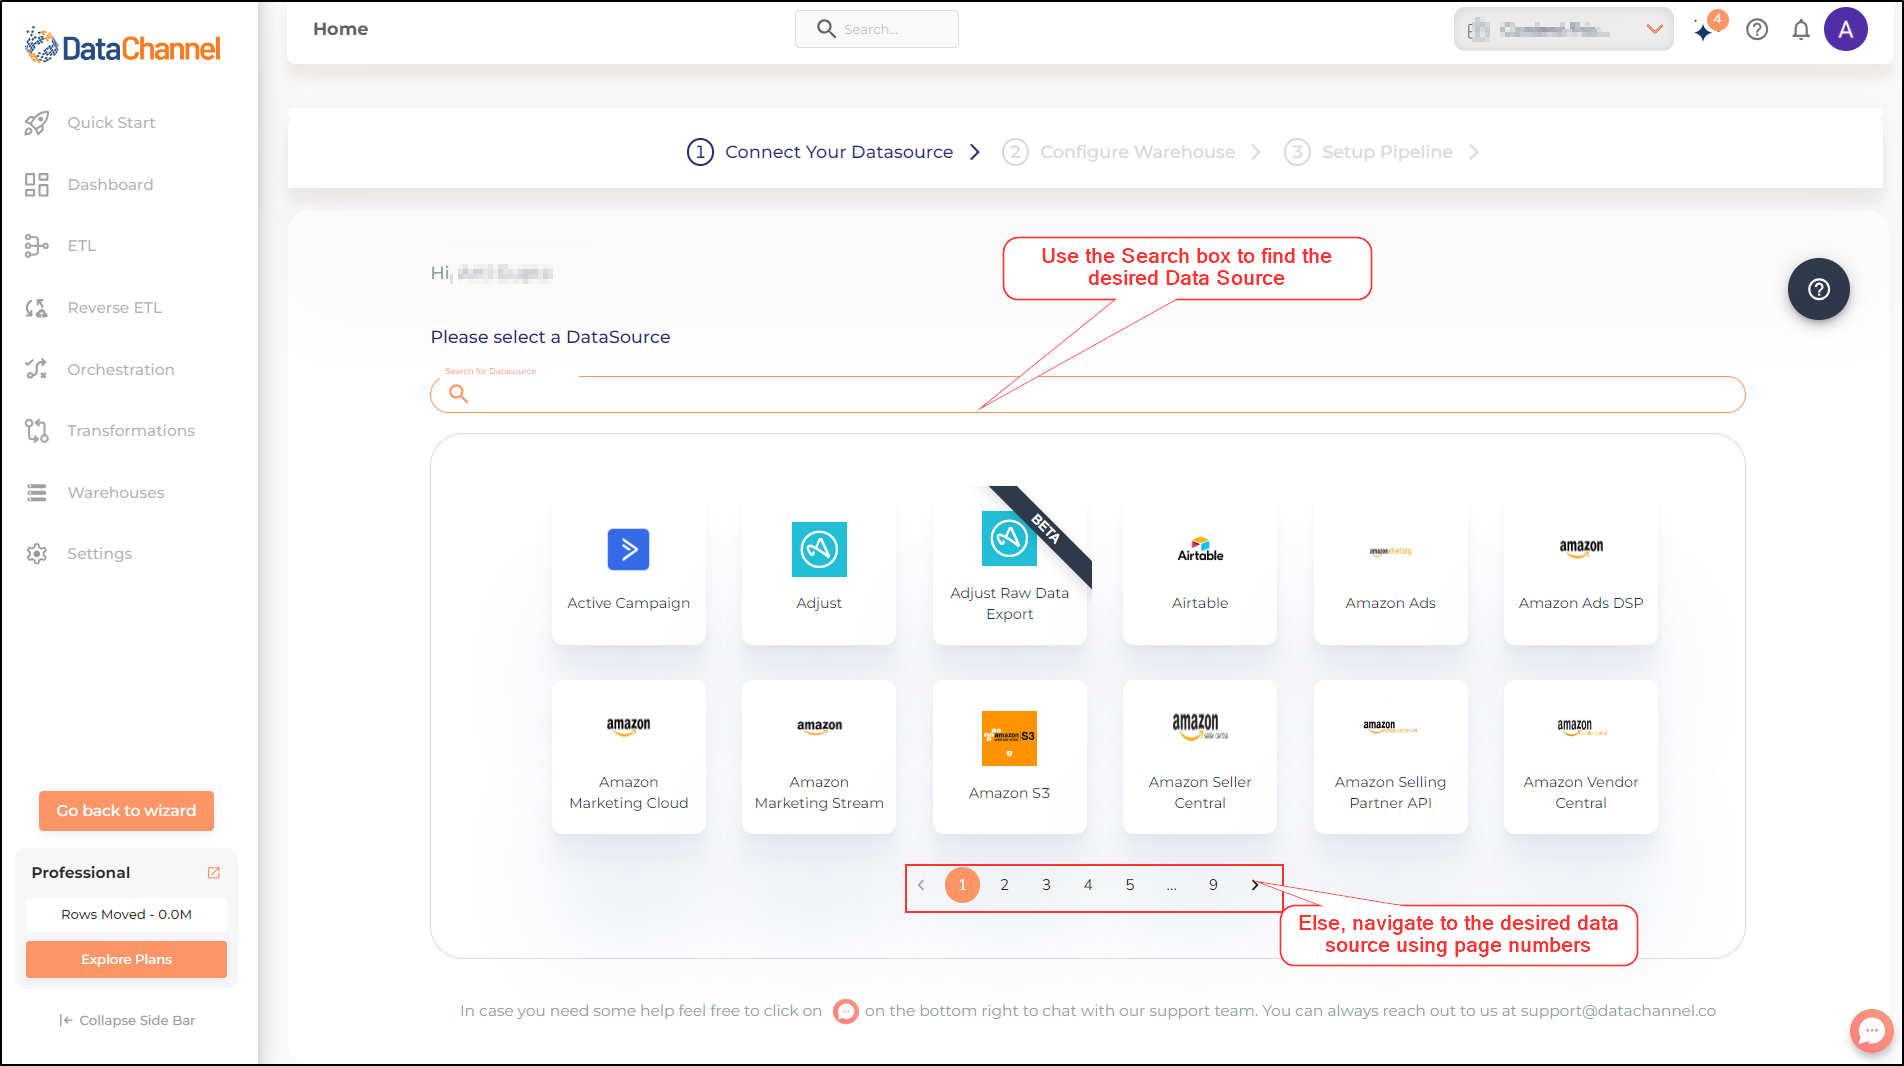
The Welcome screen will appear as under. Select the Data Source that you want to connect to. To find the desired Data source, you can navigate between different pages of the Welcome Screen (using the page numbers on the navigation bar near the bottom of the page).
-
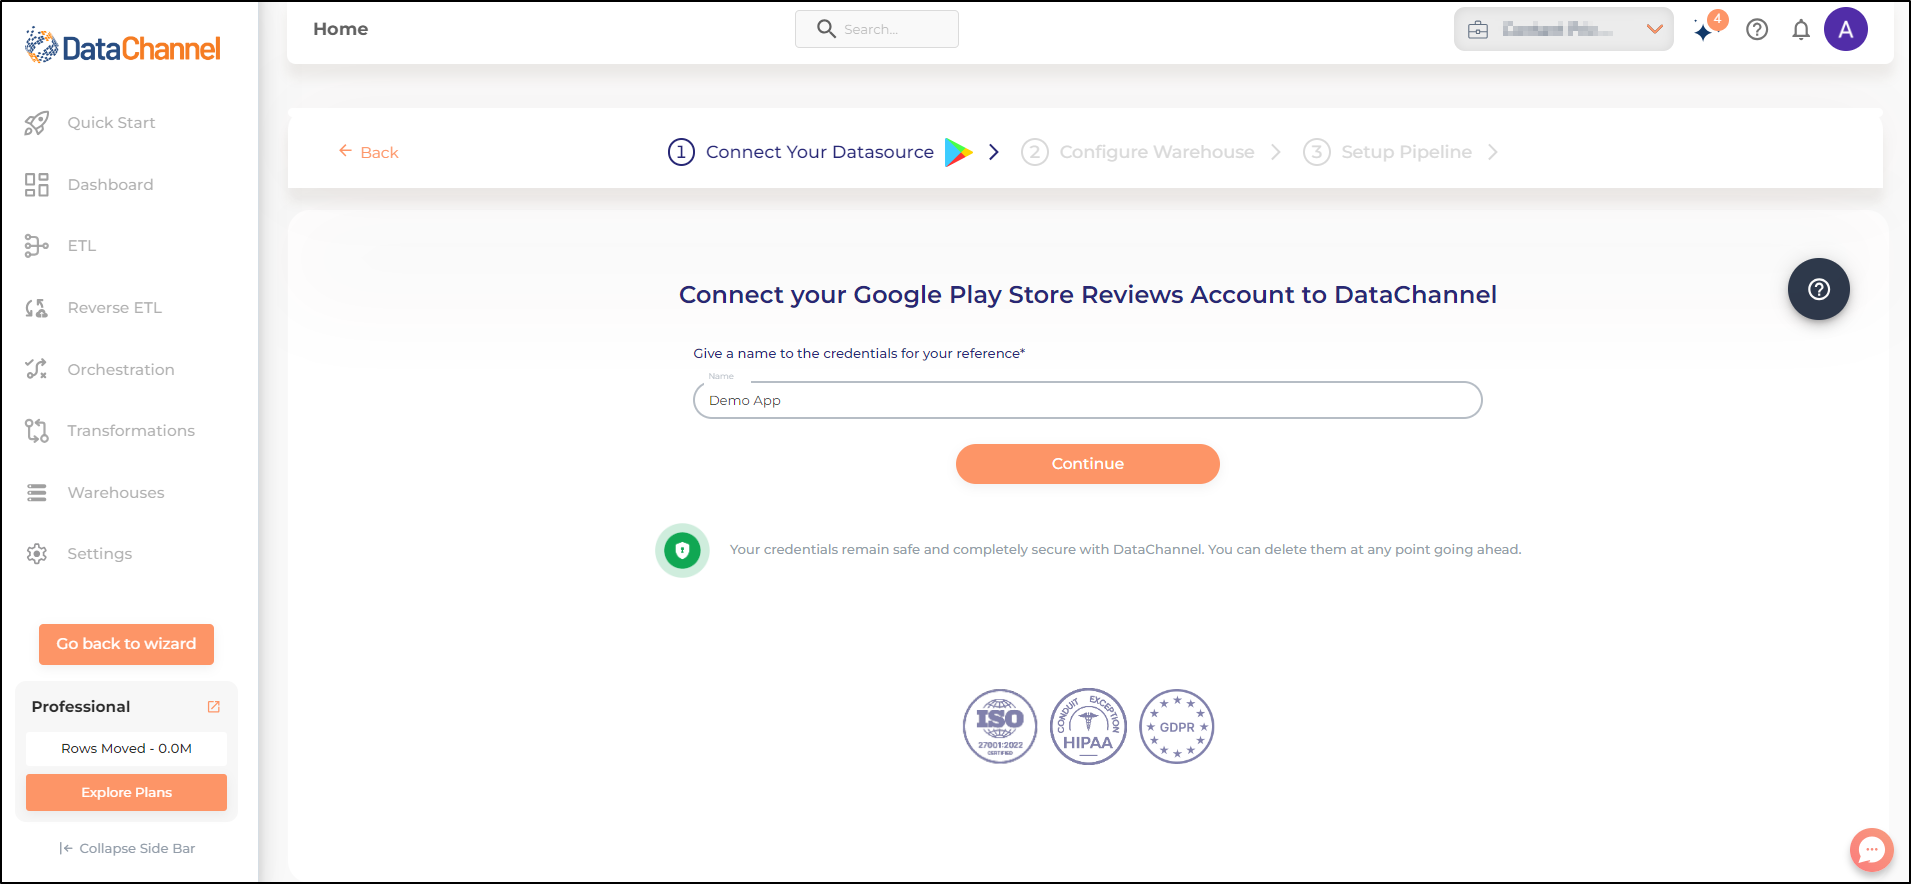
Once you have selected the desired Data Source, you will be prompted to give a name for identification of your credentials.
-
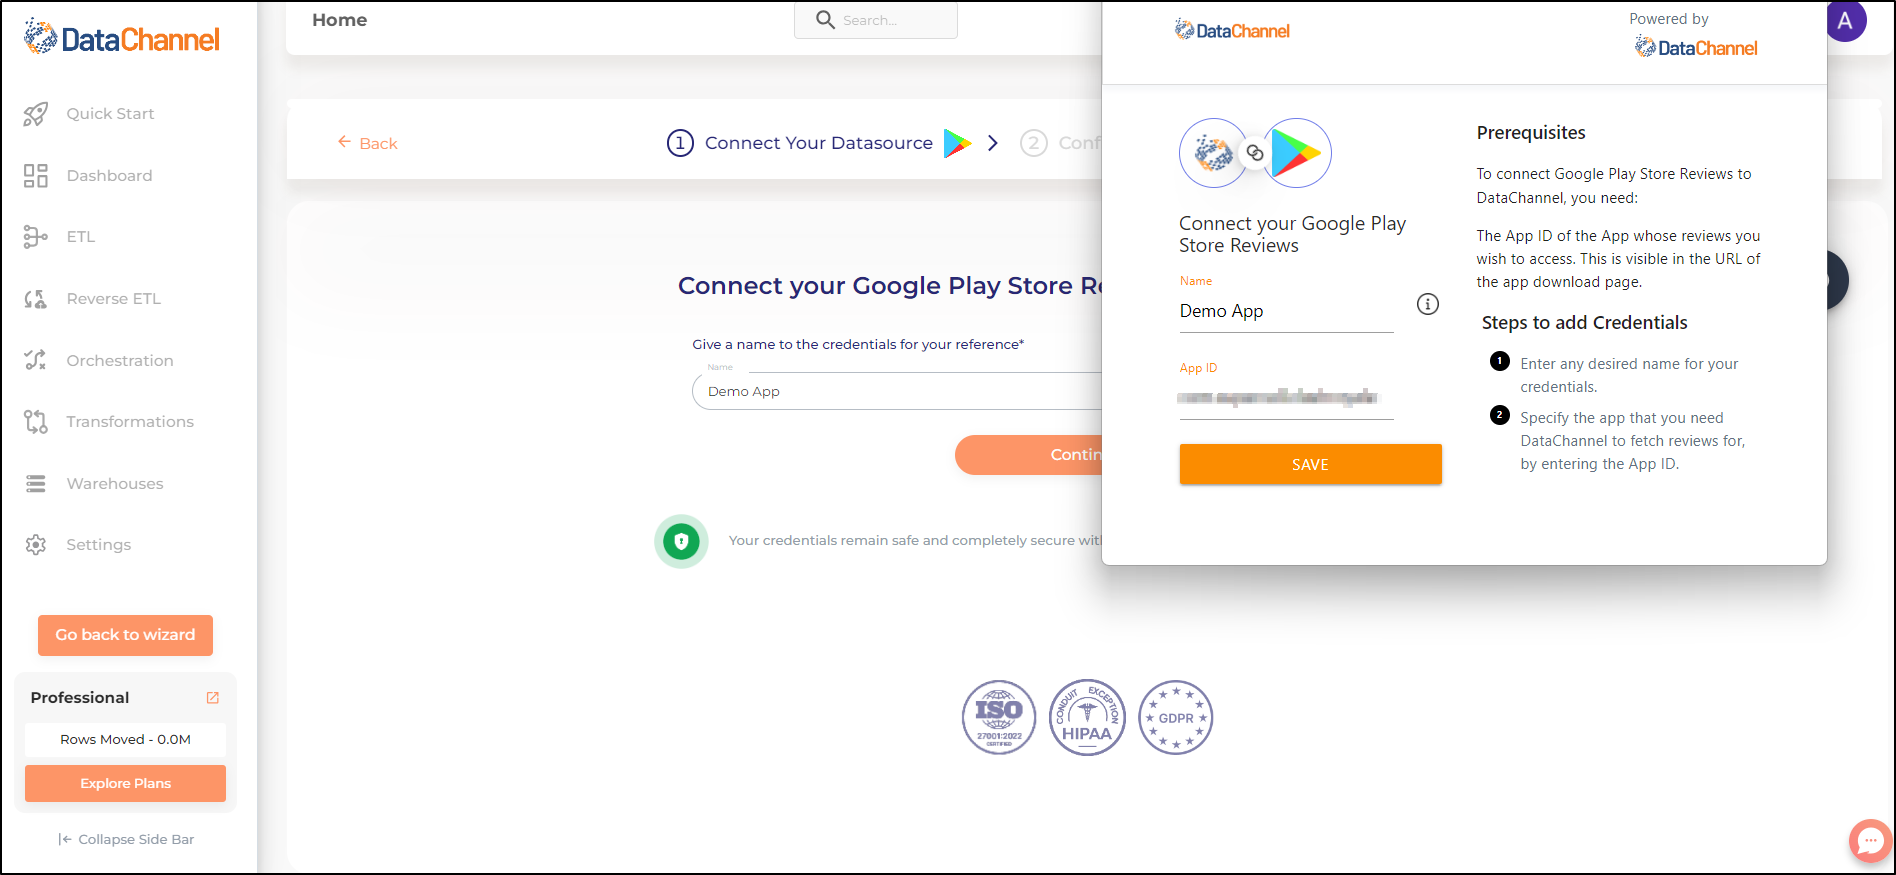
You will now be prompted to give the required details for authentication by the Data Souce being accessed. The details needed will depend upon the authentication mechanism followed by the API of the Data Source you are trying to connect. For more information regarding adding credentials, please refer the detailed documentation of the desired connector.
-
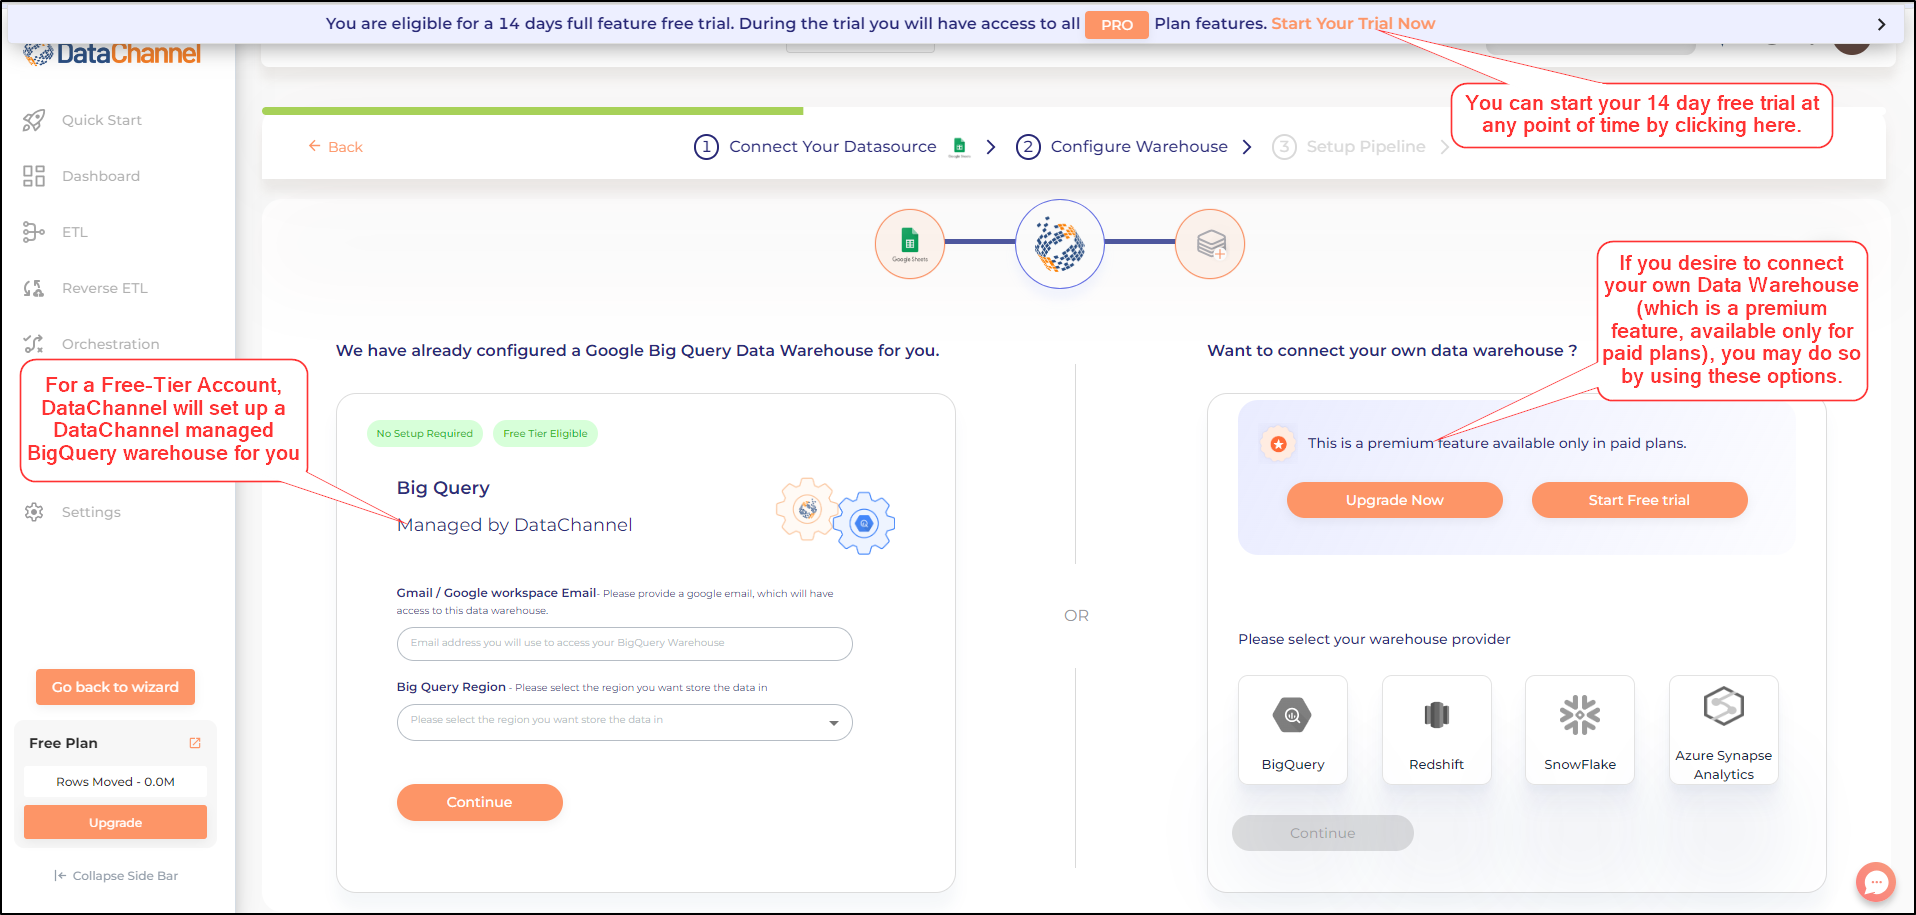
Next, you will configure a Data warehouse which will be the destination of the data you are moving. By default, the wizard will set up a free-tier account for you with a DataChannel managed Google BigQuery warehouse as the destination for your Data. In such case, the only details required from you would be your Gmail/ Google workspace email which will have access to this warehouse and the BigQuery region you want to setup your warehouse in. Please note that you have the option to start your 14 day free trial anytime after the setup.
-
If you desire to add your own Data warehouse (which is a feature available ony for paid plans), you can use the options on the right side of the screen to choose the desired data warehouse. Choose the appropriate option. If adding your own warehouse, the screen requesting the details of your warehouse would show up. Fill in the form, follow the instructions if any permissions are needed and then validate the configuration and save. The configration details required will vary depending on the warehouse chosen. For more details about each of these fields, please refer the detailed documentation of the desired Data Warehouse.
-
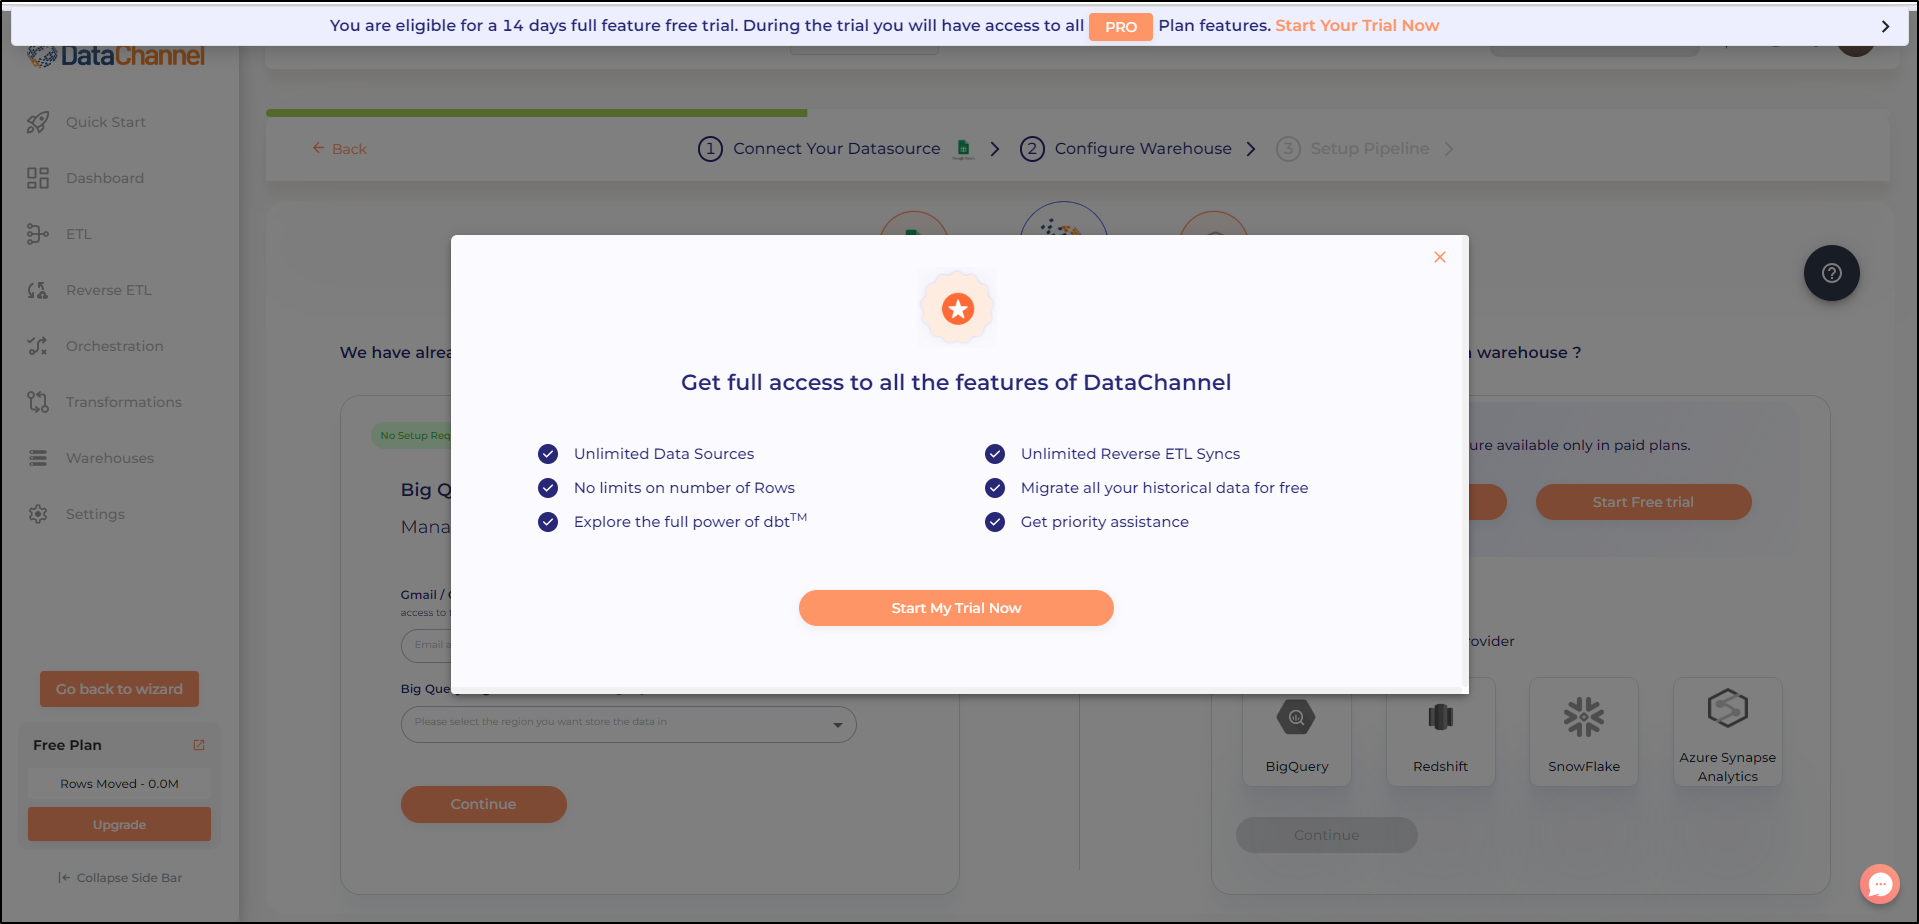
A pop up window will appear once you start your 14 day free trial. Click on Start my Trial Now.
-
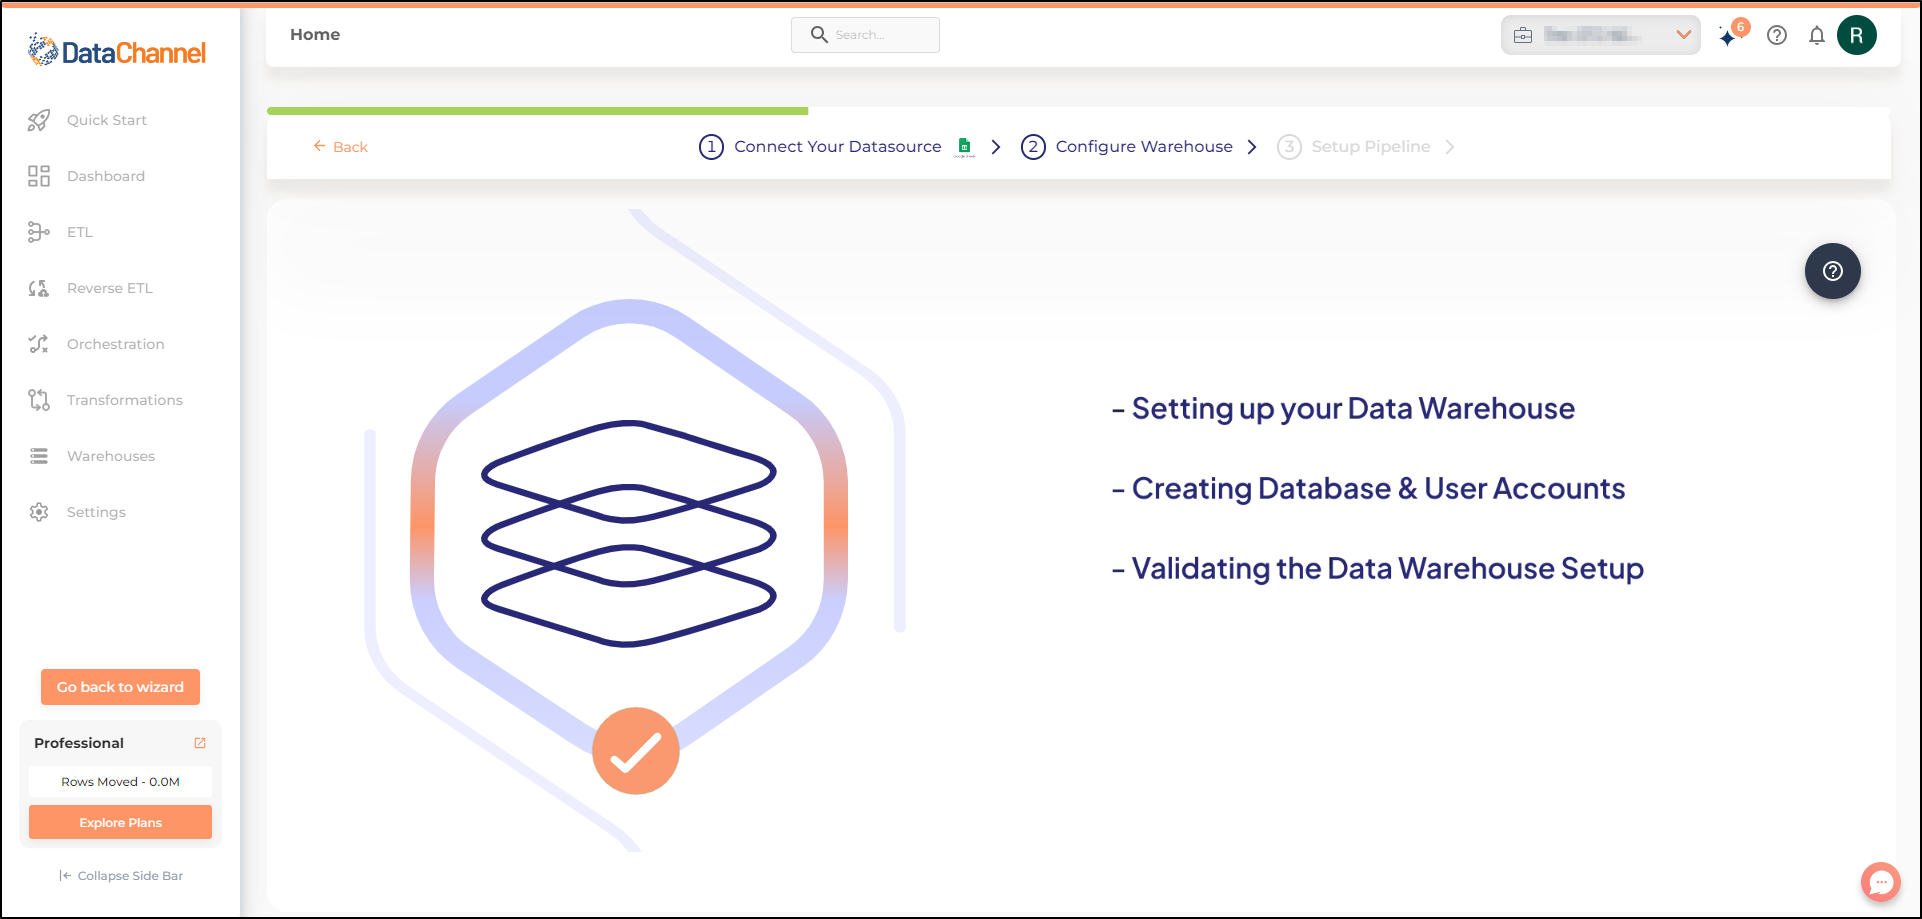
Once you configure the desired Data Warehouse, the Main UI window will show you the progress of validation. Please wait till the process is completed. Once the details are validated, save the warehouse.
-
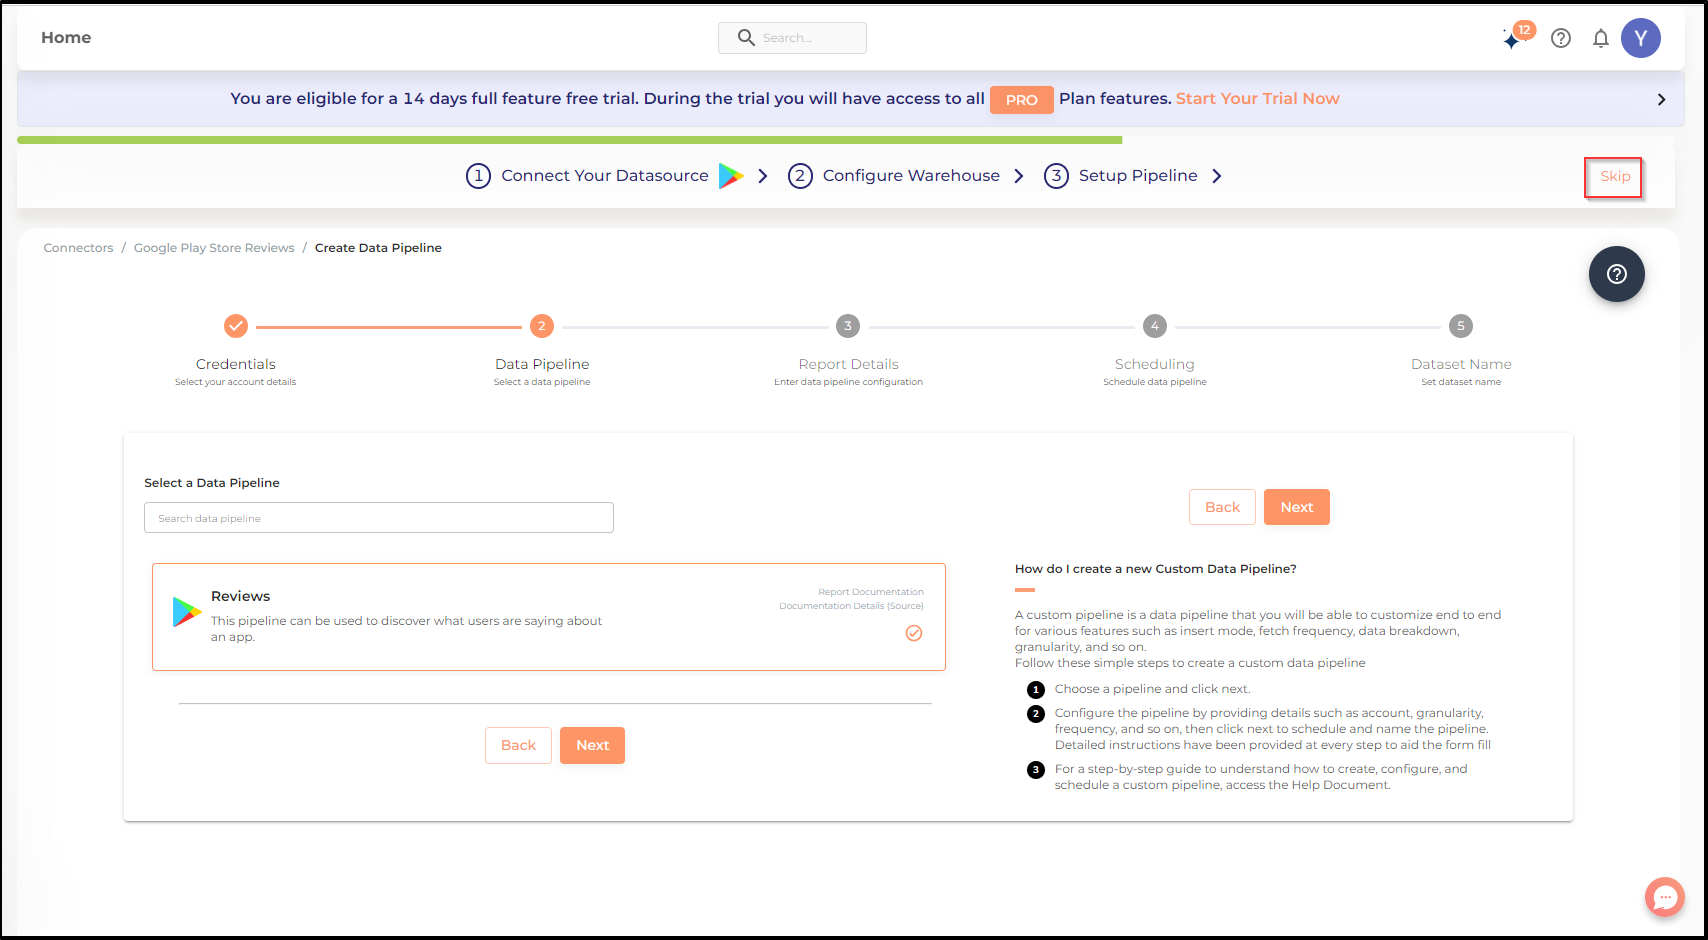
Once the details of the Data warehouse are validated, you will be taken through the process of setting up your first pipeline. You can choose the desired pipeline from the list of available pipelines for the chosen Data Source and click on Next to continue to report configuration and scheduling. Else, if you would like to continue the process later,you can click on Skip.
For detailed step-by-step instructions on setting up your warehouse refer our How To Guides section.
Still have Questions?
We’ll be happy to help you with any questions you might have! Send us an email at info@datachannel.co.
Subscribe to our Newsletter for latest updates at DataChannel.